
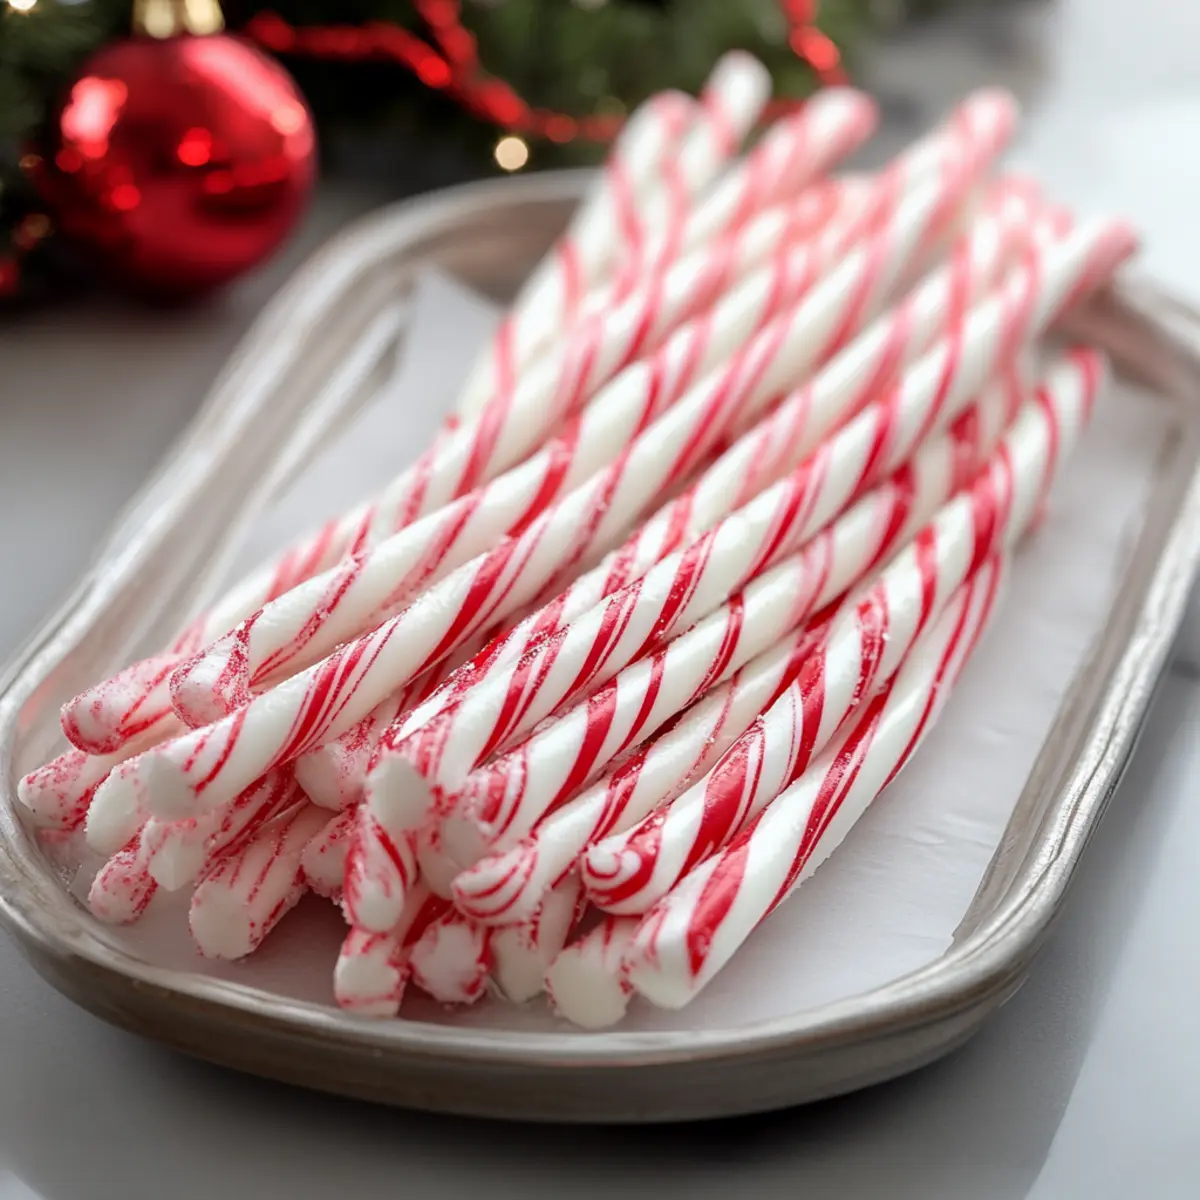
As I pulled the first batch of homemade Christmas peppermint sticks from the countertop, I couldn’t help but inhale the neon-like sweetness that filled the air. These classic treats are not just a nostalgic nod to holiday traditions; they’re incredibly easy to make, bringing a handmade touch to your festive gatherings. Whether you’re planning to stir them into steaming cups of cocoa or use them as charming decorations for your holiday desserts, these peppermint sticks are sure to be a hit. Plus, this simple recipe is gluten-free, making it a delightful option for everyone at the table. Ready to add a sprinkle of minty magic to your celebrations? Let’s dive into the delightful world of candy-making!
Why are Christmas Peppermint Sticks special?
Homemade peppermint sticks are the ultimate festive treat! Easily made with just a few pantry staples, they bring a handmade touch that store-bought versions can’t match. Gluten-free, these treats are perfect for everyone at your holiday table. Versatile in use, they’re delightful for stirring into hot cocoa or as beautiful garnishes for desserts. Plus, nostalgic flavors evoke fond memories of holiday cheer, making them a staple for your gatherings. Enjoy these delightful snacks and consider pairing them with homemade goodies like Christmas Cookies Butterscotch for an even sweeter celebration!
Homemade Christmas Peppermint Sticks Ingredients
For the Candy Base
• Light Corn Syrup – This adds moisture and sweetness, essential for the right candy texture; avoid using dark corn syrup as it changes the flavor.
• Water – Helps dissolve the sugar and creates the ideal consistency for the candy mixture.
• Granulated Sugar – The backbone of sweetness, crucial for the structure of the homemade Christmas peppermint sticks; don’t use powdered sugar as it contains cornstarch.
For Flavor and Color
• Peppermint Extract – Provides that classic minty flavor; opt for pure extract for the best taste.
• Red Food Coloring – Creates the iconic red-and-white stripes; gel food coloring gives a richer hue.
• Optional: White Food Coloring – For contrasting stripes, if you’re feeling creative!
Step‑by‑Step Instructions for Homemade Christmas Peppermint Sticks
Step 1: Prepare Your Baking Sheet
Start by greasing a large baking sheet or lining it with parchment paper to prevent the homemade Christmas peppermint sticks from sticking. This will make it easy to transfer the candy once it’s set. Set aside to ensure your workspace is ready for the candy mixture.
Step 2: Combine Ingredients Over Heat
In a heavy-bottomed saucepan, combine light corn syrup, water, and granulated sugar. Place the saucepan over medium heat and stir continuously until the sugar has dissolved. This should take about 5 minutes. Once the mixture is bubbling, resist stirring any further to avoid forming sugar crystals.
Step 3: Bring to the Right Temperature
Clip a candy thermometer to the side of the pot and allow the mixture to come to a rolling boil. Monitor the temperature closely, heating until it reaches 260°F for softer sticks or 270°F for firmer sticks, which usually takes around 10 to 15 minutes. Watch for the candy to reach a deep, golden color as an indicator that it’s almost ready.
Step 4: Add Flavor and Color
Once the mixture reaches your desired temperature, remove the saucepan from the heat and quickly stir in the peppermint extract and red food coloring. Be careful, as the mixture will bubble vigorously when the extract is added. Mix immediately until the color is evenly distributed, creating a vibrant red mixture.
Step 5: Set the Candy Mixture
Pour the colorful mixture onto your prepared baking sheet, spreading it gently into an even layer. Allow it to set for 30 to 60 seconds, until it becomes slightly firm to the touch. This time is crucial, as it gives the homemade Christmas peppermint sticks a solid base to start shaping.
Step 6: Cool and Fold the Edges
Once the candy has set just enough, put on food-safe gloves and start folding the edges toward the center repeatedly. This action cools the candy mixture while making it easier to work with. Keep folding for about 5 minutes until the candy starts to lose its shine and becomes cooler to the touch.
Step 7: Pull and Stretch the Candy
When the candy is cool enough to handle comfortably, begin to pull and stretch it until it becomes glossy and firm. This pulling technique helps incorporate air, which is essential for achieving the perfect texture. Continue this process for about 5 to 10 minutes, ensuring it remains pliable.
Step 8: Shape the Sticks
Divide the candy into portions as you shape it into long ropes, about ½ inch thick. If desired, twist them slightly for a decorative effect. While the candy is still pliable, use kitchen shears to cut into 4 to 6 inch sticks, forming the classic peppermint stick shape.
Step 9: Cool Completely
Carefully place the cut peppermint sticks on the parchment-lined baking sheet. Allow them to cool completely at room temperature, which may take about 30 minutes. This cooling process is essential for achieving the perfect snap and firmness in your homemade Christmas peppermint sticks.
Step 10: Store Your Candies
Once your peppermint sticks have cooled completely, store them in an airtight container at room temperature. They will stay fresh for up to three weeks. Enjoy using them to enhance hot cocoa or as festive decorations on your holiday desserts!
Make Ahead Options
These Homemade Christmas Peppermint Sticks are perfect for meal prep, allowing you to save precious time during the busy holiday season! You can prepare the candy mixture up to 24 hours in advance by following the initial steps, let it cool, and then store it wrapped tightly in plastic wrap at room temperature. When you’re ready to finish your peppermint sticks, simply reheat the mixture gently to soften it, then proceed with pulling, stretching, and shaping into sticks. To maintain quality, ensure the mixture is fully cooled before wrapping to prevent moisture buildup, and your peppermint sticks will be just as delicious when served!
Expert Tips for Homemade Christmas Peppermint Sticks
-
Avoid Sugar Crystals: Do not stir the mixture once boiling; it can cause unwanted sugar crystals. Instead, clean the pot’s sides with a wet brush.
-
Temperature Accuracy: Use a candy thermometer for precision. If you don’t have one, the cold water test will help; look for soft or firm candy balls at 260-270°F.
-
Prevent Stickiness: If the candy sticks turn out too sticky, it likely didn’t reach the right temperature. Use this as a topping for desserts instead.
-
Color Richness: Opt for gel food coloring for vibrant hues; it gives your peppermint sticks that classic festive appearance.
-
Flavor Exploration: Don’t hesitate to experiment! Substitute peppermint extract with other flavors like almond for a unique twist on your homemade Christmas peppermint sticks.
What to Serve with Homemade Christmas Peppermint Sticks?
These delightful homemade treats are the perfect addition to any festive gathering, bringing sweet nostalgia to your holiday table.
-
Creamy Hot Cocoa: A comforting beverage that beautifully complements the peppermint flavor, creating a warm and cozy experience.
-
Gingerbread Cookies: Their spiced warmth balances the minty freshness, making them a classic pairing that brings joy to every bite.
-
Whipped Cream: An airy addition that offers a luxurious texture, ideal for topping off your hot drinks or even desserts.
-
Chocolate Fudge: Rich and decadent, it enhances the sweet experience with a lovely contrast to the crisp, refreshing taste of peppermint.
-
Classic Eggnog: The creamy, spiced profile of eggnog pairs wonderfully with the sweetness of peppermint sticks, creating a festive treat.
-
Peppermint Brownies: For a chocolatey twist, brownies infused with peppermint enhance the holiday spirit with their festive flavors.
-
Holiday Fruit Salad: Bright, refreshing fruits offer a light complement to the sweetness of the candy, adding a burst of color and taste.
-
Spiced Apple Cider: Perfectly warm and aromatic, it adds a charmed contrast to the candy’s cool minty kick.
-
Vanilla Ice Cream: The creamy base provides a soothing backdrop for peppermint sticks, whether enjoyed alongside or crumbled on top.
Storage Tips for Homemade Christmas Peppermint Sticks
Room Temperature: Store your homemade Christmas peppermint sticks in an airtight container at room temperature for up to 3 weeks, keeping them fresh and flavorful.
Humidity Caution: Avoid placing them in humid areas, as moisture can make the candy sticky and lose its delightful snap.
Reheating: If your sticks become soft, briefly place them in the fridge for about 10 minutes to firm up before using them in your holiday treats.
Gift Packaging: If you’re giving them as gifts, wrap the sticks in cellophane or place them in decorative tins to keep them intact and appealing.
Homemade Christmas Peppermint Sticks Substitutions
Feel free to play around with this recipe to make it your own and unleash your creativity in the kitchen!
-
Flavor Swap: Substitute peppermint extract with almond or vanilla for a distinct flavor twist. This change adds a sweet, nutty profile, perfect for those who prefer something different.
-
Natural Coloring: Use beet juice or spirulina for a natural red hue instead of artificial food coloring. It adds a unique touch while keeping things wholesome.
-
Dairy-Free Alternative: For a vegan version, switch out confectioners sugar for a plant-based sweetener like agave syrup. This subtle shift creates a new taste profile without sacrificing joy.
-
Roll in Sprinkles: After cutting the sticks, roll them in festive sprinkles or crushed candy canes for added texture and a burst of color. The extra crunch amplifies both the flavor and visual appeal.
-
Spicy Kick: Add a pinch of cayenne or chili powder to the candy mixture for a surprising heat element. This playful twist balances the sweetness and lifts the overall flavor.
-
Chocolate Drizzle: Drizzle melted dark chocolate over the cooled sticks for a delightful contrast. The rich, creamy chocolate envelops the minty freshness, creating an indulgent treat!
-
Mini Versions: Shape smaller balls or sticks instead of standard lengths for bite-sized treats. They’ll be perfect for snacking or gift-giving, impressing your loved ones with these adorable creations.
As you enjoy these peppermint sticks, consider pairing them with treats like Christmas Cookies Butterscotch for a delightful dessert table during your holiday celebrations!
Homemade Christmas Peppermint Sticks Recipe FAQs
How do I choose the right peppermint extract?
Absolutely! When selecting peppermint extract, opt for pure extracts rather than imitation. Pure peppermint extract gives a richer, more authentic flavor, enhancing your homemade Christmas peppermint sticks significantly.
How should I store leftover peppermint sticks?
For best results, store your homemade Christmas peppermint sticks in an airtight container at room temperature. They will maintain their freshness for up to 3 weeks. Keep them in a cool, dry place to avoid any sticky mishaps!
Can I freeze my peppermint sticks for later?
Yes, you can freeze your peppermint sticks! To do this, wrap each stick in plastic wrap and place them in a freezer-safe bag or container. They’ll stay fresh for up to 3 months. When you’re ready to use them, simply thaw them at room temperature.
What should I do if my candy is too sticky?
If your homemade Christmas peppermint sticks turn out too sticky, it likely didn’t reach the correct temperature during cooking. In this case, you can repurpose the candy as a topping for desserts or simply refrigerate it for 10 minutes to firm up before using.
Are these peppermint sticks safe for dogs or any pets?
Not really! While peppermint itself is generally safe for dogs, the high sugar content and potential additives in candy can pose health risks. It’s best to keep these homemade Christmas peppermint sticks as a delightful treat for humans only.
What if my candy didn’t turn out glossy?
If your peppermint sticks are dull or lack the desired gloss, they may not have been pulled and stretched enough. Ensure you pull the candy for about 5-10 minutes until it becomes smooth and shiny, incorporating air for that lovely finish. Don’t hesitate to give it a good workout!
Homemade Christmas Peppermint Sticks: Festive Treats to Cherish
Ingredients
Equipment
Method
- Prepare Your Baking Sheet: Grease a large baking sheet or line it with parchment paper.
- Combine Ingredients Over Heat: In a saucepan, combine light corn syrup, water, and granulated sugar over medium heat, stirring until dissolved.
- Bring to the Right Temperature: Heat until the mixture reaches 260°F for softer sticks or 270°F for firmer sticks.
- Add Flavor and Color: Remove from heat and quickly stir in peppermint extract and red food coloring.
- Set the Candy Mixture: Pour onto the prepared baking sheet and allow it to set for 30 to 60 seconds.
- Cool and Fold the Edges: Fold the edges toward the center repeatedly for about 5 minutes.
- Pull and Stretch the Candy: Pull until glossy and firm for about 5 to 10 minutes.
- Shape the Sticks: Divide candy into portions and shape into long ropes, cut into 4 to 6 inch sticks.
- Cool Completely: Place sticks on the baking sheet and allow them to cool completely for about 30 minutes.
- Store Your Candies: Store in an airtight container at room temperature for up to three weeks.
Leave a Reply