
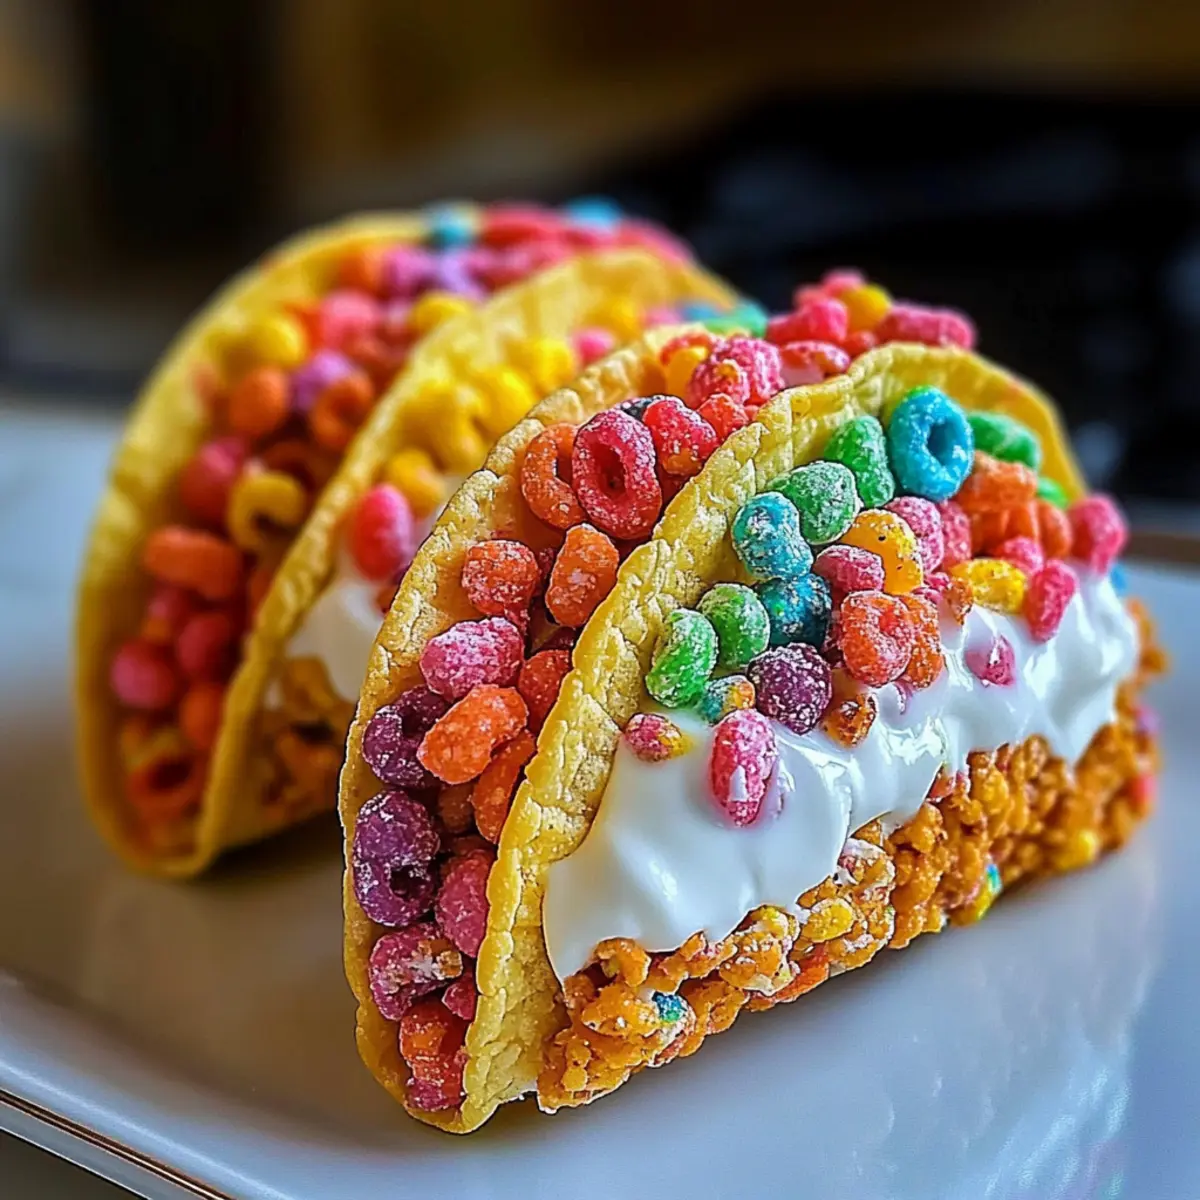
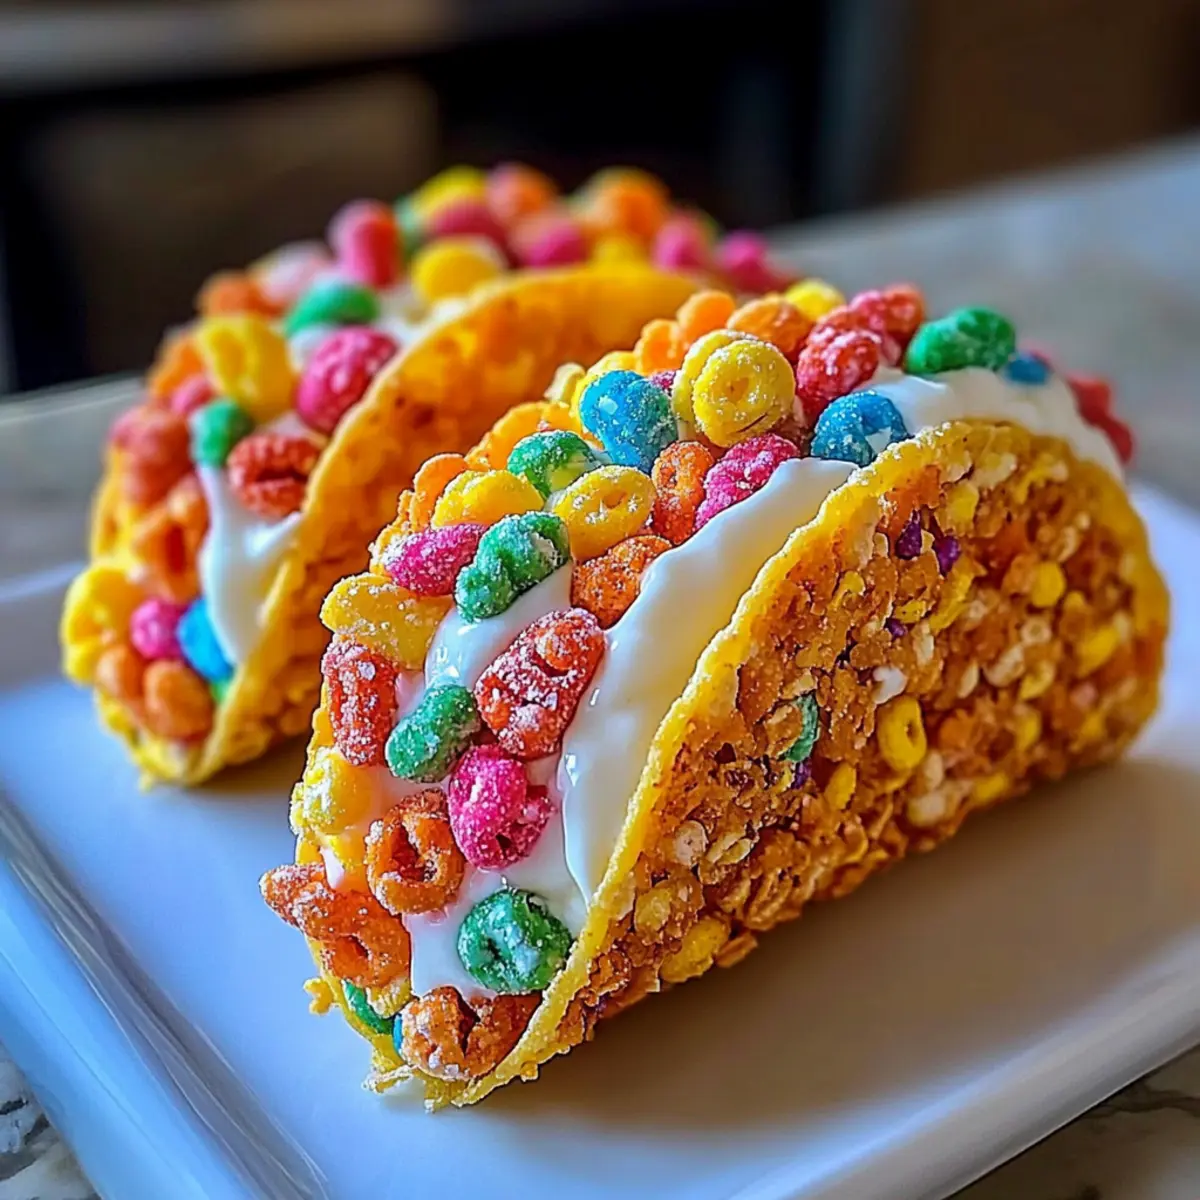
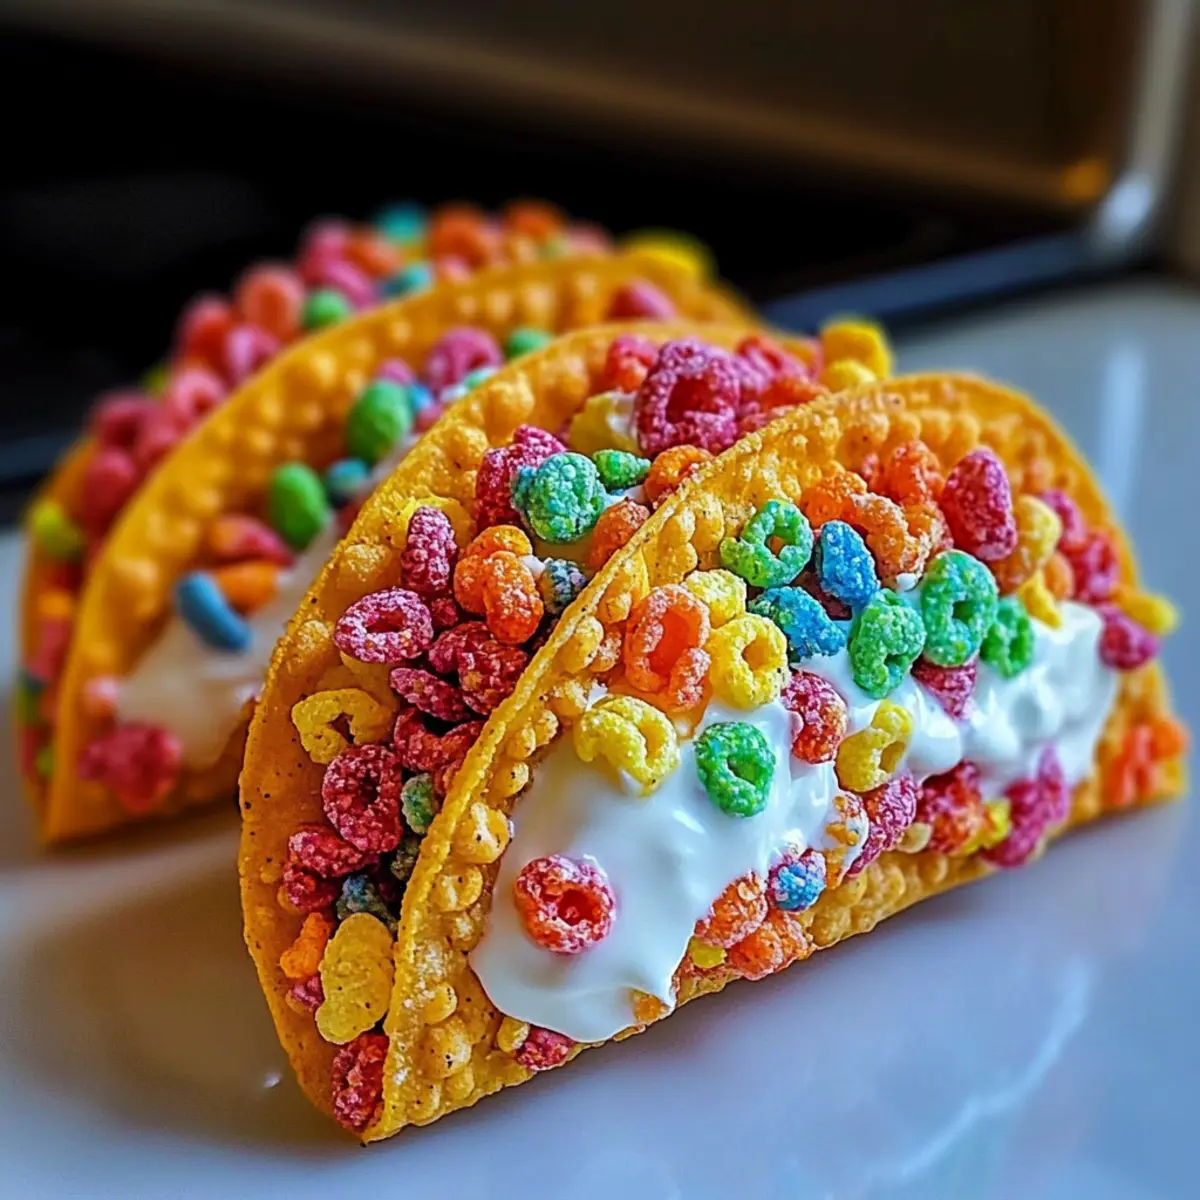
With a sprinkle of nostalgia and a dash of whimsy, these Fruity Pebbles Cheesecake Tacos are about to transform your dessert game! Imagine the crunchy, colorful cereal shells embracing a smoothly rich cheesecake filling that’s not just a feast for the taste buds but also a visual delight. What I love most about this no-bake delight is how quickly it comes together, making it the perfect party-friendly recipe. Plus, the versatile nature of these tacos means you can easily customize them to suit your family’s taste or whatever mood strikes! Ready to impress your friends or indulge your sweet tooth? Let’s create magic in the kitchen together!

Why are Fruity Pebbles Cheesecake Tacos irresistible?
Colorful and playful, these tacos bring whimsy to your dessert table, making every bite feel like a celebration. No-Bake simplicity means less time in the kitchen and more time enjoying with friends. Versatile in flavor, you can experiment with various cream cheese infusions for a unique twist, while crowd-pleasing appeal makes them a hit at parties. Serve them alongside other fun treats like Caramel Apple Cheesecake for an unforgettable dessert spread. Plus, nostalgia from those childhood cereal days makes these a delightful treat for all ages!
Fruity Pebbles Cheesecake Tacos Ingredients
For the Taco Shells
• Fruity Pebbles Cereal – Provides bold crunch, fruity flavor, and vibrant color; substituting with Cocoa Pebbles could change the taste significantly.
• Mini Marshmallows – Melting these creates a chewy, sticky mixture for the taco shells; try vegan marshmallows for a plant-based version.
• Unsalted Butter – Essential for adding richness and smoothness to the marshmallow mixture.
For the Cheesecake Filling
• Cream Cheese – Creates the rich and tangy base for your filling; you can use dairy-free cream cheese for a vegan alternative.
• Powdered Sugar – Sweetens the cheesecake without adding graininess, ensuring a smooth texture.
• Vanilla Extract – Enhances the overall flavor and adds depth to the cheesecake filling.
• Heavy Whipping Cream – Whipped to light peaks contributes an airy texture to the filling, making it perfect for these Fruity Pebbles Cheesecake Tacos.
Feel free to let your creativity flow as you customize your dessert with other flavors or additions!
Step‑by‑Step Instructions for Fruity Pebbles Cheesecake Tacos
Step 1: Prepare Taco Shells
In a medium saucepan over low heat, melt 2 tablespoons of unsalted butter with 2 cups of mini marshmallows. Stir continuously until the mixture is smooth and completely combined, approximately 3–5 minutes. Once melted, remove from heat, and gently fold in 4 cups of Fruity Pebbles cereal until all pieces are evenly coated and colorful.
Step 2: Shape Shells
Quickly take a portion of the warm cereal mixture and shape it around a rolling pin or taco shell mold lined with parchment paper. Press it firmly to create the taco shape, ensuring it’s thick enough to hold its form. Hold in place for about 30 seconds to let it set before gently removing from the mold. Repeat until all the mixture is shaped into taco shells.
Step 3: Make Cheesecake Filling
In a large mixing bowl, use an electric mixer to beat 8 ounces of cream cheese until it’s smooth and creamy, about 2–3 minutes. Gradually mix in 1 cup of powdered sugar and 1 teaspoon of vanilla extract until the mixture is well combined and fluffy. This creates a delicious base for your Fruity Pebbles Cheesecake Tacos.
Step 4: Whip Cream
In a separate bowl, pour 1 cup of heavy whipping cream and whip it using an electric mixer until stiff peaks form, approximately 4–5 minutes. Be careful not to over-whip, as it may turn grainy. Gently fold the whipped cream into the cream cheese mixture, ensuring you maintain the light and airy texture.
Step 5: Assemble Tacos
Transfer the cheesecake filling into a piping bag or use a spoon to generously fill each taco shell with the creamy mixture. You can create fun swirls or simply pack them tightly within the taco shells. For added flair, sprinkle extra Fruity Pebbles on top for a delightful finishing touch that enhances both flavor and presentation.
Step 6: Chill
Place the filled Fruity Pebbles Cheesecake Tacos on a serving platter and refrigerate for at least 30 minutes to allow the filling to firm up, ensuring a deliciously creamy texture. This chilling step is crucial for creating a delightful experience when serving—each bite will be perfectly sweet and refreshing.
What to Serve with Fruity Pebbles Cheesecake Tacos
Imagine a vibrant dessert spread that accentuates the playful charm of your Fruity Pebbles Cheesecake Tacos while tantalizing every palate!
- Colorful Fruit Salad: Fresh, juicy fruits like strawberries or blueberries offer a refreshing contrast and enhance the celebration vibe.
- Whipped Cream: A dollop of sweetened whipped cream adds a light, airy touch that complements the creamy filling beautifully.
- Chocolate Drizzle: Rich chocolate ganache drizzled over the tacos intensifies sweetness and adds a luxurious layer of flavor.
- Ice Cream: A scoop of vanilla or fruit-flavored ice cream on the side creates a delightful mix of temperatures and textures.
- Sparkling Lemonade: The zesty fizz of sparkling lemonade refreshes the palate and adds a fun, festive flair to your gathering.
- Homemade Cookie Crumble: Sprinkling crushed cookies over your tacos provides an extra crunch and delightful creaminess to every bite.
- Mini Cupcakes: Adorable, colorful mini cupcakes keep the playful spirit alive and make for an irresistible dessert table!
- Coconut Whipped Cream: A vegan-friendly option that adds a subtle tropical flair to your dessert experience.
- Berry Compote: A warm berry compote drizzled on the tacos brings a juicy, sweet contrast that elevates each bite.
Fruity Pebbles Cheesecake Tacos Variations
Feel free to get creative and customize your Fruity Pebbles Cheesecake Tacos for a delightful twist!
-
Dairy-Free: Substitute dairy cream cheese and heavy cream with plant-based options for a vegan treat. Your friends won’t believe the deliciousness!
-
Different Cereals: Use Cocoa Pebbles for a chocolatey surprise, or try Rice Krispies for a classic twist while keeping that fun crunch. The options are endless!
-
Nutty Crunch: Add crushed nuts, like almonds or walnuts, into your taco shell for an extra layer of crunch and flavor. It’s a delightful contrast to the creamy filling.
-
Fruity Flavors: Infuse the cream cheese filling with fruit purees like strawberry or mango for a refreshing and fruity cheesecake surprise. Each bite will be bursting with flavor!
-
Chocolate Drizzle: After assembling, drizzle some melted chocolate over the filled tacos for added sweetness and a touch of elegance. This adds a beautiful finish and rich flavor.
-
Flavor Infusions: Experiment with flavored extracts such as almond or coconut for a unique twist on the classic taste. It can transform your filling into a new delight!
-
Whipped Topping Swap: Replace the heavy cream with a pre-made whipped topping for an instant and easy-to-make filling option. Perfect for when you’re in a rush!
-
Spice it Up: Add a sprinkle of cinnamon or nutmeg to your filling for a warm flavor that adds complexity to the sweetness. It’s an unexpected yet delightful touch!
Try out these variations, and don’t forget to serve your Fruity Pebbles Cheesecake Tacos alongside fun desserts, like Caramel Apple Cheesecake, for an unforgettable dessert experience!
How to Store and Freeze Fruity Pebbles Cheesecake Tacos
Room Temperature: Unfilled taco shells can be stored at room temperature in an airtight container for up to 2 days to maintain their crispiness.
Fridge: Once filled with cheesecake, store the Fruity Pebbles Cheesecake Tacos in the refrigerator in an airtight container for up to 3 days. Enjoy them chilled for the best flavor!
Make-Ahead: For party prep, you can make the taco shells a day in advance and fill them right before serving to ensure they stay crunchy and delightful.
Freezer: It’s not recommended to freeze filled tacos, as the texture may become soggy upon thawing. Instead, freeze unfilled shells for up to 1 month, then fill after thawing.
Expert Tips for Fruity Pebbles Cheesecake Tacos
-
Work Quickly: Shape taco shells while the mixture is warm to ensure they hold their shape and aren’t too fragile.
-
Crisp Maintenance: To keep the taco shells crispy, fill them with cheesecake filling just before serving, preventing sogginess.
-
Easy Release: Use non-stick spray or line molds with parchment paper to make the shell removal effortless and prevent sticking.
-
Storage Solutions: Store unfilled taco shells at room temperature, and refrigerate filled tacos; consume within 3 days for optimal flavor and texture.
-
Customization Tip: Feel free to experiment with different cereals or flavored cream cheese to make your Fruity Pebbles Cheesecake Tacos uniquely yours!
Make Ahead Options
These Fruity Pebbles Cheesecake Tacos are perfect for meal prep enthusiasts looking to save time! You can prepare the taco shells up to 24 hours in advance by shaping them and storing them at room temperature in an airtight container to maintain their crispness. The cheesecake filling can be made up to 3 days ahead and kept in the refrigerator. Just remember to fill the taco shells right before serving to prevent sogginess. When ready to enjoy, simply pipe or spoon the creamy cheesecake filling into the shells and garnish with extra Fruity Pebbles for a playful touch. This ensures your dessert is as vibrant and delicious as if freshly made!
Fruity Pebbles Cheesecake Tacos Recipe FAQs
How do I choose the best Fruity Pebbles for my tacos?
Absolutely! Look for a box that has vibrant colors and no signs of fading. Opt for fresh cereal without any clumping or dark spots, as this indicates they’ve been stored properly.
What’s the best way to store my Fruity Pebbles Cheesecake Tacos?
To keep them fresh, store unfilled taco shells at room temperature in a cool, dry place for up to 2 days in an airtight container. However, once filled, they should be refrigerated and consumed within 3 days for the best flavor and texture.
Can I freeze Fruity Pebbles Cheesecake Tacos?
It’s best not to freeze filled tacos due to the potential for a soggy texture upon thawing. Instead, you can freeze unfilled taco shells for up to 1 month. Just ensure they’re in an airtight container. When you’re ready, thaw the shells at room temperature, then fill them fresh!
What if my cheesecake filling is too runny?
No worries! If your filling turns out runny, make sure to whip the heavy cream to stiff peaks and fold it gently into the cream cheese mixture. This will help stabilize the filling. If you’re still having trouble, consider adding more powdered sugar or a bit of cornstarch to thicken it up.
Are there any allergy considerations with Fruity Pebbles Cheesecake Tacos?
Very! Always check the labels on your Fruity Pebbles and marshmallows for allergens. Many marshmallows are gluten-free, but if you have strict dietary needs, consider using specific brands known for being allergen-free or vegan alternatives!
Fruity Pebbles Cheesecake Tacos for a Fun Dessert Twist
Ingredients
Equipment
Method
- In a medium saucepan over low heat, melt 2 tablespoons of unsalted butter with 2 cups of mini marshmallows. Stir continuously until smooth, about 3–5 minutes.
- Remove from heat and gently fold in 4 cups of Fruity Pebbles cereal until evenly coated.
- Shape the mixture around a rolling pin or taco shell mold lined with parchment paper to create taco shapes. Hold in place for 30 seconds to set.
- Beat 8 ounces of cream cheese until smooth, about 2–3 minutes.
- Gradually mix in 1 cup of powdered sugar and 1 teaspoon of vanilla extract until fluffy.
- In a separate bowl, whip 1 cup of heavy whipping cream until stiff peaks form, then gently fold into the cream cheese mixture.
- Fill each taco shell with the cheesecake filling using a piping bag or spoon.
- Sprinkle extra Fruity Pebbles on top for presentation.
- Refrigerate for at least 30 minutes before serving to firm up the filling.
Leave a Reply