
As I rummaged through my pantry hunting for a quick treat, it hit me that the sweet, crunchy delight of Butterfinger Caramel Bars could save the day! These no-bake goodies are the epitome of indulgence and convenience, blending crispy graham crackers with gooey caramel and that iconic Butterfinger crunch. Perfect for any gathering, they come together in a snap, making them an easy dessert option for busy cooks like us. Plus, with a few simple swaps, you can make them gluten-free or even dairy-free! Honestly, who wouldn’t love to dive into a plate of these delightful bars at a summer picnic or cozy get-together? Ready to make your own dreamy batch of Butterfinger Caramel Bars? Let’s get started!

Why are Butterfinger Caramel Bars a must-try?
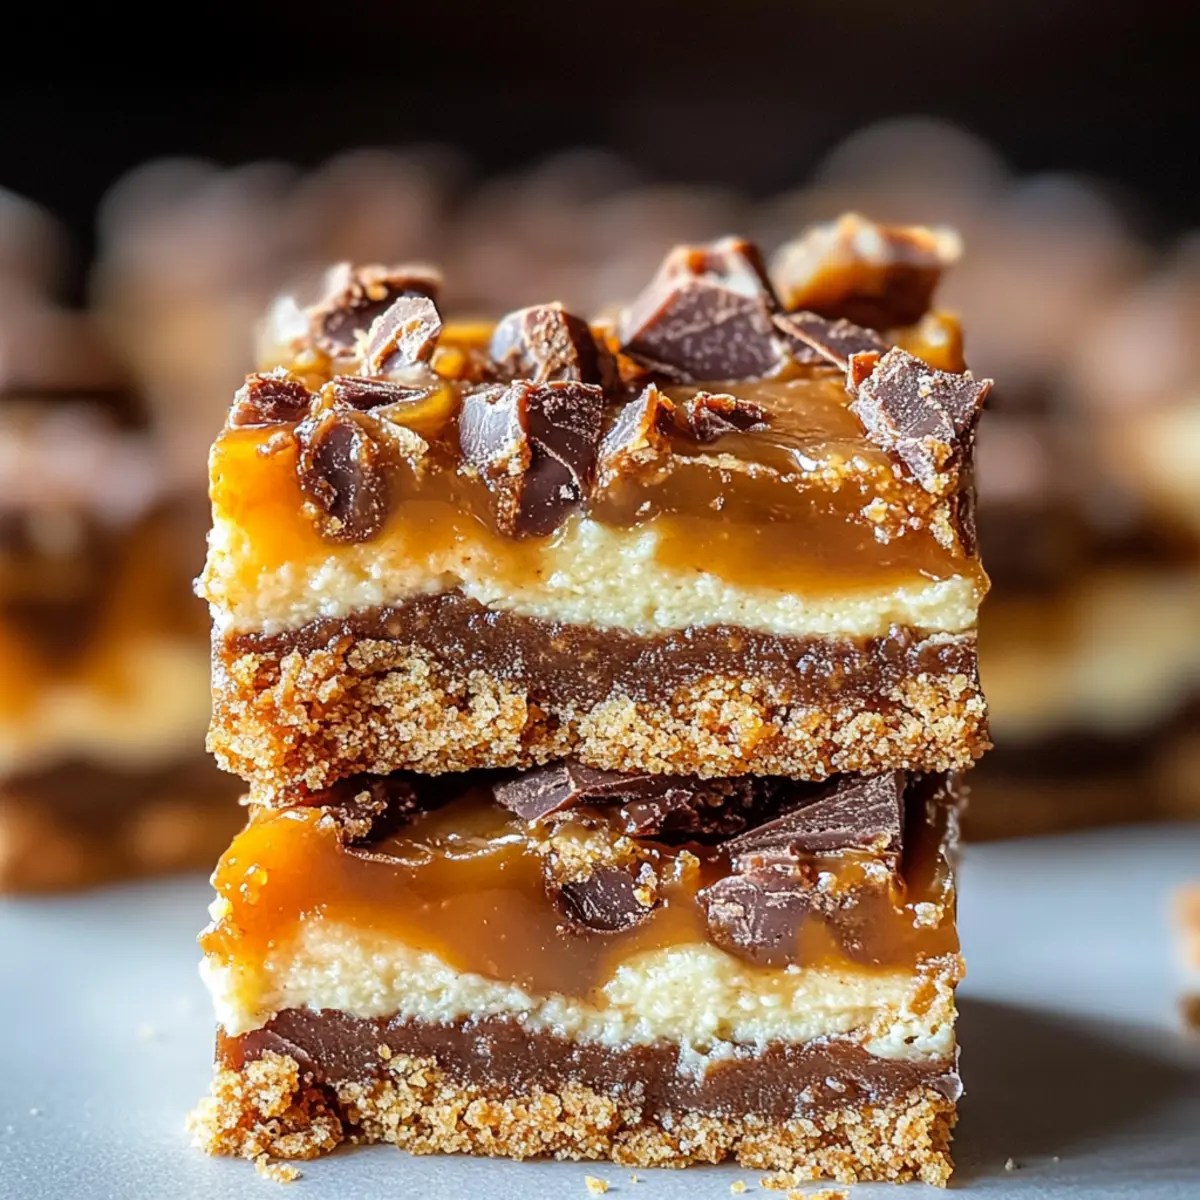
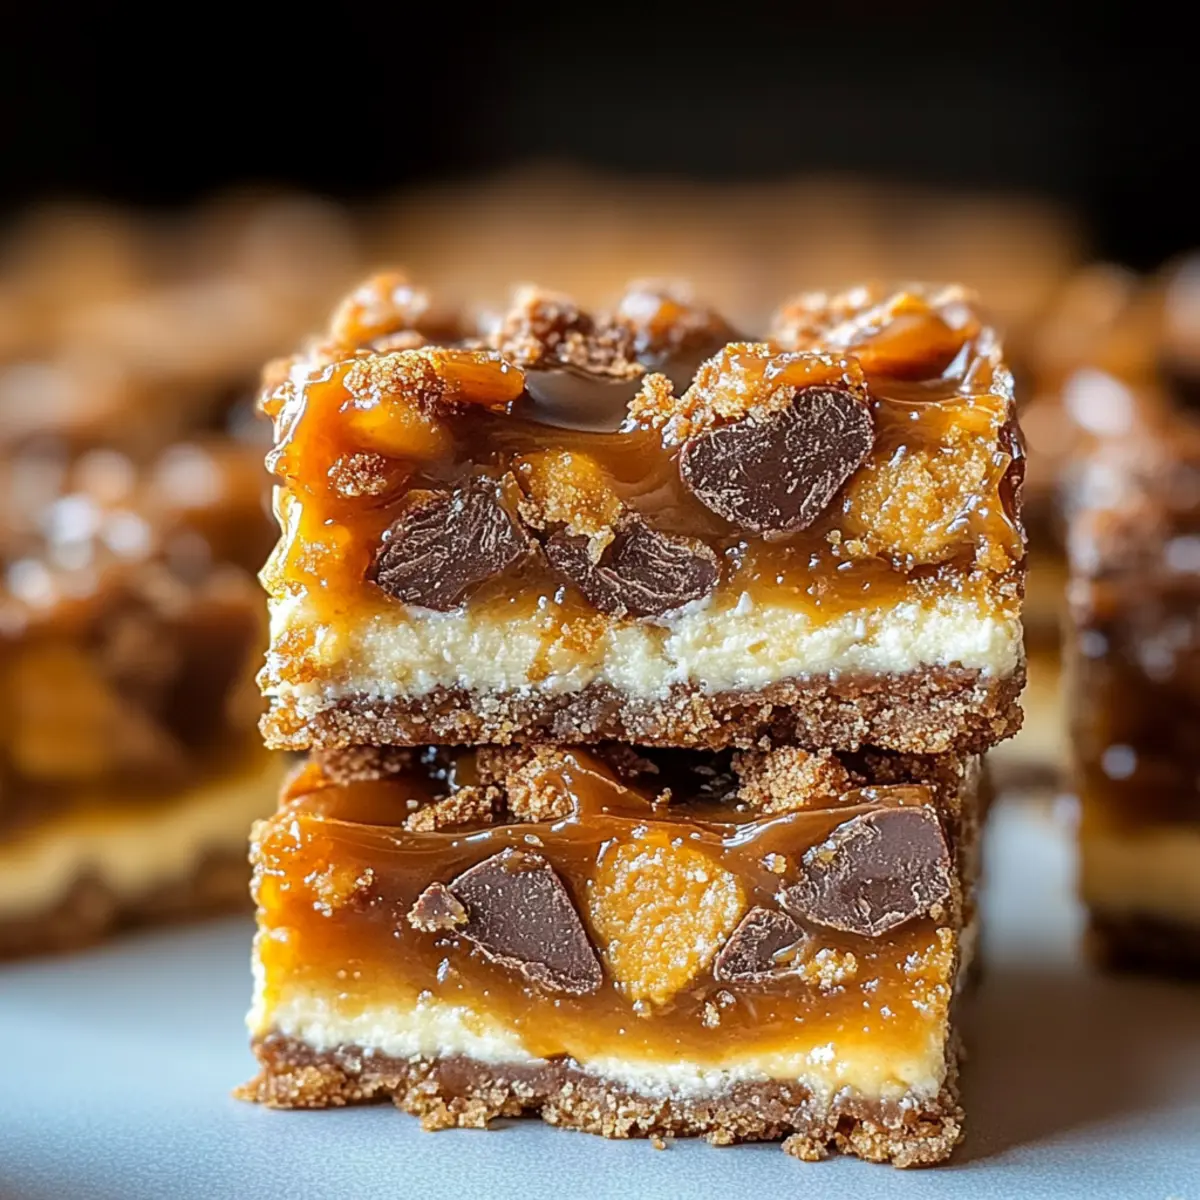
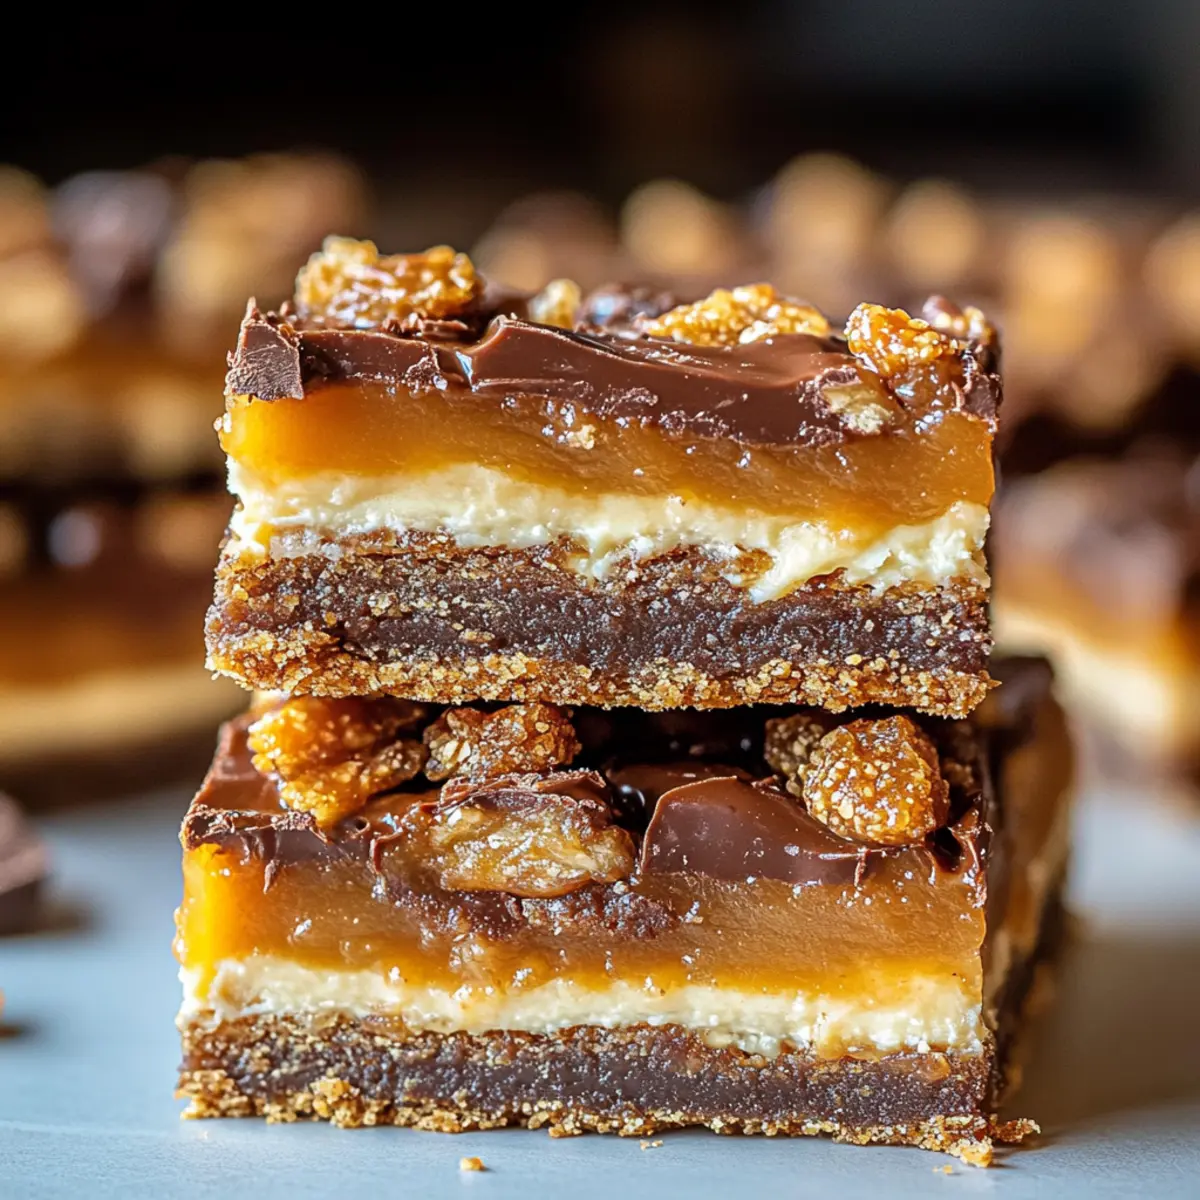
Irresistible combination: These bars blend the iconic crunch of Butterfinger with creamy caramel, ensuring every bite is packed with flavor.
Quick and easy: Made without an oven, you’ll whip these up in no time—perfect for busy evenings or last-minute gatherings.
Versatility: Feel free to swap out Butterfinger for your favorite chocolate-covered candy, like Snickers, or even use gluten-free graham crackers for a dietary twist.
Crowd-pleaser: Whether it’s a summer picnic or a cozy night in, these bars are always a hit! You can pair them with a scoop of vanilla ice cream or a drizzle of your favorite syrup for an extra treat.
Texture bliss: Experience a delightful medley of textures—crispy, chewy, and gooey all in one bite! If you’re looking for more sweet treats, check out our Caramel Apple Cheesecake or the refreshing Strawberry Shortcake Bars.
Butterfinger Caramel Bars Ingredients
• Perfect for no-bake treats!
For the Base
- Graham Crackers – Provide structure; you can use gluten-free graham crackers for a gluten-free version.
- Mini Marshmallows – Add chewy texture and sweetness; substitute with dairy-free marshmallows for a vegan treat.
For the Caramel Layer
- Caramel Bits (11 oz) – The main source of gooeyness in the bars; homemade caramel can also work wonders here.
- Milk (2 Tbsp) – Helps melt the caramel until smooth; try almond milk for a dairy-free alternative.
For the Topping
- Butterfinger Bites (10 oz) – Crucial for that crunchy, iconic flavor; you can swap these for any chocolate-covered candy for a new twist.
- Semi-Sweet Chocolate (2 oz) – Drizzle on top for enhanced flavor; dark chocolate adds richness, while white chocolate brings sweetness.
Step‑by‑Step Instructions for No-Bake Butterfinger Caramel Bars
Step 1: Prepare the Pan
Start by lining a 9×9 inch baking pan with aluminum foil, allowing some overhang for easy removal later. Lightly spray the lining with cooking spray to ensure that your Butterfinger Caramel Bars come out cleanly. This ensures that the layers will stick together perfectly while keeping the flavors intact.
Step 2: Layer the Base
Evenly break graham crackers and arrange them tightly at the bottom of the prepared pan. Use your fingers or the back of a spoon to press the crackers down slightly, creating a solid base for the Butterfinger Caramel Bars. This step provides the necessary structure, so make sure to cover the entire bottom.
Step 3: Add Marshmallows
Sprinkle mini marshmallows generously over the layer of graham crackers, ensuring even distribution. The fluffy marshmallows will add a delightful chewiness and sweetness once melted. Use about 2 cups to fully coat the graham cracker base for that perfect texture contrast when you bite into the bars.
Step 4: Melt Caramel
In a microwave-safe bowl, combine the caramel bits and milk. Microwave the mixture in 30-second intervals, stirring in between, until it becomes melted and smooth—about 1 to 2 minutes total. This luscious caramel will create the gooey layer in your Butterfinger Caramel Bars, so aim for a silky consistency.
Step 5: Pour Caramel
Drizzle the melted caramel evenly over the marshmallows, using a spoon or spatula to spread it out gently. Ensure that the caramel covers all the marshmallows, so every bite of your Butterfinger Caramel Bars is deliciously gooey. Let it settle for a minute while the caramel begins to cool slightly.
Step 6: Butterfinger Layer
Take the Butterfinger bites and chop them into smaller pieces for easier distribution. Sprinkle the chopped Butterfinger generously on top of the warm caramel layer, pressing down lightly to ensure they adhere. This iconic candy adds a satisfying crunch, making your bars even more irresistible.
Step 7: Chocolate Drizzle
Melt the semi-sweet chocolate in a microwave-safe bowl using the same method as for the caramel, in 30-second increments, stirring until smooth. Once melted, drizzle the chocolate artistically over the Butterfinger layer, adding a touch of elegance to your bars. This step enhances both the flavor and the presentation.
Step 8: Chill
Place the entire pan into the refrigerator and chill for approximately 1 hour, or until the bars are firm to the touch. Chilling allows the layers to set and blend together, ensuring a perfect cut and ultimate taste experience when serving your no-bake Butterfinger Caramel Bars.
Step 9: Slice and Serve
Carefully lift the bars out of the pan using the overhanging foil to make it easy. Use a sharp knife to cut the set mixture into squares or rectangles. With their delightful textures and rich flavors, your Butterfinger Caramel Bars are now ready to impress at any gathering—enjoy every decadent bite!
Make Ahead Options
These No-Bake Butterfinger Caramel Bars are a fantastic choice for meal prep, allowing you to savor their delectable flavors even on your busiest days! You can prepare the graham cracker base and layer of mini marshmallows up to 24 hours in advance, just remember to cover it tightly with plastic wrap to prevent any drying out. The caramel layer can also be made ahead of time and stored in the refrigerator for up to 3 days; just gently reheat it before pouring it over the marshmallows. When you’re ready to serve, simply sprinkle the chopped Butterfinger and drizzle the chocolate on top, then chill until set. This way, you’ll have scrumptious Butterfinger Caramel Bars ready to impress with minimal last-minute effort!
Expert Tips for Butterfinger Caramel Bars
• Room Temperature Magic: Allow bars to sit out for a few minutes before cutting; this softens the caramel for easier slicing and enhances the experience.
• Storage Savvy: Keep your Butterfinger Caramel Bars in an airtight container at room temperature to maintain crunch. Refrigerate for a firmer texture or freeze for extended freshness.
• Caramel Caution: Be careful not to overheat the caramel while melting; stopping when it’s just smooth prevents it from hardening and losing that gooey texture.
• Substitution Success: Don’t hesitate to experiment—try using flavored graham crackers or swapping Butterfinger with your favorite candy for a unique twist.
• Presentation Perfection: Drizzle chocolate artfully across the top right before chilling to add an elegant touch that will impress friends and family alike.
Butterfinger Caramel Bars Variations
Feel free to switch things up with these delightful variations to elevate your Butterfinger Caramel Bars experience!
-
Gluten-Free: Use gluten-free graham crackers instead of regular ones to make these bars accessible for everyone.
-
Dairy-Free: Swap milk and vanilla to almond milk and dairy-free marshmallows for a vegan-friendly option that doesn’t skimp on taste.
-
Candy Swap: Substitute Butterfinger with Snickers or Reese’s for a whole new flavor explosion. Chocolate-peanut combinations will leave everyone raving!
-
Flavor Booster: Try using flavored graham crackers like chocolate or cinnamon to enhance the taste profile and surprise your guests.
-
Nutty Addition: Sprinkle some chopped pecans or walnuts over the caramel layer before chilling to add a delightful crunch and richness.
-
Chocolate Drizzle Variation: Mix it up by blending semi-sweet chocolate with a splash of peanut butter for a delicious drizzle that complements the Butterfinger flavor beautifully.
-
Spicy Kick: Add a hint of cayenne pepper or red pepper flakes to the chocolate drizzle to introduce a surprising yet tantalizing heat!
-
Coconut Lovers: Incorporate shredded coconut within the marshmallow layer for an exotic twist that’ll transport your taste buds to a tropical paradise.
If you’re in the mood for more sweet treats, don’t forget to check out our Caramelized Tomatoes Everything for a savory contrast or explore the decadent flavors of Strawberry Shortcake Bars for your next dessert party!
How to Store and Freeze Butterfinger Caramel Bars
Room Temperature: Keep your Butterfinger Caramel Bars in an airtight container at room temperature for up to 2-3 months. This helps maintain their delightful crunch and flavor.
Fridge: For a firmer texture, refrigerate the bars in an airtight container, allowing them to last up to 4 months. Chilling enhances the creamy caramel and chewy marshmallow experience.
Freezer: To preserve them for longer, you can freeze Butterfinger Caramel Bars for up to a year. Just wrap them tightly in plastic wrap and place them in a freezer-safe bag. Thaw at room temperature before serving.
Reheating: If desired, gently microwave individual bars for a few seconds to soften the caramel slightly, making each bite extra gooey and delicious.
What to Serve with No-Bake Butterfinger Caramel Bars
These decadent bars are a delightful treat on their own but truly shine when paired with complementary flavors and textures.
- Vanilla Ice Cream: The smooth creaminess of vanilla ice cream balances the richness of the bars, creating a luscious dessert experience.
- Fresh Berries: Brighten up your plate with juicy berries like strawberries or raspberries; their acidity cuts through the sweetness beautifully.
- Whipped Cream: A dollop of whipped cream adds a light, airy touch to each bite, enhancing the overall indulgence of the dessert.
- Chocolate Sauce: Drizzle some warm chocolate sauce on top for chocolate lovers; it’s a decadent addition that enhances the bars’ rich flavors.
- Caramel Sauce: For an extra indulgence, serve with a drizzle of caramel sauce alongside the bars, matching the gooey caramel inside.
- Coffee or Espresso: Pair these bars with a cup of strong coffee or a shot of espresso; the bitterness contrasts just right with the sweet dessert flavor.
- Nutty Snack Mix: Create a fun serving plate with a side of nutty trail mix; the crunchy textures offer a contrast to the smooth caramel bars.
- Toasted Coconut Flakes: Sprinkle some toasted coconut on top for a tropical twist, adding a delightful crunch with each bite.
- Milkshake: Treat yourself to a cold milkshake; try a chocolate or coffee flavor to amplify the dessert experience with creamy refreshment.
Butterfinger Caramel Bars Recipe FAQs
How do I choose ripe ingredients for my Butterfinger Caramel Bars?
Absolutely! For your Butterfinger Caramel Bars, especially when using fresh ingredients, it’s important to inspect your marshmallows for freshness—look for softness and avoid any that are hard or sticky. For the best taste, use fresh caramel bits, checking for any dark spots or signs of hardening, as they should be smooth and soft for melting.
What’s the best way to store unused Butterfinger Caramel Bars?
Very! To keep your Butterfinger Caramel Bars fresh, store them in an airtight container at room temperature to maintain their delightful crunch, lasting for about 2-3 months. If you prefer a firmer texture, refrigerate them for up to 4 months. Always ensure the container is sealed tightly to keep out moisture.
Can I freeze Butterfinger Caramel Bars, and what’s the process?
Absolutely! To freeze your Butterfinger Caramel Bars, first wrap them tightly in plastic wrap and place them in a freezer-safe bag or container. They can be frozen for up to a year. When you’re ready to enjoy, simply thaw at room temperature for about 30 minutes. If you desire a softer texture, you can gently microwave a bar for 5-10 seconds.
What should I do if my caramel hardens while melting?
If your caramel hardens, don’t worry! You can rescue it by adding a splash of milk or water to the bowl and microwaving it again in 15-second intervals, stirring in between until smooth. This addition will help restore the gooey consistency, ensuring your Butterfinger Caramel Bars maintain that indulgent texture.
Are there any dietary considerations I should be aware of with these bars?
Very! If you’re catering to dietary restrictions, you can easily make these bars gluten-free by using gluten-free graham crackers and dairy-free marshmallows. Always check the packaging for allergy information, especially concerning butterfinger candy and chocolate to ensure they align with your guests’ dietary needs.
How can I modify the Butterfinger Caramel Bars for different flavor profiles?
The more the merrier! You can swap out Butterfinger for your favorite chocolate-covered candy like Snickers or Reese’s for a nutty twist. Additionally, use flavored graham crackers or add toppings like shredded coconut or nuts before chilling for an added depth of flavor and texture. Experimentation makes these bars even more enjoyable!
Decadent Butterfinger Caramel Bars for Your Next Sweet Craving
Ingredients
Equipment
Method
- Line a 9x9 inch baking pan with aluminum foil, overhanging for easy removal. Spray with cooking spray.
- Break graham crackers and tightly arrange in the bottom of the pan, pressing down to form a base.
- Sprinkle mini marshmallows evenly over the graham crackers.
- Combine caramel bits and milk in a microwave-safe bowl. Microwave in 30-second intervals until melted.
- Drizzle melted caramel over marshmallows, spreading it evenly.
- Chop Butterfinger bites into pieces and sprinkle over the caramel layer, pressing down lightly.
- Melt semi-sweet chocolate and drizzle over the Butterfinger layer.
- Chill in the refrigerator for about 1 hour until firm.
- Lift out using overhanging foil and cut into squares or rectangles.
Leave a Reply