
Have you ever found yourself rummaging through your pantry, wishing for a snack that’s both satisfying and guilt-free? Enter my 4-Ingredient Crispy Chocolate Oat Cookies, a delightful twist on the usual cookie fare! These crispy treats are not only quick to prepare but also gluten-free, making them an ideal choice for those who are conscious about dietary needs. With just four simple ingredients, you can whip up a batch that perfectly melds the wholesome goodness of oats with a rich chocolate flavor that will please every palate. Picture the joy of nibbling on a freshly baked cookie that boasts a satisfying crunch and classic brownie-like taste, without the fuss of elaborate steps or hard-to-find items. Ready to bring a little sweetness into your day? Let’s dive into this simple yet irresistible recipe!
Why Are These Cookies So Irresistible?
Simplicity: With only four ingredients, these cookies are a breeze to make, requiring little more than a bowl and a spoon.
Healthier Indulgence: They are gluten-free and made with wholesome oats, offering a guilt-free treat that doesn’t compromise on flavor.
Versatile Choices: Feel free to customize by adding nuts, dark chocolate chips, or even dried fruits for a personal touch.
Crowd Pleaser: Whether with a glass of milk or as a post-dinner dessert, they’re bound to delight family and friends just like my Caramel Apple Cheesecake does!
Quick Fix: Perfect for those busy days, you can whip up a batch in 30 minutes or less, making snack time so much easier!
Crispy Chocolate Oat Cookie Ingredients
For the Cookies
- Oats – provides structure and a chewy texture; rolled or quick oats work best for this crispy chocolate oat cookie recipe.
- Nut Butter (Peanut, Almond, or Sunflower) – serves as a binding agent while adding a rich flavor; feel free to substitute with any nut or seed butter.
- Sweetener (Maple Syrup or Honey) – adds sweetness and moisture; use maple syrup for a vegan option and adjust to your taste.
- Cocoa Powder – imparts a rich chocolate flavor and deep color; unsweetened cocoa allows for better control over sweetness.
Step-by-Step Instructions for 4-Ingredient Crispy Chocolate Oat Cookies
Step 1: Preheat the Oven
Begin by preheating your oven to 350°F (175°C). While the oven is heating, prepare a baking sheet by lining it with parchment paper to prevent sticking. This ensures easy cleanup and allows your cookies to bake evenly, resulting in that perfect crispiness we all love in a crispy chocolate oat cookie.
Step 2: Combine Dry Ingredients
In a large mixing bowl, combine the oats and cocoa powder, stirring well to ensure they’re evenly mixed. This dry blend sets the foundation for your cookies, giving them structure and that delightful chocolate flavor. Take a moment to admire the rich color before moving to the next step; it’s a tasty preview of what’s to come!
Step 3: Blend Wet Ingredients
In a separate bowl, combine your chosen nut butter and sweetener, stirring until you achieve a smooth consistency. This combination will act as the binding agent for the cookies, bringing in moisture and richness. It’s helpful to use a spatula or whisk to mix thoroughly, ensuring all ingredients are well incorporated and velvety.
Step 4: Form the Cookie Dough
Gradually fold the dry oat mixture into the wet mixture, stirring until a cohesive dough forms. The dough will be a bit sticky but should hold together nicely. If needed, use your hands to bring it all together. This is where the magic happens as the flavors meld, creating the base for your crispy chocolate oat cookies.
Step 5: Scoop and Shape
Using a tablespoon or a cookie scoop, portion out spoonfuls of the dough onto the prepared baking sheet. Make sure to flatten each mound slightly for even baking; they should be about 1 inch apart. This ensures optimal crispiness and gives your cookies a lovely, inviting appearance as they bake.
Step 6: Bake the Cookies
Place the baking sheet in the preheated oven and bake for 10-12 minutes, or until the edges turn a golden brown. Keep an eye on them; the cookies should be firm to the touch but still soft in the center. Trust your instincts, as they will firm up as they cool, achieving the perfect crispy texture.
Step 7: Cool and Enjoy
Once baked, remove the baking sheet from the oven, allowing the cookies to cool for a few minutes on the tray. This resting period helps them set, enhancing that delightful crunch. Afterward, transfer them to a wire rack to cool completely or indulge while they’re still warm, savoring that fudgy chocolate goodness mixed with a satisfying crunch.

Tips for the Best Crispy Chocolate Oat Cookies
-
Ingredient Quality: Use high-quality cocoa powder for a richer chocolate flavor in your crispy chocolate oat cookies; it makes a noticeable difference!
-
Nut Butter Consistency: Ensure your nut butter is smooth and creamy; this will help the cookies bind together better and enhance overall texture.
-
Avoid Overbaking: Keep a close eye on the cookies as they bake, and remember they’ll firm up as they cool; overbaking can lead to dryness.
-
Flavor Boost: Consider adding a pinch of salt or cinnamon to the batter for an extra layer of flavor that complements the chocolate beautifully.
-
Storage Matters: For best freshness, store cookies in an airtight container at room temperature; this helps maintain their delightful crunch.
Storage Tips for Crispy Chocolate Oat Cookies
Room Temperature: Store cookies in an airtight container at room temperature for up to 1 week to maintain their delightful crunch and freshness.
Freezer: For longer storage, place individual cookies in a single layer in a freezer-safe bag or container. They can be frozen for up to 3 months without losing quality.
Reheating: To enjoy them warm again, simply microwave a cookie for about 10-15 seconds or place them in a preheated oven at 350°F (175°C) for a few minutes.
Humidity Note: Keep cookies away from humidity to avoid softness. Enjoy your crispy chocolate oat cookies with that same satisfying crunch, even days later!
Make Ahead Options
These 4-Ingredient Crispy Chocolate Oat Cookies are perfect for meal prep, making them a go-to for busy home cooks! You can prepare the cookie dough up to 24 hours in advance—just scoop the dough into mounds on a baking sheet and cover it tightly with plastic wrap before refrigerating. When you’re ready to bake, simply pop the tray in the oven straight from the fridge; no need to let them come to room temperature—this will give you cookies that are just as delicious as when made fresh! For longer storage, you can freeze the scooped dough for up to 3 months. When you’re craving a sweet snack or treat, bake directly from the freezer, adjusting the baking time by a few extra minutes for perfectly crispy cookies!
Crispy Chocolate Oat Cookie Variations
Feel free to personalize these delicious cookies with a variety of options that cater to your taste buds!
-
Extra Chocolate: Add dark chocolate chips or chunks to the dough for an intense chocolate flavor boost. Every bite will become even more indulgent!
-
Nutty Delight: Mix in chopped nuts such as walnuts or pecans for an added crunch and a nutty flavor that perfectly complements the chocolate. You can really get creative here by selecting your favorite nuts!
-
Sweet & Fruity: Toss in dried fruits like cranberries or raisins for a lovely sweetness and chewy texture, adding a fruity twist that surprises and delights. Each cookie becomes a delectable journey with every bite!
-
Carob Swap: Replace cocoa powder with carob powder for a unique, slightly sweeter flavor that’s also caffeine-free. This twist invites your taste buds to explore new horizons.
-
Flavorful Spice: Add a pinch of cinnamon or nutmeg to the dough for a warm spice note that hints at cozy baking memories, making these cookies feel extra special and inviting.
-
Vegan Version: Use agave syrup instead of honey for a fully vegan-friendly option while maintaining the perfect texture and sweetness you love in these cookies. They’ll still be packed with oomph!
-
Crunchy Texture: Toast the oats slightly before mixing to enhance the flavor and crunchiness, creating little bursts of toasty goodness in every cookie. This step takes them to a whole new level!
Don’t forget to enjoy your cookies with a tall glass of milk or some steaming coffee. If you’re in the mood for something savory, why not try a side of my Sheet Pan Salad? Happy baking!
What to Serve with 4-Ingredient Crispy Chocolate Oat Cookies
The delightful crunch of these cookies invites you to explore scrumptious pairings that enhance their rich chocolatey flavor.
-
Cold Milk: The classic pairing for cookies, a generous glass of cold milk complements the chocolatey taste and balances the sweetness beautifully.
-
Fresh Berries: Juicy strawberries or tart raspberries provide a fresh burst of flavor, contrasting the rich cookies and adding a delicious, refreshing touch.
-
Creamy Greek Yogurt: Smooth, tangy Greek yogurt offers a protein-packed option that pairs well, making for a satisfying afternoon snack.
-
Nutty Granola: A sprinkle of nutty granola alongside the cookies adds extra crunch, creating a delightful contrast in textures for a fun snack combo.
-
Decaf Coffee: Ideal for evenings, a warm cup of decaf coffee enhances the deep, rich flavors of the cookies without the jolt of caffeine.
-
Vanilla Ice Cream: For a decadent treat, serve the cookies with a scoop of creamy vanilla ice cream, creating a luxurious dessert that’s sure to impress!
These offerings create a symphony of flavors and textures, making every bite even more irresistible as you savor your homemade 4-Ingredient Crispy Chocolate Oat Cookies.
Crispy Chocolate Oat Cookies Recipe FAQs
What type of oats should I use for the cookies?
I recommend using rolled or quick oats for the best texture. Rolled oats provide a lovely chewiness, while quick oats can help achieve a finer crumb, resulting in a more delicate cookie. Avoid instant oats as they may not provide the structure needed for these crispy treats.
How should I store my cookies to keep them fresh?
To maintain their delightful crunch, store your cookies in an airtight container at room temperature for up to 1 week. Make sure they’re completely cooled before sealing them up to avoid any moisture buildup. You can also place parchment paper between layers if stacking them to prevent sticking.
Can I freeze these cookies?
Absolutely! For longer storage, you can freeze your cookies. Place them in a single layer in a freeze-safe container or bag, separating layers with parchment paper. They can be frozen for up to 3 months. When you’re ready to enjoy, simply microwave a cookie for about 10-15 seconds or pop them in a preheated oven at 350°F (175°C) for a few minutes to bring back that fresh-baked taste.
What if my cookie dough is too wet or dry?
If your dough seems too wet, you can add a little more oats, about 1 tablespoon at a time, until you reach the desired consistency. Conversely, if it’s too dry, a tiny splash of nut milk or water can help bring everything together—just be careful not to overdo it! The dough should be sticky but hold its shape when formed.
Are these cookies safe for people with nut allergies?
If you’re catering to someone with nut allergies, you can easily substitute the nut butter with sunflower seed butter, which works beautifully and gives a nice flavor without the allergy risk. Just ensure all other ingredients are also nut-free, particularly the sweetener, as some brands may have cross-contamination.
Can I add chocolate chips or other ingredients?
The more the merrier! Feel free to mix in dark chocolate chips or chunks for that extra chocolate goodness. Nuts or dried fruits can add great texture and flavor, making these cookies even more enjoyable and custom to your taste.
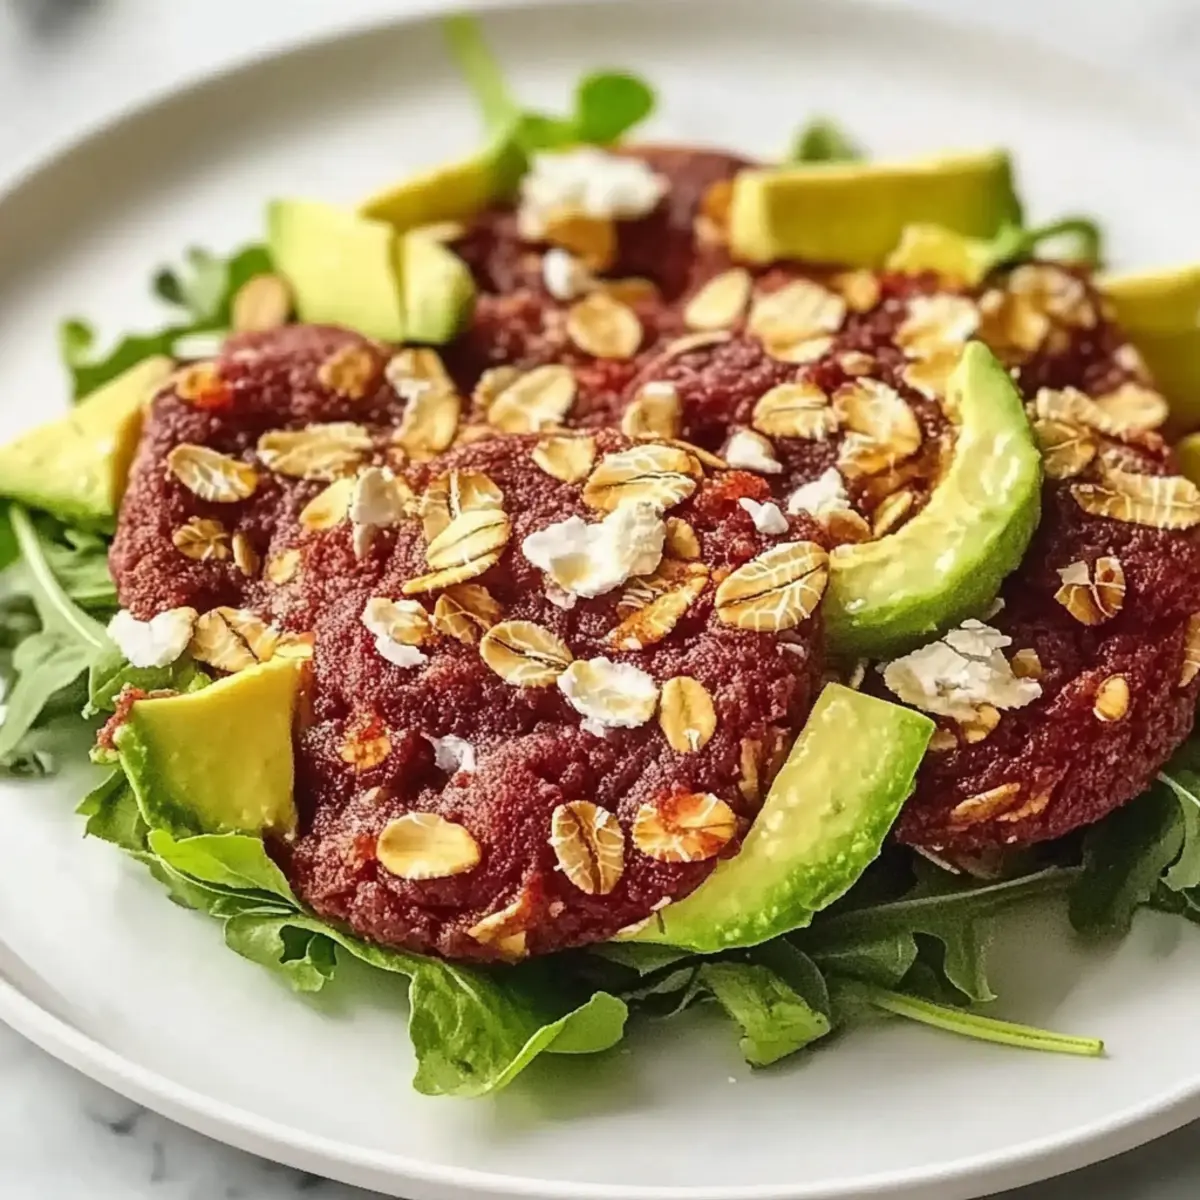
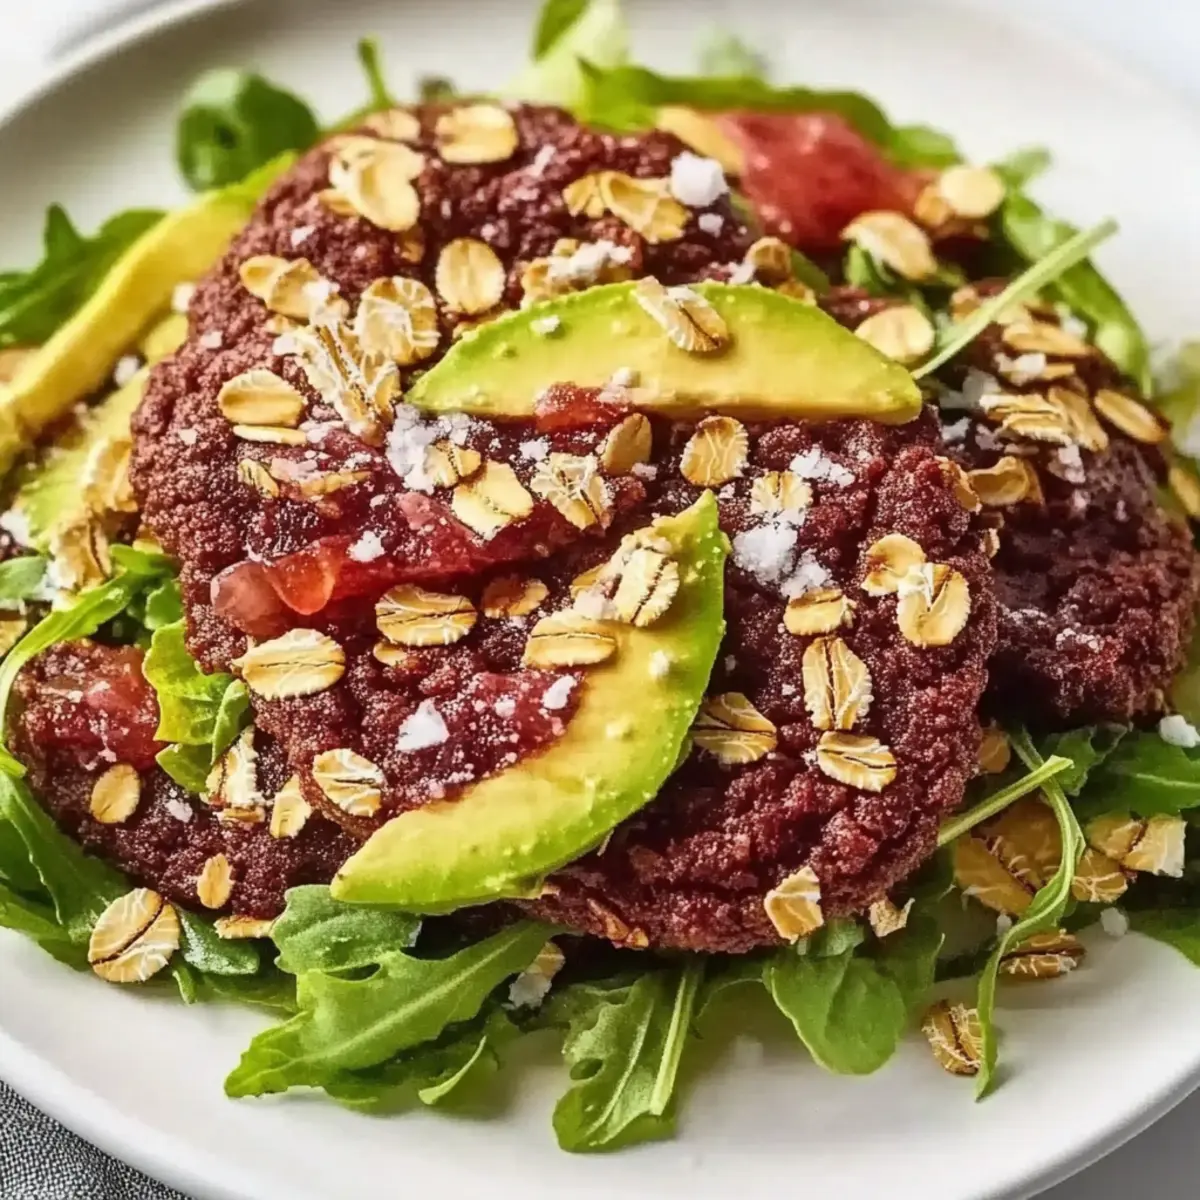
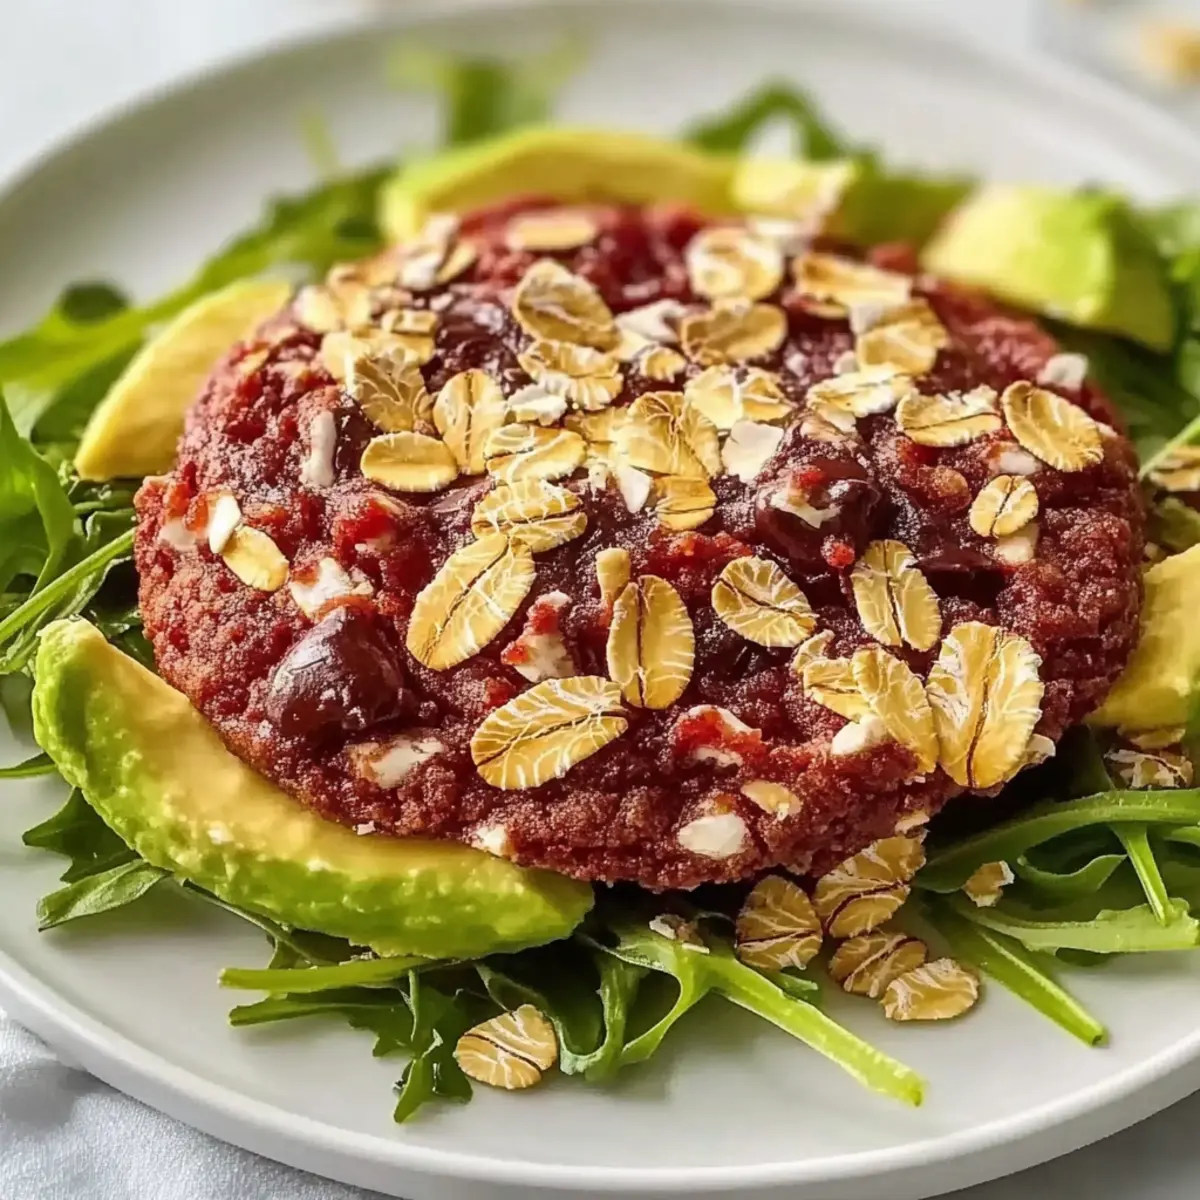
Fresh Blood Orange Avocado Salad Recipe for Zesty Delight
Ingredients
Equipment
Method
- In a mixing bowl, combine the blood orange segments and diced avocados.
- Add the mixed greens to the bowl.
- Drizzle with olive oil and lemon juice.
- Season with salt and pepper to taste.
- Gently toss the salad to combine all ingredients.
- Serve immediately or chill in the refrigerator for 10 minutes before serving.
Leave a Reply