
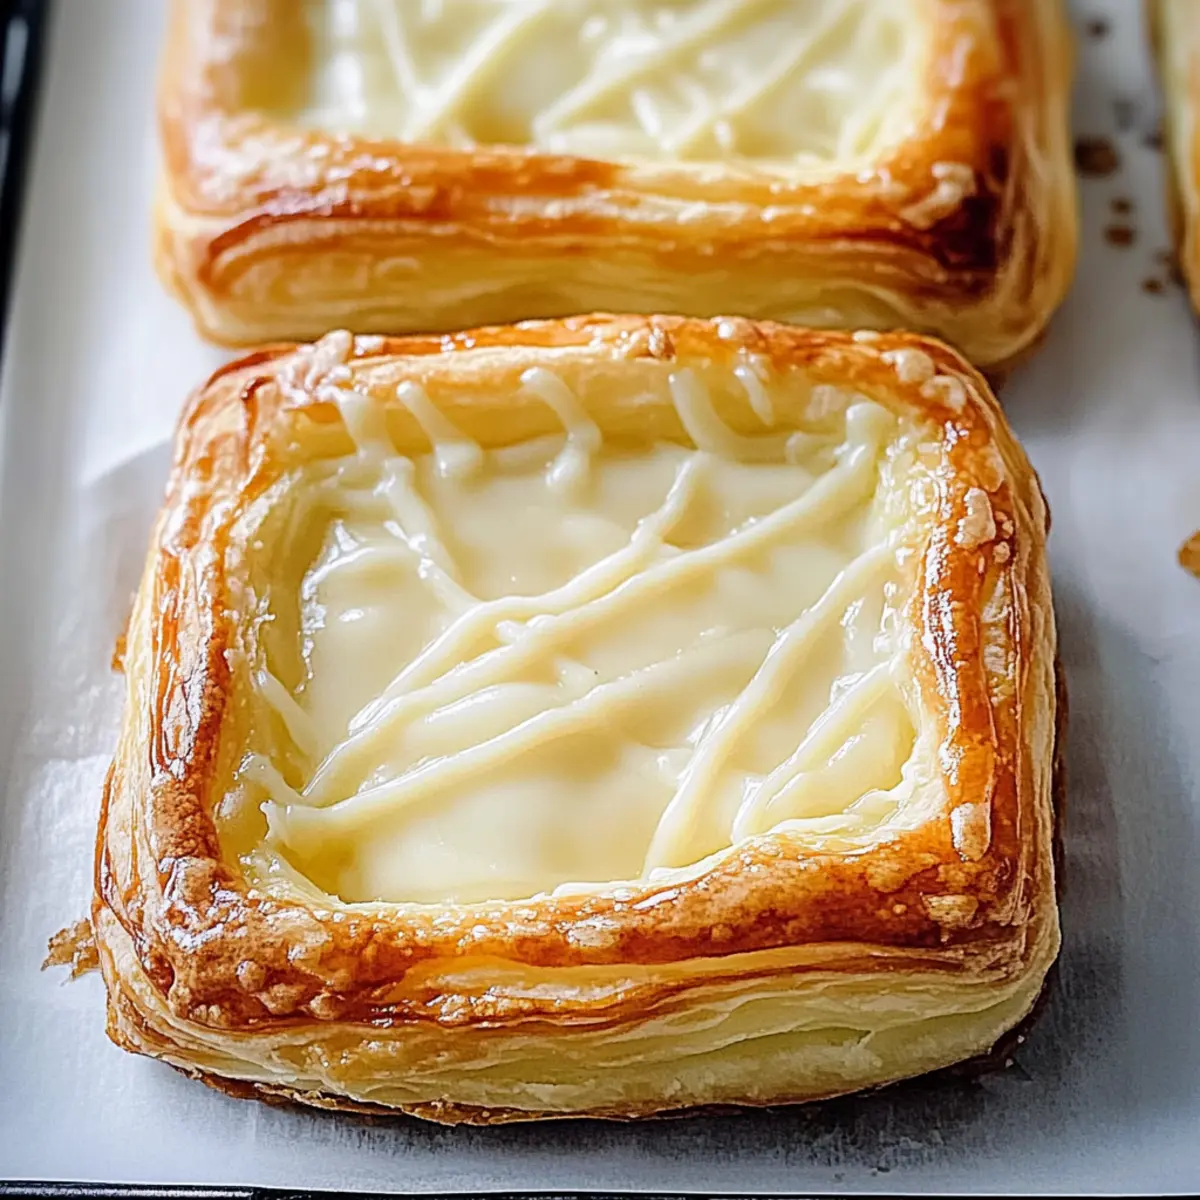
As I reached for a plump, golden pastry fresh from the oven, I couldn’t help but feel a wave of happiness wash over me. The aroma of my Easy Gluten-Free Cheese Danish filled the kitchen, with its warm, flaky layers embracing a rich, creamy filling that promises to be the perfect start to any morning. This gluten-free cheese Danish recipe not only caters to those avoiding gluten but also brings the joy of bakery-style indulgence to your home in under 30 minutes. One bite, and you’ll relish its quick prep and delightful simplicity as it transforms from kitchen staple to a crowd-pleasing brunch centerpiece. Curious to discover how you can elevate your breakfast game? Let’s dive in!
Why is this Gluten-Free Cheese Danish Recipe special?
Deliciously Decadent: This recipe features a creamy filling that’s irresistibly rich, making every bite a luxurious experience.
Quick and Easy: Perfect for busy mornings, you can enjoy a fresh, bakery-style Danish in just 30 minutes, beating the haste of a drive-thru stop.
Gluten-Free Goodness: Tailored for those with restrictions, this delightful treat is a wonderful way to satisfy cravings without compromising on flavor.
Versatile Fun: Feel free to experiment with flavors—add berries or a hint of cinnamon to the filling for a unique twist that suits your taste!
Crowd-Pleasing Appeal: Impress your family or guests with these gorgeous pastries, sure to take center stage at any brunch spread, right alongside favorites like White Chicken Cheese or Caramel Apple Cheesecake.
Gluten-Free Cheese Danish Ingredients
• For the Pastry
- Gluten-Free Puff Pastry – Essential for achieving that light and flaky texture; brands like Wewalka or Pepperidge Farm work best.
• For the Cream Cheese Filling
- Cream Cheese – Provides the signature creamy and rich filling; you can opt for dairy-free cream cheese for a vegan-friendly alternative.
- Granulated Sugar – Adds a hint of sweetness to balance the tangy cream cheese; consider swapping with coconut sugar for a healthier edge.
- Vanilla Extract – Enhances the flavor profile of the filling, with pure vanilla giving the best taste.
- Lemon Juice – Brightens up the mixture, adding a zesty note; always use fresh lemon juice for optimal flavor.
• For the Wash
- Egg (for wash) – Gives the pastries a beautiful golden-brown finish; for a vegan option, use non-dairy milk instead.
This delightful Gluten-Free Cheese Danish recipe is not only a quick breakfast option but also a treat that brings warmth and joy to any morning!
Step‑by‑Step Instructions for Gluten-Free Cheese Danish Recipe
Step 1: Preheat the Oven
Begin by preheating your oven to 400°F (200°C) and prepare a baking sheet lined with parchment paper. This will ensure that your Gluten-Free Cheese Danish has a perfect golden-brown finish while baking. Make sure your oven is fully heated before placing the pastries inside for optimal puffiness.
Step 2: Thaw the Pastry
Take your gluten-free puff pastry out of the freezer and allow it to thaw at room temperature for about 5 to 10 minutes, until it becomes pliable. You want to handle it gently to prevent any cracks. This step sets the base for your delightful gluten-free cheese Danish, ensuring it puffs up beautifully when baked.
Step 3: Prepare the Cream Cheese Filling
In a mixing bowl, combine softened cream cheese, granulated sugar, vanilla extract, and fresh lemon juice. Using a hand mixer or a spatula, blend these ingredients together until the mixture is smooth and creamy. This rich filling is what makes your gluten-free cheese Danish irresistible, so take a moment to get it just right!
Step 4: Cut the Pastry
Once your puff pastry is ready, carefully roll it out on a clean surface and cut it into four equal squares. Make sure to handle it delicately to maintain its texture. Place a tablespoon of the creamy cheese filling at the center of each square, providing a generous yet manageable dollop to create the perfect cheesy bite.
Step 5: Form the Danishes
Fold two opposite corners of each pastry square toward the center, gently sealing the edges to encase the filling. This creates a beautiful shape for your Gluten-Free Cheese Danish while ensuring that the filling doesn’t leak out during baking. Press lightly to ensure a good seal without squishing the pastry.
Step 6: Brush with Egg Wash
Using a pastry brush, coat the tops of each sealed Danish with a beaten egg wash to achieve a glossy finish when baked. This final touch not only adds shine but also enhances the golden-brown color of your pastries. If you prefer a vegan option, feel free to substitute the egg with non-dairy milk for a similar effect.
Step 7: Bake the Pastries
Carefully place your prepared Danish on the baking sheet and transfer it to the preheated oven. Bake for 15 to 18 minutes, or until they are puffed up and a deep golden-brown. Keep an eye on them as they bake, enjoying the delightful aroma filling your kitchen as they reach that perfect stage.
Step 8: Cool and Serve
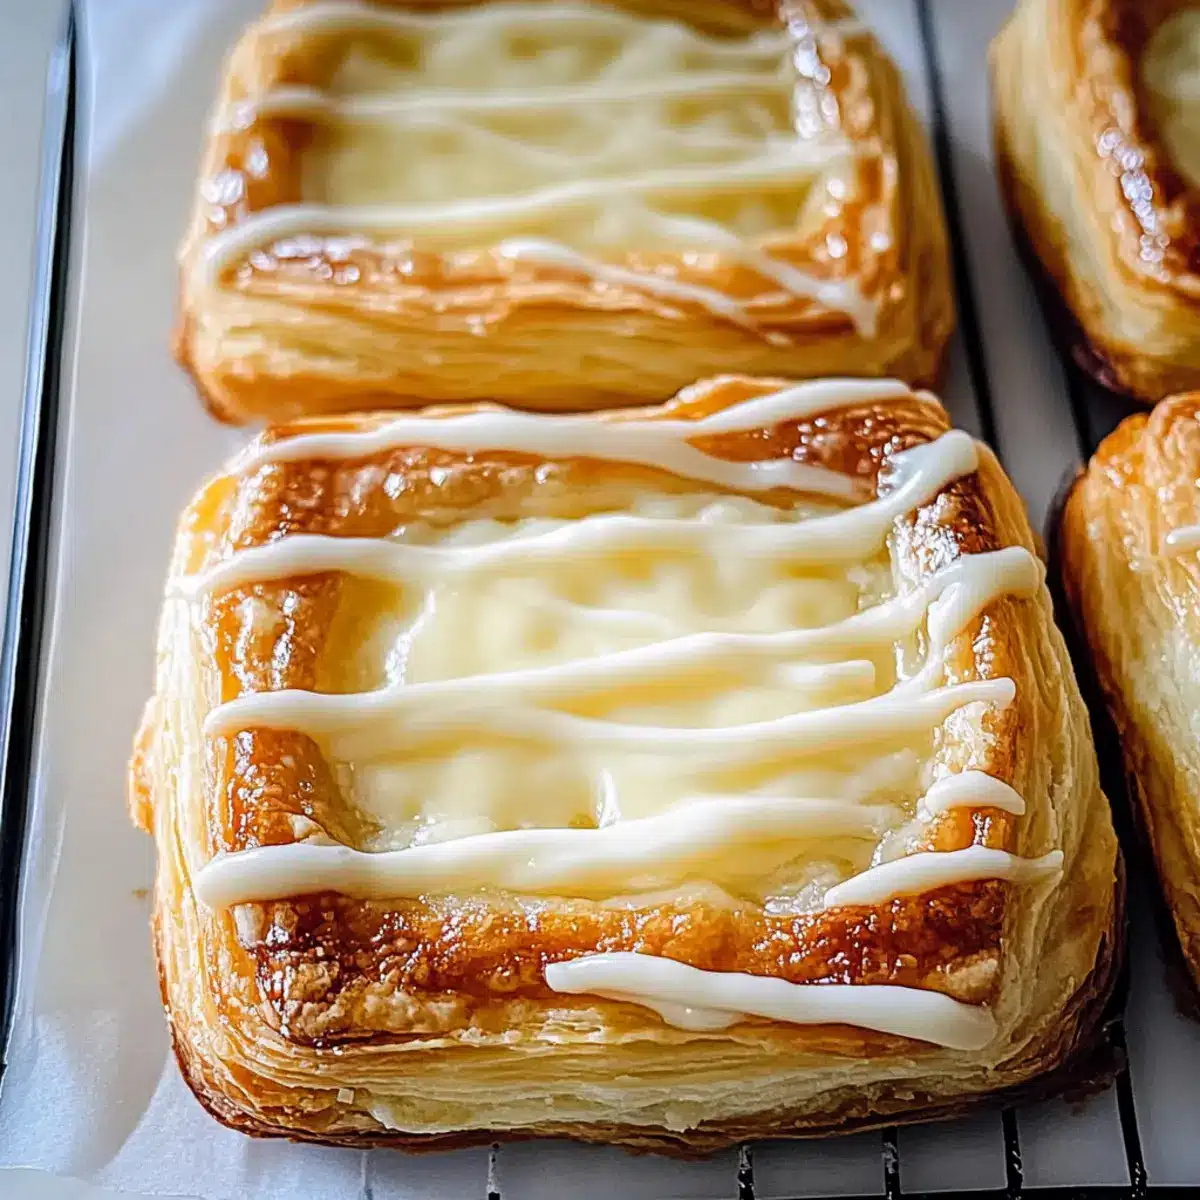
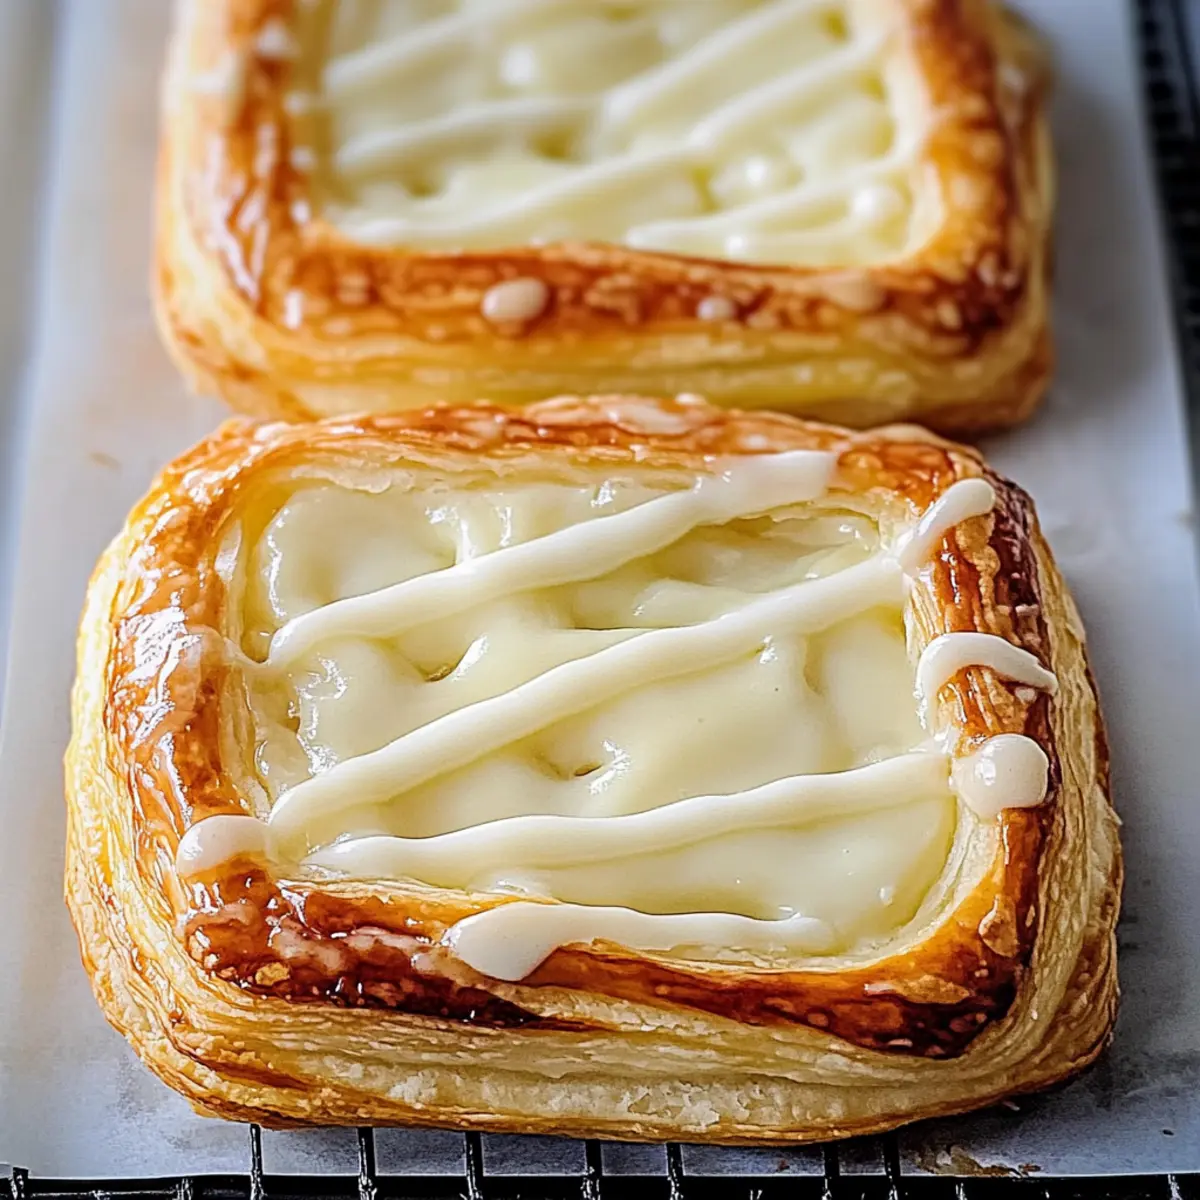
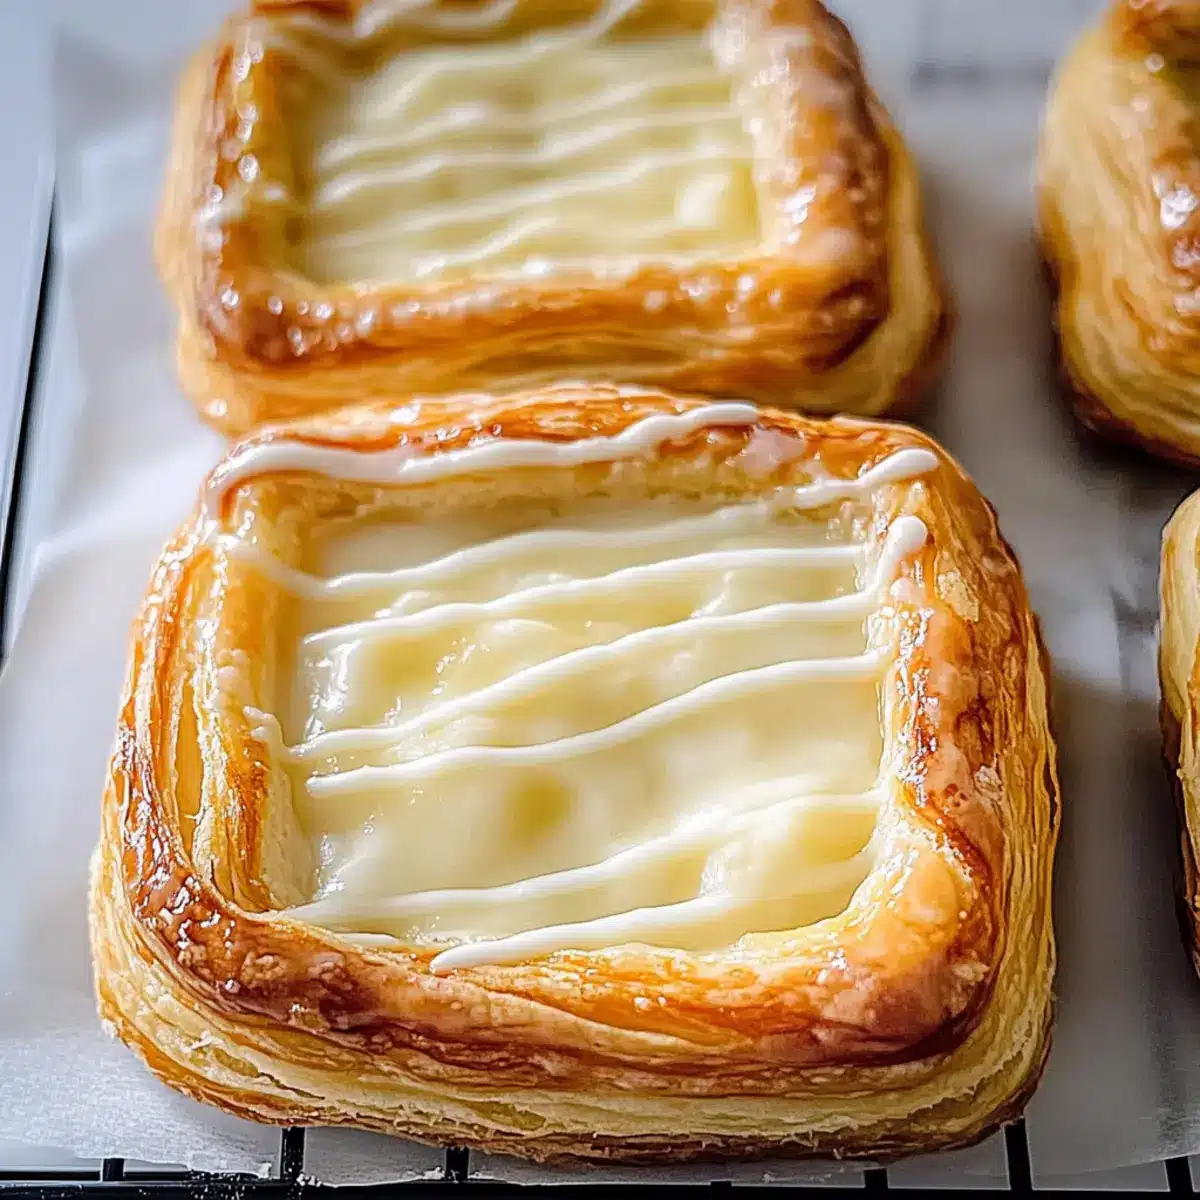
Once baked, remove the Gluten-Free Cheese Danishes from the oven and allow them to cool for a few minutes on a wire rack. They will firm up slightly as they cool. To elevate your pastries, dust them lightly with powdered sugar before serving for added sweetness and a charming presentation.
Make Ahead Options
These Gluten-Free Cheese Danishes are perfect for meal prep enthusiasts! You can assemble the pastries up to 24 hours in advance by preparing them up to the point of baking. Simply follow the instructions to form the Danish, then place them in an airtight container and refrigerate until you’re ready to bake. To maintain their quality, avoid adding powdered sugar until serving, as this can absorb moisture. When you’re prepared to indulge, just brush them with the egg wash and bake directly from the fridge for about 18-20 minutes. This way, you can enjoy fresh, bakery-style pastries with minimal effort!
How to Store and Freeze Gluten-Free Cheese Danish
-
Room Temperature: Best enjoyed fresh, but you can keep them at room temperature for up to 4 hours if serving at a gathering.
-
Fridge: Store any leftovers in an airtight container in the refrigerator for up to 2 days to maintain the pastry’s flaky texture.
-
Freezer: For longer storage, freeze the assembled, unbaked Danish for up to 2 months. Thaw in the fridge overnight and bake as directed when ready to enjoy.
-
Reheating: To reheat, place baked Gluten-Free Cheese Danishes in a preheated oven at 350°F (175°C) for about 10 minutes, until warmed through and crispy.
What to Serve with Easy Gluten-Free Cheese Danish
The perfect cheese Danish deserves an equally delightful accompaniment to elevate your brunch experience to new heights.
-
Fresh Mixed Berries: The vibrant colors and natural sweetness of berries create a refreshing contrast to the rich pastry, adding a touch of brightness to every bite. Strawberries, blueberries, or raspberries are all excellent choices.
-
Crispy Bacon: The savory crunch of bacon beautifully balances the creamy filling, providing a satisfying contrast in flavors and textures that keeps your taste buds delighted.
-
Honeyed Yogurt Parfait: A silky yogurt topped with honey and granola gives a creamy, sweet element that pairs wonderfully with the flaky pastry, while adding wholesome ingredients to your meal.
-
Apple Cinnamon Salad: Tossed apples with a sprinkle of cinnamon and a bit of lemon juice create a zesty, sweet side dish that complements the Danish’s richness while offering a refreshing crunch.
-
Coffee or Espresso: A warm cup of coffee or a shot of espresso enhances the flavors of the cheese Danish, creating a comforting moment that invites you to linger at the table a little longer.
-
Light Green Salad: A simple salad with mixed greens, cucumbers, and a light vinaigrette provides a refreshing counterpoint, making for a more balanced and enjoyable brunch experience.
-
Lemonade or Iced Tea: Chilled beverages like lemonade or iced tea can cleanse the palate and offer a delightful contrast to the warm, creamy cheese Danish, making your brunch even more refreshing.
-
Chocolate Drizzle: Add a decadent touch by drizzling a bit of melted dark chocolate over the Danish before serving. This not only enhances the flavors but adds a beautiful presentation that will impress guests.
Finding the right pairings will bring out the best in your Easy Gluten-Free Cheese Danish recipe, making your meal even more memorable.
Expert Tips for Gluten-Free Cheese Danish
• Gentle Handling: Take care when working with gluten-free puff pastry, as it can be more delicate than regular. If cracks occur, they can be easily pressed back together.
• Prepping Ahead: For a stress-free morning, assemble your Danishes the night before and refrigerate. Simply brush with egg wash and bake when ready.
• Avoid Overfilling: Keep the cream cheese filling to a tablespoon per Danish to prevent leakage and ensure they seal properly for that perfect pastry shape.
• Storage Savvy: Store any leftovers in an airtight container in the refrigerator for up to 2 days. Reheat them in the oven to refresh their flakiness.
• Flavor Variations: Feel free to customize the filling with your favorite fruits or spices to add a special twist to your gluten-free cheese Danish recipe!
Gluten-Free Cheese Danish Recipe Variations
Feel free to get creative with this recipe—there are so many delicious ways to customize your Gluten-Free Cheese Danish!
-
Dairy-Free: Use dairy-free cream cheese and vegan puff pastry to make this indulgent treat suitable for everyone, even those avoiding all dairy.
-
Berry Burst: Add a handful of fresh or frozen berries to the cream cheese filling for a fruity twist, elevating both flavor and visual appeal. The tartness of the berries contrasts beautifully with the rich filling, making every bite a delightful surprise!
-
Cinnamon Spice: Incorporate a teaspoon of cinnamon or nutmeg into the cream cheese mixture for a warm, aromatic flavor boost that evokes cozy vibes and enhances the traditional Danish taste.
-
Zesty Lemon: Increase the lemon juice in the filling for an extra-kick of brightness, or add some lemon zest for an unforgettable flavor layer. This will make your pastries sing with freshness!
-
Chocolate Drizzle: Before serving, drizzle melted dark or white chocolate over the cooled pastries for a decadent touch. The chocolate adds a pleasing sweetness, making these danishes even more delightful for special occasions!
-
Caramel Swirl: Swirl in some homemade or store-bought caramel sauce into the cream cheese filling for an irresistible sweet-and-salty bite. The rich caramel harmonizes perfectly with the cheese, creating a truly decadent treat.
-
Nutty Crunch: Sprinkle chopped nuts like pecans or almonds on top before baking for an added crunch and texture contrast. They’ll not only add flavor but also a lovely visual appeal to your danishes.
-
Savory Option: Swap the sweet filling for a savory one, using goat cheese and herbs. This unusual twist makes for an exciting brunch option, proving that sometimes, breakfast pastries can take a savory route as well.
For more delicious ideas, why not check out the delightful White Chicken Cheese for a savory alternative? Or perhaps you’d enjoy a sweet treat like Caramel Apple Cheesecake? The possibilities are endless!
Gluten-Free Cheese Danish Recipe FAQs
How do I choose the right gluten-free puff pastry?
Absolutely! When selecting gluten-free puff pastry, look for recognized brands like Wewalka or Pepperidge Farm. Ensure the pastry is labeled as “gluten-free” to avoid any unwanted gluten. I often recommend checking for ingredients that are familiar to you, as some brands may also include dairy or other allergens.
What is the best way to store leftover Gluten-Free Cheese Danishes?
Very! To keep your leftover Gluten-Free Cheese Danishes fresh, store them in an airtight container in the refrigerator for up to 2 days. This helps maintain their flaky texture. If you wish to enjoy them again, quickly reheat them in the oven at 350°F (175°C) for about 10 minutes to restore their crispiness.
Can I freeze the assembled Danish before baking?
Absolutely! To freeze your assembled Gluten-Free Cheese Danishes, place them on a baking sheet first, making sure they are not touching. Freeze them for about 1-2 hours until firm, then transfer them to a freezer-safe container or tightly wrap them. They can be stored like this for up to 2 months. When you’re ready to bake, simply thaw them in the fridge overnight and then follow your baking instructions.
What should I do if my cream cheese filling is too runny?
If your cream cheese filling turns out runny, a simple solution is to mix in a tablespoon of cornstarch or powdered sugar, which can help thicken the mixture. Make sure your cream cheese is at room temperature before mixing; if it’s too cold, it may not blend properly. If you’re still having issues, try adding a bit more cream cheese to achieve the desired consistency.
How can I make this recipe dairy-free or vegan?
Great question! To make your Gluten-Free Cheese Danish dairy-free or vegan, simply substitute the cream cheese with dairy-free cream cheese alternative. For the egg wash, you can use a splash of non-dairy milk or a mixture of plant-based milk and a little cornstarch to give that golden-brown finish. It’s a fantastic way to enjoy this recipe while catering to dietary restrictions!
Gluten-Free Cheese Danish Recipe for Effortless Mornings
Ingredients
Equipment
Method
- Preheat your oven to 400°F (200°C) and prepare a baking sheet lined with parchment paper.
- Allow gluten-free puff pastry to thaw at room temperature for 5 to 10 minutes until it is pliable.
- In a mixing bowl, combine softened cream cheese, granulated sugar, vanilla extract, and fresh lemon juice until smooth.
- Roll out the puff pastry and cut it into four equal squares, placing a tablespoon of filling at the center of each square.
- Fold two opposite corners of each pastry square towards the center and seal the edges.
- Brush the tops of each sealed Danish with the beaten egg wash.
- Bake for 15 to 18 minutes, or until puffed and golden-brown.
- Cool on a wire rack for a few minutes and dust lightly with powdered sugar before serving.
Leave a Reply