
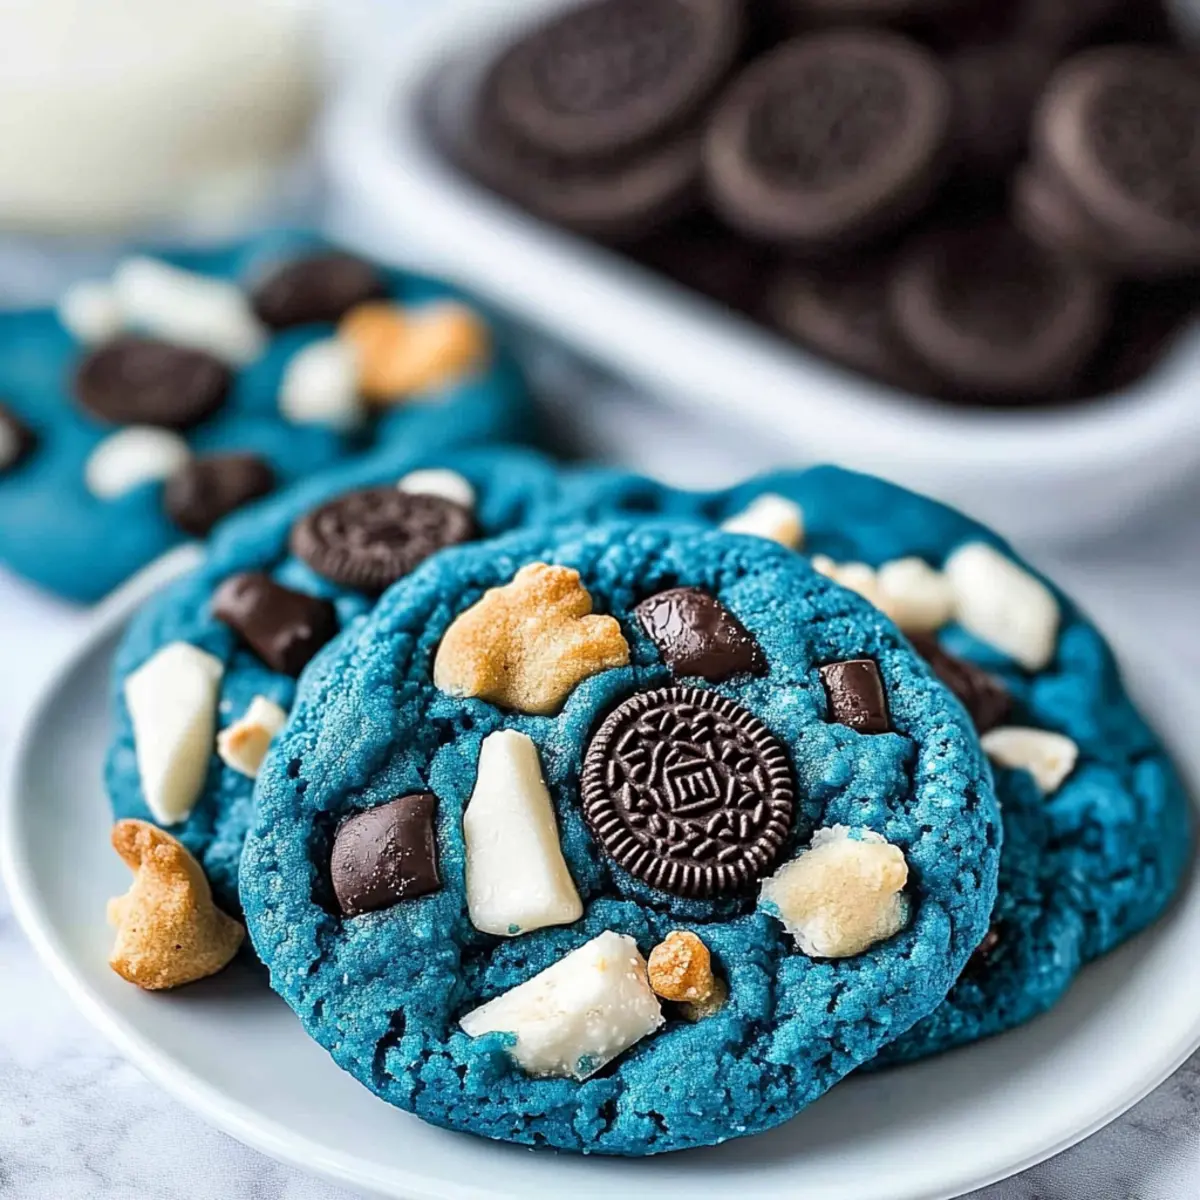
A burst of blue is an invitation to indulge in fun and deliciousness! These Cookie Monster Cookies are not just visually stunning; they are soft, chewy, and brimming with surprises, making them a whimsical choice for any occasion. Packed with creamy white chocolate chips and crunchy bits of Chips Ahoy and Oreos, this easy recipe is a guaranteed crowd-pleaser that will leave everyone smiling. Perfect for birthday parties, school events, or even just a joyful snack at home, these colorful cookies are a delightful reminder that baking can be both creative and satisfying. Are you ready to unleash your inner cookie monster? Let’s dive into this vibrant baking adventure!
Why Are These Cookies So Special?
Joyful Experience: Baking these vibrant Cookie Monster Cookies is a delightful adventure that anyone can enjoy!
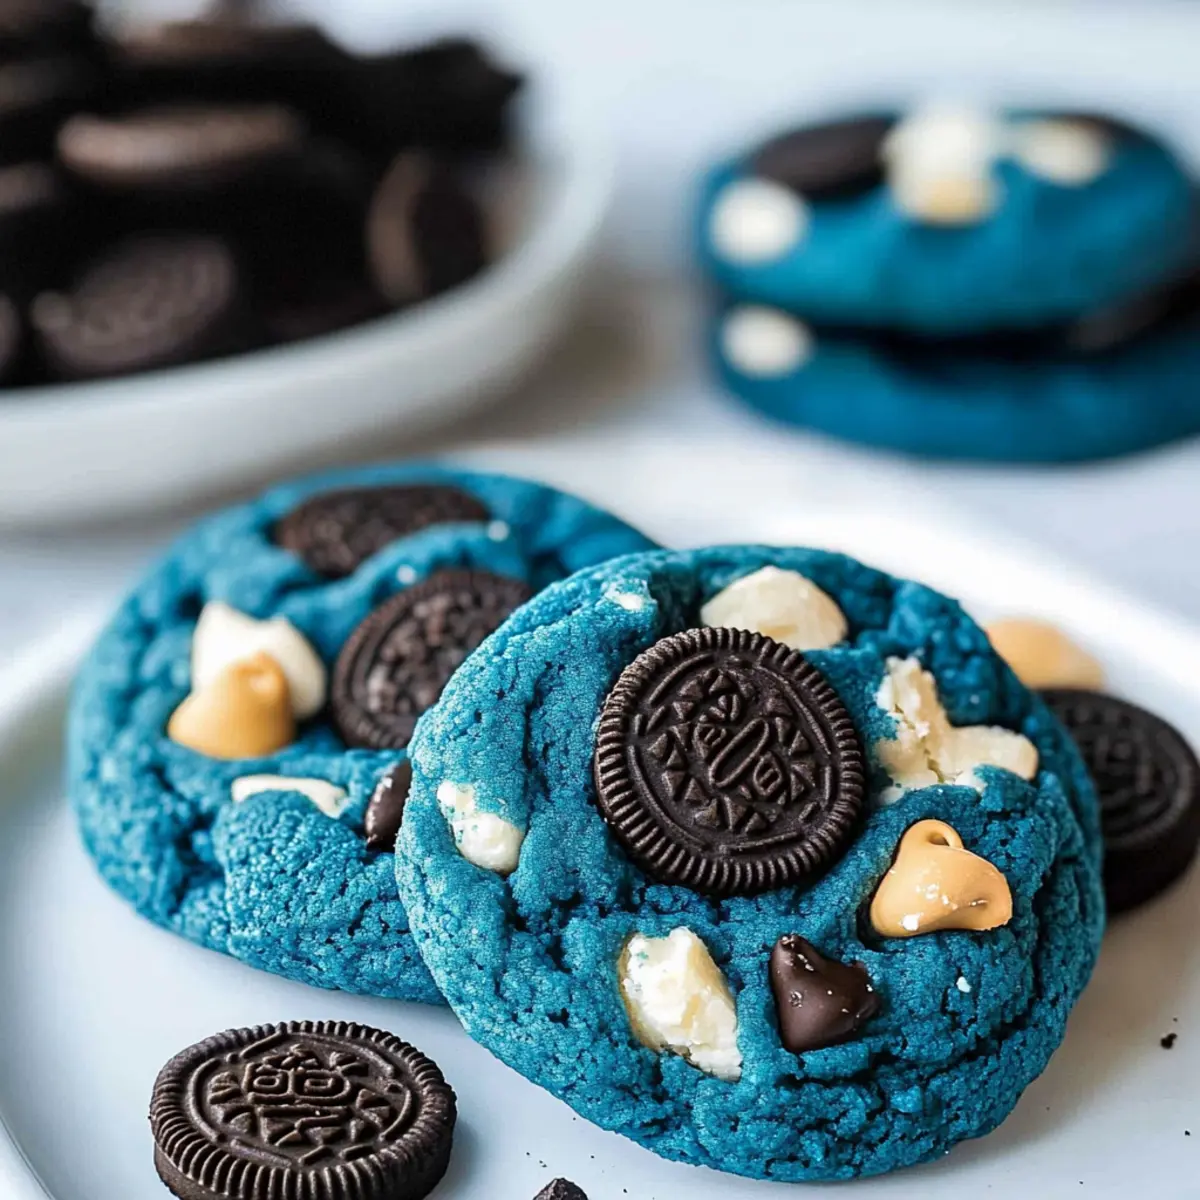
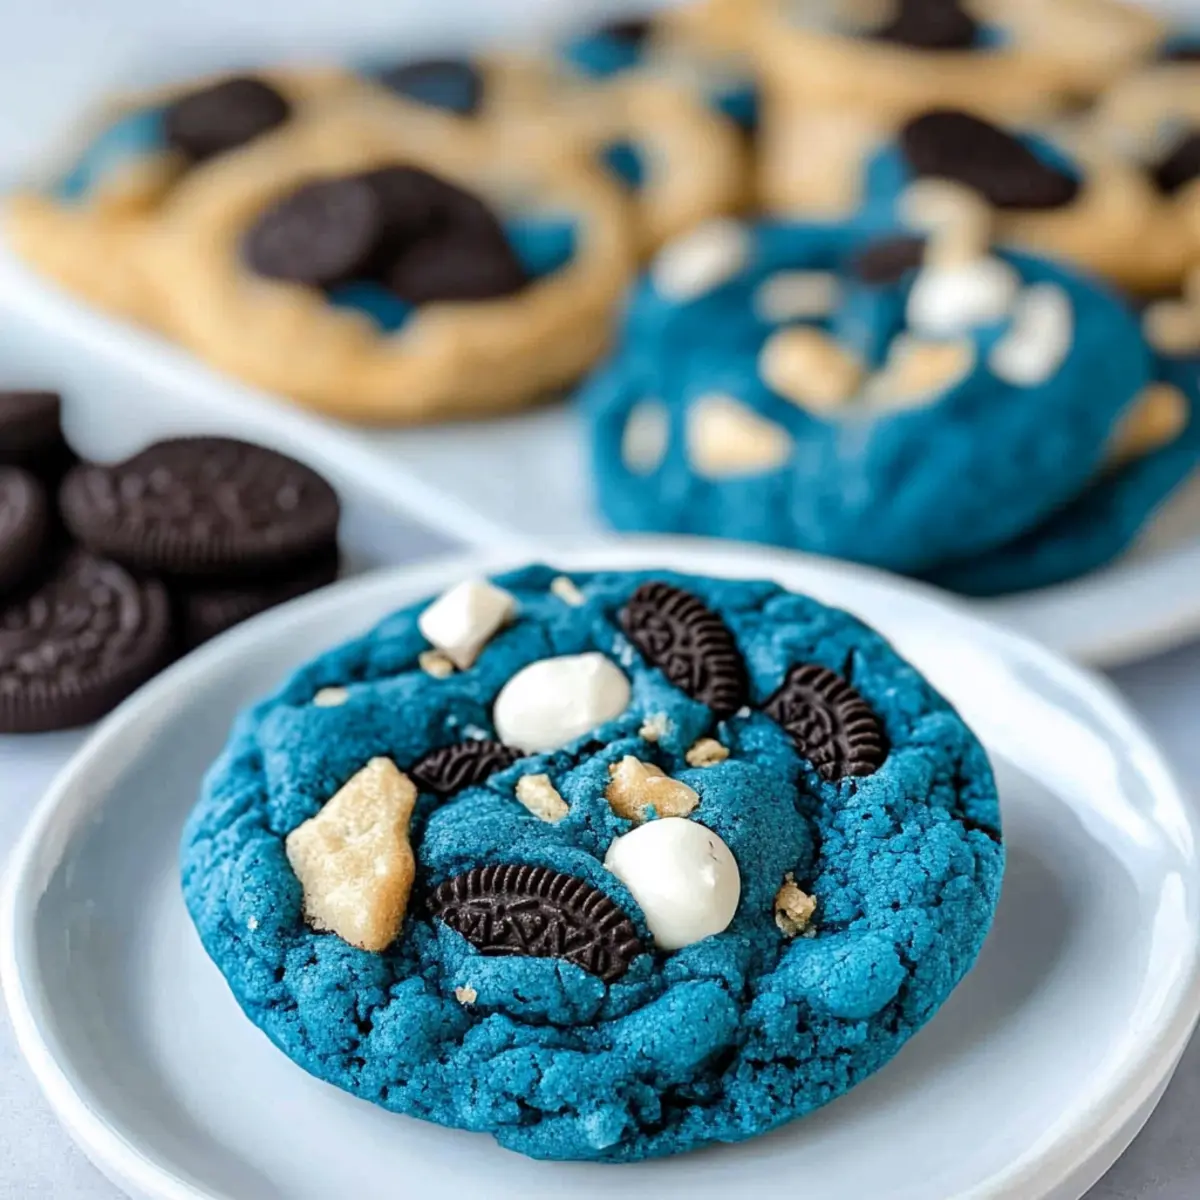
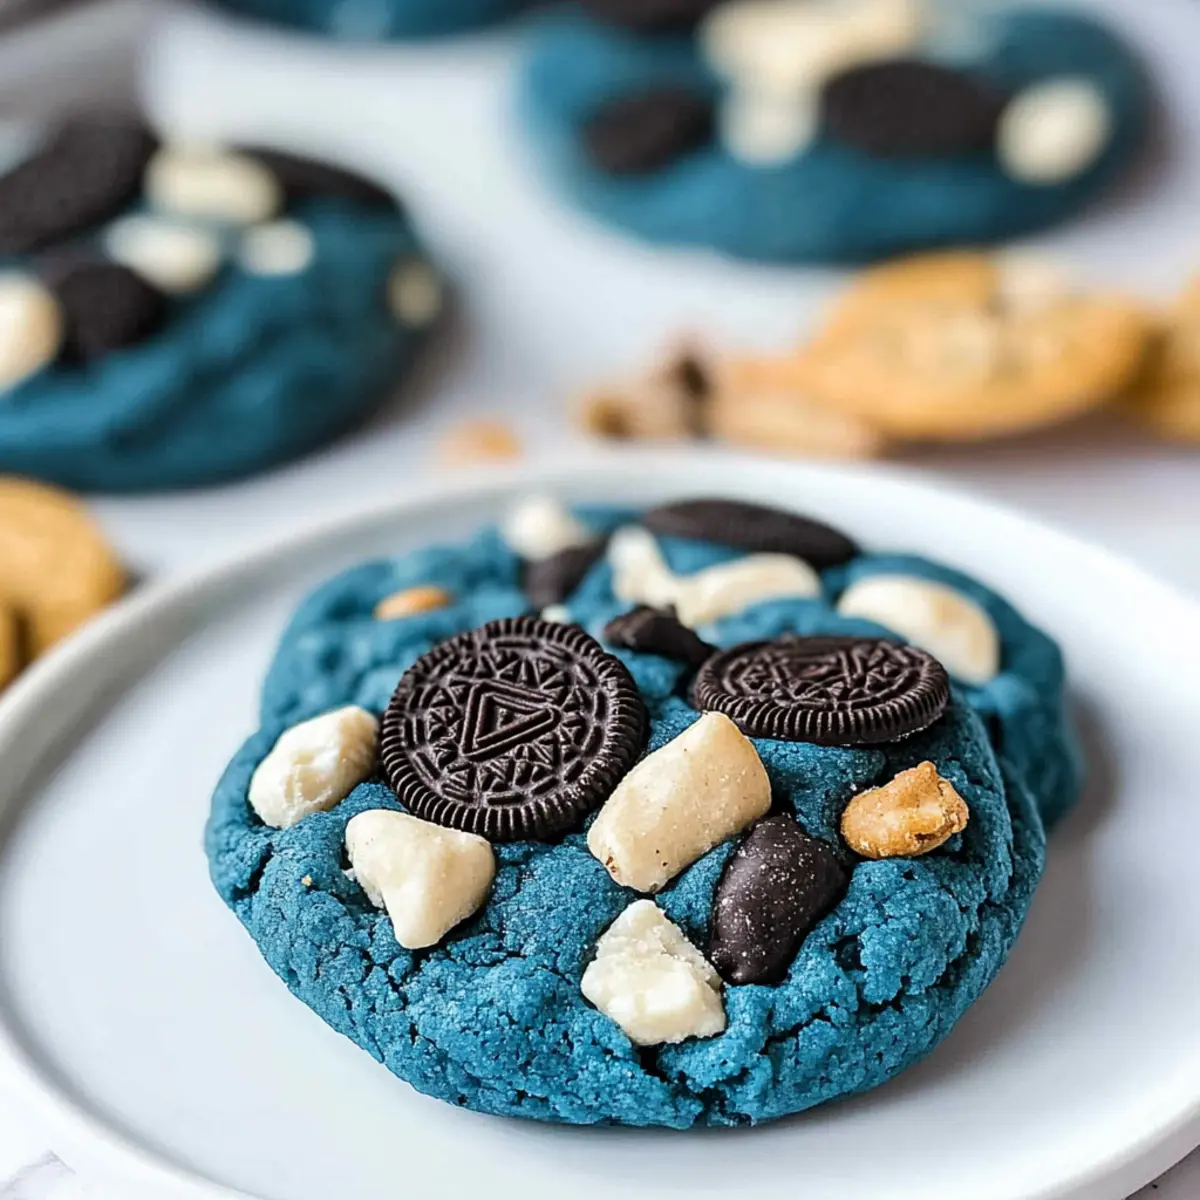
Eye-Catching Design: Their stunning blue color is sure to impress, making them perfect for parties or festive gatherings.
Packed with Flavor: The combination of creamy white chocolate, crunchy Chips Ahoy, and Oreos offers a delicious surprise in every bite.
Easy to Make: This simple recipe means you can whip them up quickly, even on a busy day!
Nostalgic Appeal: You’ll feel like a kid again with these playful cookies that bring back fond memories.
For more sweet inspiration, check out our Monster Cookie Dough or Christmas Cookies Butterscotch recipes!
Cookie Monster Cookies Ingredients
• Discover the magic with these Cookie Monster Cookies packed with vibrant flavors!
-
For the Cookie Base
-
All-purpose flour – Provides structure to the cookie. No substitutions recommended.
-
Cornstarch – Enhances the cookie’s chewiness. Can be omitted for a denser cookie texture.
-
Baking soda – Helps the cookies rise and remain soft. Ensure it’s fresh for optimal results.
-
Salt – Balances sweetness. Use fine sea salt for best results.
-
Unsalted butter – Adds richness and moisture. Room temperature is essential for proper creaming.
-
Brown sugar – Contributes to chewiness and moistness; can replace with light brown sugar for a lighter flavor.
-
Granulated sugar – Sweetens and helps with cookie spread. Adjustments can be made for lower sweetness.
-
Large eggs – Binds ingredients together; use room temperature eggs for better emulsification.
-
Vanilla extract – Adds depth of flavor. Substitute with almond extract for a different profile.
-
Gel food coloring (royal blue, electric blue, violet) – Creates the signature blue color. Adjust quantities for desired hue.
-
For the Mix-Ins
-
White chocolate chips – Adds a sweet and creamy component. Can substitute with milk or dark chocolate.
-
Chopped Chips Ahoy cookies – Adds crunch and additional flavor. Use any chocolate chip cookie for variety.
-
Chopped Oreos – Provides contrasting flavors and crunch. Any flavored Oreo could be a fun twist.
Step‑by‑Step Instructions for Cookie Monster Cookies
Step 1: Prep the Oven and Baking Sheet
Begin by preheating your oven to 350°F (175°C). While it heats, line a cookie sheet with parchment paper or a silicone baking mat to ensure your Cookie Monster Cookies won’t stick during baking. This setup will help achieve even browning, giving your cookies that perfect soft texture while allowing the vibrant colors to shine.
Step 2: Mix Dry Ingredients
In a medium bowl, whisk together 2 cups of all-purpose flour, 1 teaspoon of cornstarch, 1 teaspoon of baking soda, and ½ teaspoon of salt. This mixture is crucial as it provides the base structure for your cookies. Set this dry blend aside, allowing the flavors to meld while you work on the wet ingredients.
Step 3: Cream Butter and Sugars
In a large mixing bowl, beat ½ cup of room temperature unsalted butter, ¾ cup of brown sugar, and ¼ cup of granulated sugar together until the mixture is light, fluffy, and pale—approximately 2 minutes using an electric mixer. This step adds air to the dough, providing that delightful softness that Cookie Monster Cookies are known for.
Step 4: Incorporate Eggs and Vanilla
Add 1 large room temperature egg and 1 teaspoon of vanilla extract to the butter-sugar mixture. Beat everything together for an additional 30 seconds, ensuring all wet ingredients are well combined. This will enhance the flavor and texture of your cookies, making them even more enjoyable with each bite.
Step 5: Add Color and Dry Ingredients
Gradually mix the reserved dry ingredients into your wet mixture, allowing it to combine thoroughly. As you mix, add in 1-2 teaspoons of gel food coloring (royal blue, electric blue, or violet) until you achieve your desired hue. This transformation is what makes your Cookie Monster Cookies stand out with their eye-catching color!
Step 6: Fold in the Mix-Ins
By hand, gently fold in 1 cup of white chocolate chips, 1 cup of crushed Chips Ahoy cookies, and 1 cup of chopped Oreos into the blue cookie dough. Be careful not to overmix; this step ensures that every cookie is filled with crunchy surprises and creamy bites, making each encounter fun and flavorful.
Step 7: Shape the Cookies
Using a cookie scoop or your hands, portion out 2-tablespoon-sized balls of cookie dough, rolling them smooth. For an added touch, gently press a few additional mix-in pieces on top of each dough ball. This will ensure that your vibrant Cookie Monster Cookies look as delightful as they taste with their colorful toppings.
Step 8: Bake the Cookies
Place 8 cookie dough balls on the prepared sheet, spaced about 2 inches apart. Bake these colorful wonders in the preheated oven for 10-12 minutes, or until the edges are just set but the centers remain soft. Avoid letting the edges brown, as this is key to achieving that perfect chewy center.
Step 9: Cool the Cookies
Once baked, allow the Cookie Monster Cookies to cool on the baking sheet for about 15 minutes before transferring them to a wire rack. This resting period helps set the cookies and enhances their chewy texture. After cooling, they’ll be ready to devour, full of fun and flavor!
Cookie Monster Cookies Variations
Feel free to mix things up and make these delightful Cookie Monster Cookies your own!
- Gluten-Free: Substitute all-purpose flour with a 1:1 gluten-free flour blend for a delicious gluten-free option.
- Dairy-Free: Use coconut oil instead of butter and dairy-free chocolate chips for a plant-based treat everyone can enjoy.
- Nutty Crunch: Fold in a cup of chopped nuts like walnuts or pecans for added crunch and flavor.
- Flavor Twist: Replace white chocolate chips with your favorite flavored chips like butterscotch or peanut butter for a fun twist.
- Colorful Sprinkles: Add colorful sprinkles to the dough or on top before baking for a festive, party-ready look!
- S’mores Cookies: Incorporate mini marshmallows and crushed graham crackers for a whimsical s’mores-themed version.
- Chewy Chocolate Center: Create an even chewier cookie by placing a chocolate truffle in the center before baking.
- Spicy Kick: Add a pinch of cayenne pepper to the dough for a surprising spicy twist that complements the sweetness beautifully.
These variations can take your Cookie Monster Cookies on a new adventurous journey! And if you’re in need of more cookie inspiration, check out our Kiss Chocolate Cookies or Christmas Cookies Butterscotch recipes!
Storage Tips for Cookie Monster Cookies
-
Room Temperature: Store cookies in an airtight container at room temperature for up to 3 days. This keeps them soft and chewy for those delightful snacking moments.
-
Fridge: If you wish to extend their freshness, refrigerate the cookies for up to a week in an airtight container to maintain their texture.
-
Freezer: For longer storage, freeze the Cookie Monster Cookies in a single layer, then transfer to an airtight bag for up to 3 months. Thaw at room temperature before enjoying.
-
Reheating: To revive their chewiness, pop cookies in the microwave for 5-10 seconds. This will bring back that fresh-baked goodness!
Make Ahead Options
Cookie Monster Cookies are a fantastic choice for meal prep, saving you time on busy days! You can prepare the cookie dough up to 24 hours in advance by mixing all ingredients and storing the dough in an airtight container in the refrigerator. This prevents the flavors from fading and keeps the dough fresh. Additionally, you can shape the cookie dough balls and freeze them, which allows you to bake fresh cookies directly from the freezer for 3 months; just add a minute or two to the baking time. When you’re ready to enjoy these colorful treats, simply bake them as instructed, and you’ll have delightful, chewy cookies that taste just as good as if they were made fresh that day!
What to Serve with Cookie Monster Cookies
Imagine a cheerful gathering filled with laughter and sweet surprises, where vibrant treats steal the spotlight and hearts are warmed.
- Milk: A Classic Companion: The creamy richness of milk balances the sweetness of Cookie Monster Cookies, enhancing every delightful bite.
- Vanilla Ice Cream: A scoop of vanilla ice cream provides a smooth, creamy texture that contrasts beautifully with the chewy cookies, creating a dreamy dessert experience.
- Fresh Fruit Salad: The natural sweetness and refreshing juiciness of a fruit salad add a fresh element that brightens up the dessert table, making it feel vibrant and fun.
- Chocolate Dipping Sauce: A warm, gooey chocolate dipping sauce to drizzle over the cookies elevates the chocolatey goodness and adds an indulgent touch.
- Coffee or Espresso: The bold flavors of coffee or espresso cut through the sweetness, creating a delightful balance and providing an inviting energy boost.
- Sprinkles on Top: Consider topping your cookies with colorful sprinkles for an added festive flair that delights both kids and adults alike.
- Candy Eyeballs: Add candy eyeballs to your presentation for an extra touch of whimsy. It turns cookies into playful treats that spark joy and laughter.
- Sparkling Lemonade: A refreshing beverage like sparkling lemonade ensures a bubbly contrast to the rich cookies, adding a fun twist to any gathering.
Expert Tips for Cookie Monster Cookies
-
Silicone Mat Advantage: Using a silicone mat ensures your Cookie Monster Cookies don’t stick and promotes even baking, giving them that perfect soft texture.
-
Watch Baking Time: Keep a close eye on the cookies while baking. Remove them as soon as the edges are set to maintain that sought-after chewy center.
-
Customize Your Color: For the best blue hue, experiment with a mix of gel food colorings. Adjust according to your visual preference for the cookie’s stunning appearance.
-
Add Whimsical Touches: Consider placing candy eyeballs on each cookie dough ball before baking. This playful addition makes for a delightful presentation.
-
Room Temperature Ingredients: Ensuring that ingredients like butter and eggs are at room temperature helps create a smoother, more cohesive dough, leading to better cookies.
-
Mix-In Variations: Feel free to swap in flavored Oreos or different chocolate chips for a personalized twist on these classic Cookie Monster Cookies.
Cookie Monster Cookies Recipe FAQs
How do I select the best ingredients for Cookie Monster Cookies?
Absolutely! For this recipe, make sure to use fresh all-purpose flour and baking soda for optimal rise. The butter should be at room temperature to ensure a creamy texture when mixed. Look for vibrant gel food coloring to achieve that eye-catching blue hue—if it’s too old, the color might not be as vivid. Also, I recommend choosing high-quality white chocolate chips for a creamy component that pairs perfectly with the crunchy bits of Chips Ahoy and Oreos.
How should I store leftover Cookie Monster Cookies?
To keep those scrumptious cookies fresh, store them in an airtight container at room temperature for about 3 days. For extended longevity, pop them into the fridge where they can stay fresh for up to a week. If you want to keep them longer, freeze the baked cookies for up to 3 months! Just make sure to place them in a single layer on a baking sheet first, then transfer to an airtight bag after freezing for that extra layer of protection.
Can I freeze Cookie Monster Cookies? If so, how?
Certainly! Freezing these vibrant treats is super easy. After baking, allow the cookies to cool completely. Then, lay them in a single layer on a baking sheet and place them in the freezer until frozen solid—about 1 to 2 hours. Once firm, transfer them to a freezer-safe airtight bag. Don’t forget to label it with the date! They will be good for about 3 months. To enjoy, let them thaw at room temperature, or you can warm them in the microwave for a delightful comeback!
What should I do if my Cookie Monster Cookies turn out hard?
Very common! If you find your cookies are hard, it might be due to overbaking. To maintain that ideal chewy texture, keep an eye on the cookies and remove them from the oven when the edges are just set but the centers are still soft. If you notice your butter was too warm or your eggs too cold, those can also affect texture. Alternatively, make sure you’re accurately measuring your flour; too much can lead to drier cookies. Remember, the cookie dough should be slightly sticky when you’re shaping it!
Can I make these Cookie Monster Cookies allergy-friendly?
Absolutely! If you have guests with allergies or dietary restrictions, there are several ways to adapt the recipe. You can use gluten-free all-purpose flour to make them gluten-free and opt for dairy-free butter or chocolate chips if lactose is a concern. Be cautious with Oreos; check that they fit your guests’ dietary needs since some varieties may contain allergens. Opt for nut-free options for a safe treat that everyone can enjoy!
Cookie Monster Cookies: Chewy, Colorful Delights for All
Ingredients
Equipment
Method
- Preheat your oven to 350°F (175°C) and line a cookie sheet with parchment paper.
- In a medium bowl, whisk together all-purpose flour, cornstarch, baking soda, and salt. Set aside.
- In a large mixing bowl, beat butter, brown sugar, and granulated sugar until light and fluffy, about 2 minutes.
- Add the egg and vanilla extract, beat for an additional 30 seconds.
- Gradually mix in the dry ingredients and add gel food coloring until desired hue is achieved.
- Gently fold in white chocolate chips, chopped Chips Ahoy, and chopped Oreos.
- Portion out 2-tablespoon-sized balls of dough and press additional mix-ins on top if desired.
- Bake for 10-12 minutes, until edges are set and centers remain soft.
- Allow to cool on the baking sheet for about 15 minutes before transferring to a wire rack.
Leave a Reply