
In the hustle and bustle of daily life, simplicity can be a welcome companion in the kitchen! Enter Honey Butter Skillet Corn, a delightful side dish that’s as easy to whip up as it is to savor. This creamy, sweet-savory creation calls for just a handful of ingredients—like butter, honey, and frozen corn—making it an ideal quick side that transforms any ordinary meal into something extraordinary. Plus, it’s quite versatile; whether you choose a cozy family dinner or a festive gathering, this dish pairs perfectly with just about anything on your platter. Intrigued by how such a simple dish can elevate your culinary experience? Let me guide you through this comforting recipe that’s sure to become a staple on your table!
Why Choose Honey Butter Skillet Corn?
Quick and Easy: This recipe comes together in just 15 minutes, perfect for busy weeknights or last-minute gatherings.
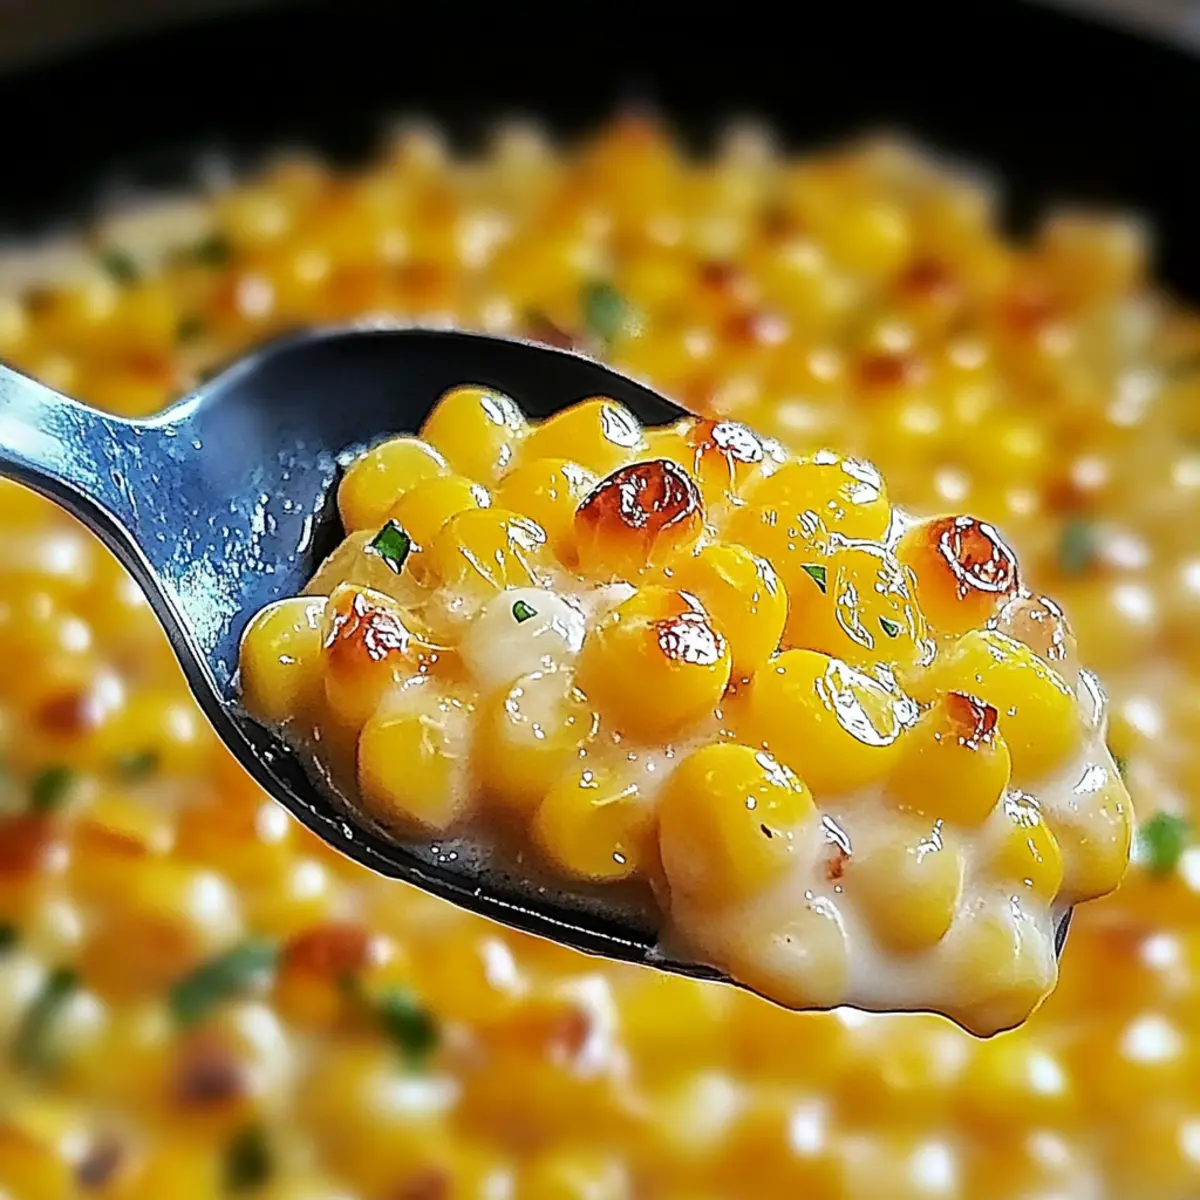
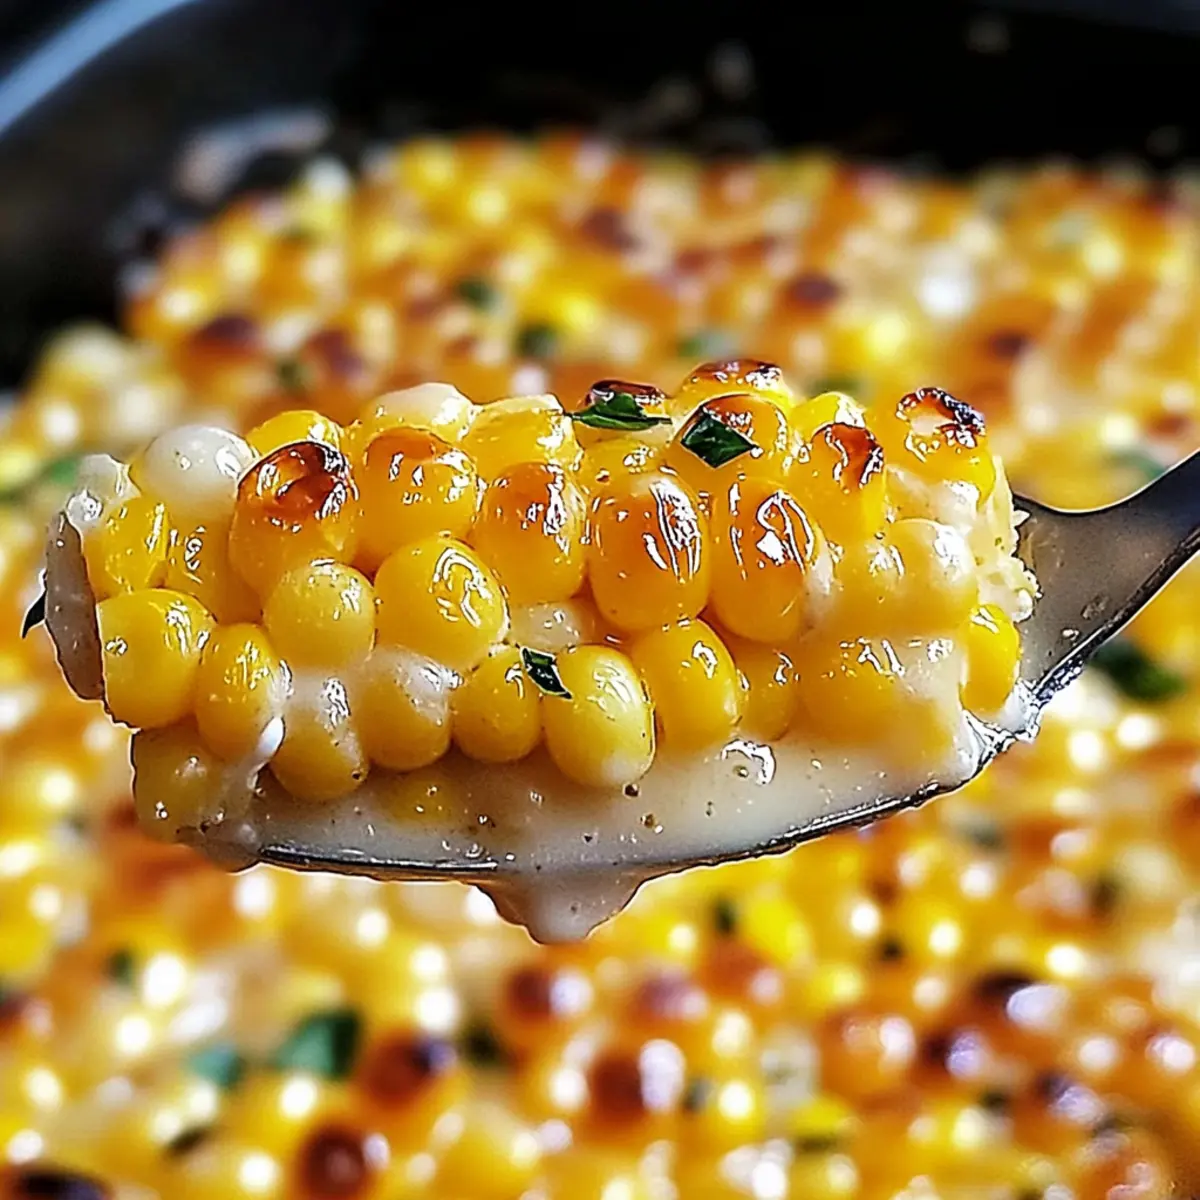
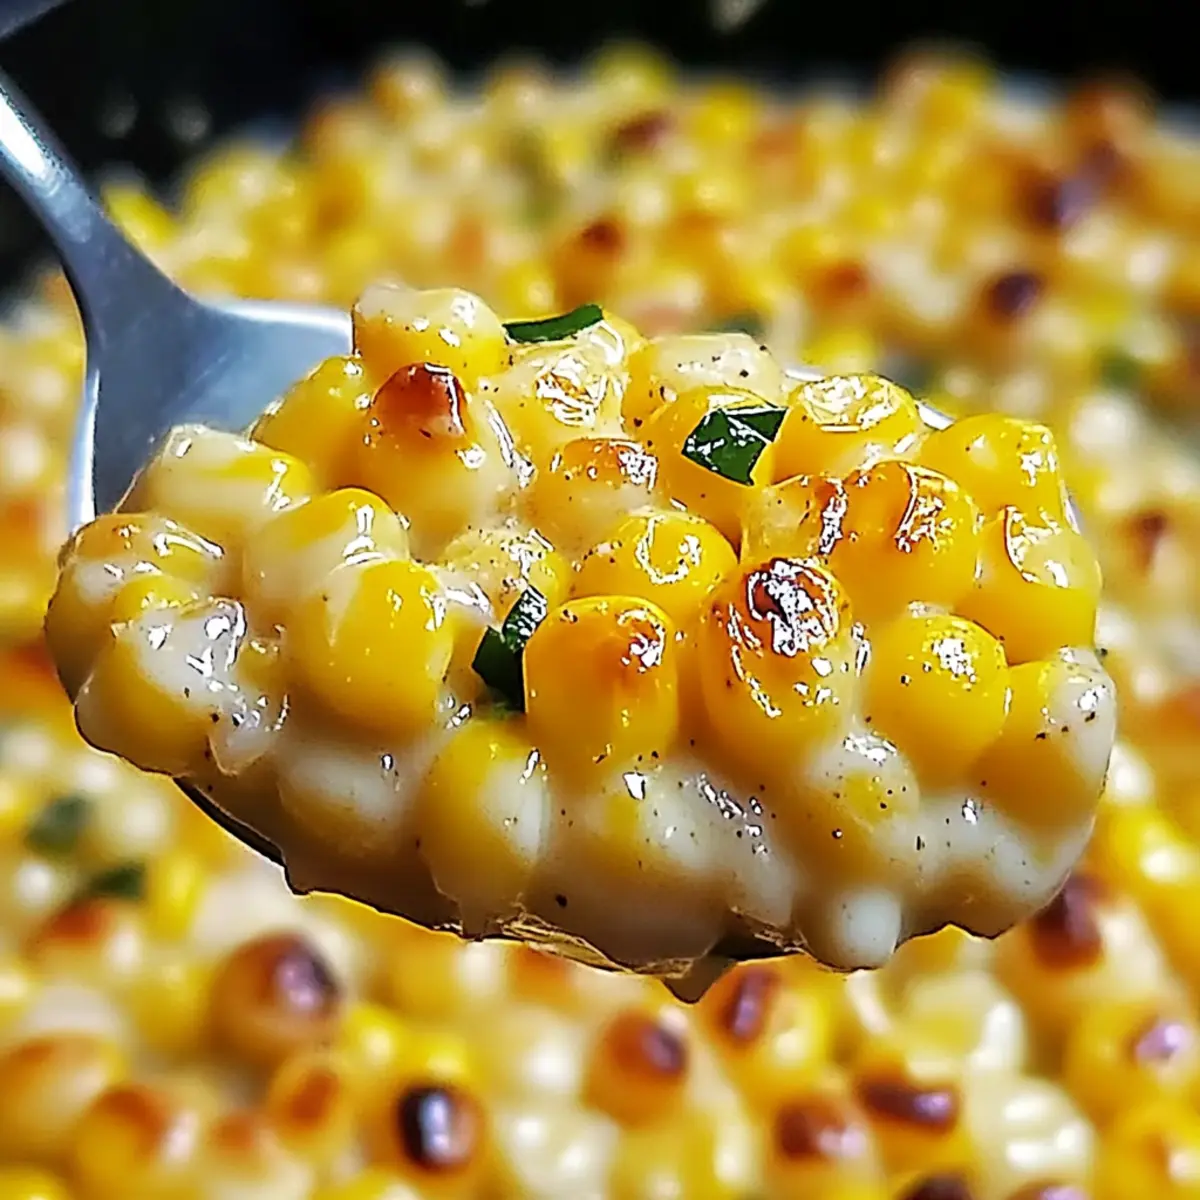
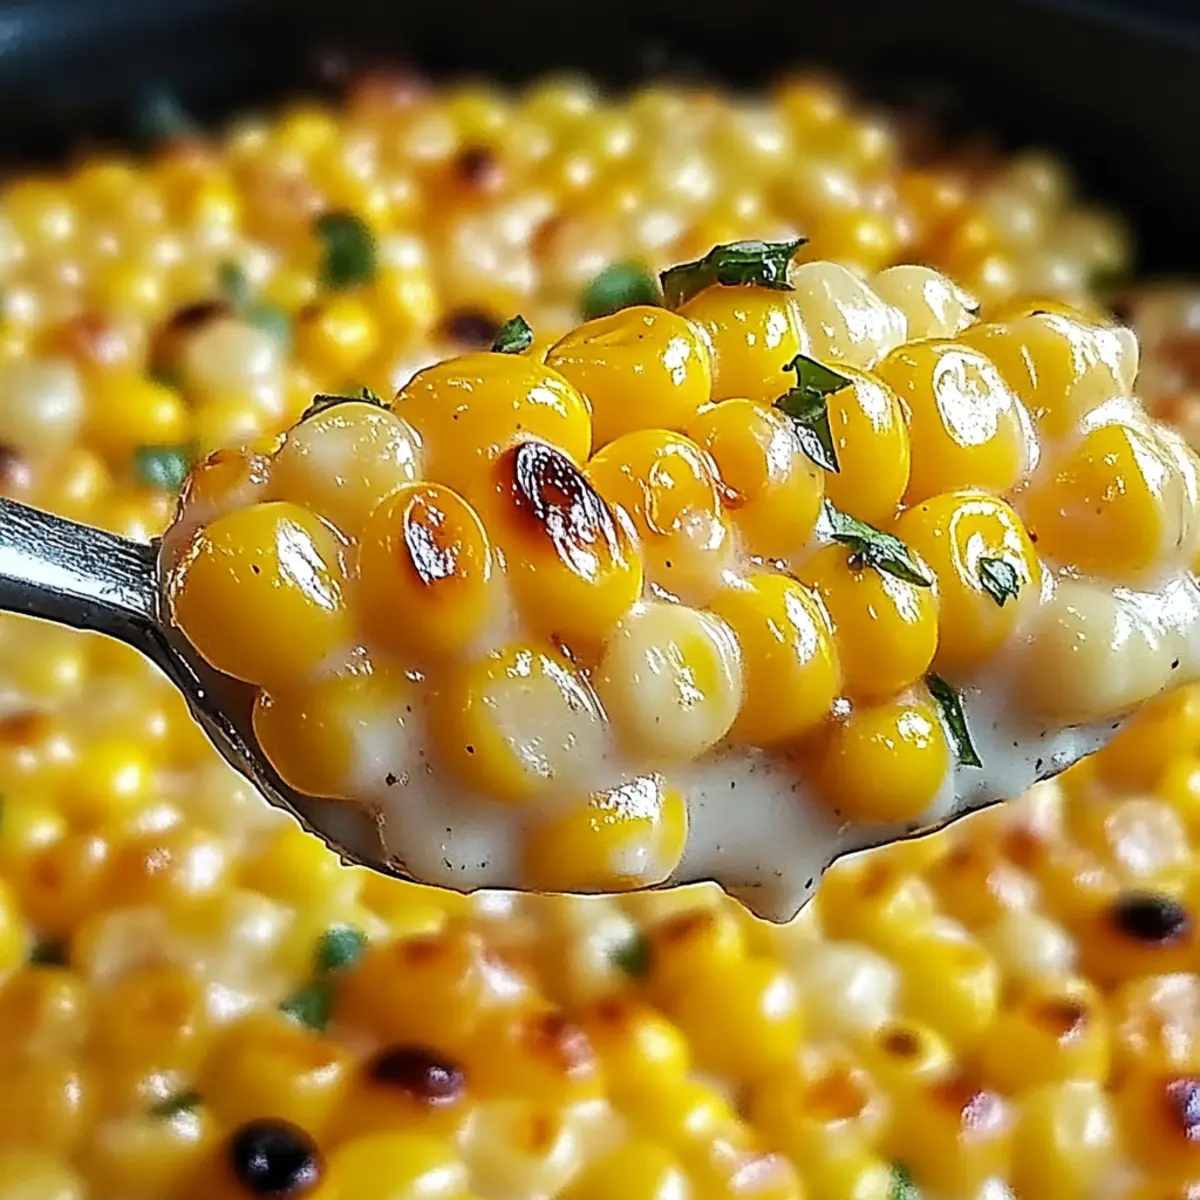
Creamy Delight: The combination of butter and cream cheese yields an irresistibly smooth texture that coats each corn kernel, creating a savory-sweet bite that everyone will love.
Versatile Side: Pair it with grilled meats from our Garlic Butter Shrimp or serve alongside our Honey Garlic Chicken Stir-Fry for a winning meal combination.
Crowd-Pleasing Flavor: Whether at a barbecue or family dinner, this dish is sure to impress and satisfy both adults and kids, making it a go-to recipe for any occasion.
Customizable: With easy variations, like adding herbs or using maple syrup instead of honey, you can make this dish uniquely yours every time!
Honey Butter Skillet Corn Ingredients
• This dish’s simplicity shines through just a few essential ingredients.
For the Base
• Butter – adds richness and a silky texture; use salted butter for enhanced flavor.
• Honey – brings natural sweetness with floral undertones; it caramelizes beautifully when cooked.
• Frozen Corn – serves as the convenient base of the dish, eliminating the need for shucking and prep.
For Creaminess
• Cream Cheese – contributes a smooth, creamy texture and mild tang to balance the sweetness of honey.
Optional Variations
• Herbs and Spices – enhance flavors with black pepper, garlic powder, or fresh chives for a pop of color and taste.
• Different Sweeteners – swap honey for maple syrup or brown sugar for a unique subtle sweetness.
• Dairy-Free Option – replace butter with vegan butter and cream cheese with a dairy-free alternative.
• Fresh Corn – use in-season corn for the freshest flavor, adjusting cooking time as needed.
Ready to transform simple ingredients into a comforting side? Let’s dive into the recipe and get cooking!
Step‑by‑Step Instructions for Honey Butter Skillet Corn
Step 1: Melt the Butter
Begin by placing a large skillet over medium heat and adding 4 tablespoons of salted butter. Allow the butter to melt evenly, swirling it gently to ensure it coats the skillet, preventing any sticking. Keep an eye on the butter as it melts; it should become bubbly but not browned, which takes about 2-3 minutes.
Step 2: Add Honey
Once the butter is fully melted, drizzle in 2 tablespoons of honey, stirring continuously to blend the two together. Maintain a gentle heat to prevent the honey from burning, allowing the mixture to warm up for another minute. You’ll know it’s ready when the aroma of sweet, buttery goodness fills the air.
Step 3: Cook the Corn
Add 3 cups of frozen corn directly into the skillet, stirring well to coat each kernel in the honey-butter mixture. Cook for about 5-7 minutes, occasionally stirring, until the corn is heated through and glistening with the sauce. Look for a vibrant color and an enticing aroma, signaling that your Honey Butter Skillet Corn is progressing perfectly.
Step 4: Melt Cream Cheese
Reduce the heat to low, then cube 4 ounces of cream cheese and add it to the corn mixture. Stir continuously until the cream cheese is fully melted and fully incorporated into the corn, creating a creamy texture. This should take about 3-4 minutes; the corn mixture should be smooth and luscious when done.
Step 5: Simmer and Serve
Allow the Honey Butter Skillet Corn to simmer gently for an additional 2-3 minutes, stirring occasionally for even heat distribution. The sauce should thicken slightly, coating the corn beautifully. Once it’s reached your desired warmth, remove the skillet from heat and serve this delightful dish warm, ready to elevate your meal instantly.
Expert Tips for Honey Butter Skillet Corn
• Even Melting: Ensure your butter melts evenly by swirling it in the skillet, which prevents burning and creates a smooth base for the sauce.
• Temperature Control: To avoid cream cheese curdling, reduce heat before adding it to the corn mixture. This keeps your Honey Butter Skillet Corn creamy and smooth.
• Frozen vs. Fresh: While frozen corn is a convenient option, if using fresh corn, remember to adjust your cooking time slightly to ensure all kernels are heated through.
• Flavor Boost: For added flavor, consider adding a pinch of garlic powder or fresh herbs like chives; these simple additions can elevate the taste beautifully.
• Sweetness Adjustment: If you prefer less sweetness, feel free to reduce the amount of honey or replace it with maple syrup for a different flavor profile.
What to Serve with Honey Butter Skillet Corn
Honey Butter Skillet Corn is a warm, creamy delight that enhances any meal, inviting delicious pairings that will tantalize your taste buds.
- Grilled Chicken: The smoky flavors from the grill contrast beautifully with the sweet, buttery corn, providing a lovely balance of taste.
- BBQ Ribs: Tender, sticky ribs paired with this rich side create a satisfying feast that’s perfect for summer gatherings.
- Roasted Vegetables: Colorful roasted veggies add a delightful crunch, complementing the creamy texture of the corn while bringing freshness to the plate.
- Quinoa Salad: A light, nutty quinoa salad with fresh herbs can brighten up your table, offering a healthy counterpoint to the rich corn dish.
- Crispy Bacon: Crumbled crispy bacon sprinkled on top adds a satisfying crunch and savory depth, making each bite unforgettable.
- Lemony Grilled Shrimp: The bright acidity from grilled shrimp enhances the dish’s sweetness, creating a fresh and savory combination that shines.
- Chilled White Wine: A crisp, cold Sauvignon Blanc lingers wonderfully on the palate, providing a refreshing contrast to the warm, creamy corn.
- Apple Crisp: Finish your meal on a sweet note with a warm apple crisp that echoes the honey’s sweetness while adding spiced warmth.
How to Store and Freeze Honey Butter Skillet Corn
Fridge: Store leftover Honey Butter Skillet Corn in an airtight container for up to 3-4 days. Make sure it’s cooled to room temperature before sealing to retain freshness.
Freezer: For longer storage, freeze portions in airtight containers or freezer bags for up to 2-3 months. Be sure to label them to avoid confusion later!
Reheating: When ready to enjoy, thaw the corn in the fridge overnight, then reheat gently in a skillet over low heat to preserve its creamy texture. Add a splash of milk or water if needed to revive the sauce.
Serving Warm: Always consider serving it warm for the best flavor experience. This delightful side dish is perfect for warming up your meals!
Honey Butter Skillet Corn Variations
Feel free to get creative with your Honey Butter Skillet Corn and personalize it to suit your taste!
-
Herbs and Spices: Add fresh chives or garlic powder for a flavor boost. A sprinkle of black pepper adds depth, while herbs brighten things up.
-
Different Sweeteners: Swap honey for maple syrup or brown sugar for a unique twist. Each sweetener brings its own charm, adding layers of flavor.
-
Dairy-Free Option: Use vegan butter and dairy-free cream cheese to keep it creamy without dairy. Enjoy the same delightful texture and taste!
-
Fresh Corn: Replace frozen corn with fresh kernels when in season. Snack on the bright taste of summer with a slightly adjusted cooking time for tenderness.
-
Cheesy Delight: Stir in grated cheddar cheese for an extra cheesy experience. The cheese melts beautifully, creating a savory, gooey addition to the dish.
-
Heat It Up: For a spicy kick, add a pinch of cayenne pepper or diced jalapeños while cooking the corn. The heat will create a delicious contrast to the sweetness.
-
Nutty Crunch: Toss in some toasted pecans or walnuts right before serving. Their crunch provides a wonderful contrast to the creamy corn.
-
Savory Bacon: Crumbled cooked bacon can elevate this dish to another level. Incorporate it along with the corn for a rich, savory experience reminiscent of country comfort.
As you explore these variations, consider pairing this creamy creation with our Baked Lemon Butter Chicken or the hearty flavors of Butter Chicken Pasta.
Make Ahead Options
Honey Butter Skillet Corn is a fantastic dish to prepare ahead of time, saving you precious minutes during busy weeknights! You can cook the corn mixture (steps 1-4) and refrigerate it for up to 3 days in an airtight container. To maintain that creamy texture, make sure to let it cool completely before storing. When you’re ready to enjoy this delicious side, simply reheat the corn mixture on the stove over low heat, stirring in an additional splash of cream or a pat of butter for added creaminess. Finish by simmering for 2-3 minutes until heated through, and you’ll have this crowd-pleasing favorite ready to serve!
Honey Butter Skillet Corn Recipe FAQs
How do I select the best ingredients for Honey Butter Skillet Corn?
Absolutely! When choosing frozen corn, look for bags with bright, plump kernels with no visible ice crystals—they should be as fresh as possible. For butter, opt for salted butter to enhance the flavor; if you prefer a sweeter taste, unsalted butter works well too. As for honey, raw honey offers a more robust flavor, but any good quality honey will work to create the delightful sweetness you desire.
How should I store leftover Honey Butter Skillet Corn?
You can store leftover Honey Butter Skillet Corn in an airtight container in the refrigerator for up to 3-4 days. Ensure that the dish is at room temperature before sealing to maintain its freshness. This way, you can easily reheat it for another delicious meal without losing its creamy integrity.
Can I freeze Honey Butter Skillet Corn, and if so, how?
Yes! To freeze Honey Butter Skillet Corn, allow it to cool completely, then portion it into airtight containers or freezer bags. It’s vital to remove as much air as possible to avoid freezer burn. Label the containers, and you can keep them in the freezer for up to 2-3 months. When you’re ready to enjoy it again, simply thaw it overnight in the refrigerator before gently reheating it on the stove.
What if my cream cheese curdles while cooking?
Very! If your cream cheese seems to curdle, it’s usually due to the temperature being too high. To fix this, lower the heat and stir continuously to help re-emulsify the mixture. If it’s already curdled, you can try adding a splash of milk and whisking it vigorously to create a smoother texture. Always be sure to add the cream cheese at a lower temperature to keep it creamy!
Is this dish suitable for dairy-free diets?
Absolutely! To make Honey Butter Skillet Corn dairy-free, substitute regular butter with a vegan alternative and replace cream cheese with a dairy-free cream cheese. This way, you can still enjoy the same creamy, sweet-savory delight without the dairy ingredients.
What is the perfect way to serve Honey Butter Skillet Corn?
For the best experience, serve Honey Butter Skillet Corn warm as a side dish. It pairs beautifully with grilled meats, roasted chicken, and BBQ dishes. I often make this dish for festive gatherings, as it complements holiday roasts wonderfully. The more the merrier—it’s a crowd-pleaser that everyone will cherish at your dinner table!
Honey Butter Skillet Corn: Quick, Creamy Comfort for All
Ingredients
Equipment
Method
- Melt the butter in a large skillet over medium heat for 2-3 minutes until bubbly but not browned.
- Add the honey to the melted butter and stir for another minute to blend.
- Stir in the frozen corn and cook for 5-7 minutes until heated through.
- Reduce heat to low, add cubed cream cheese, and stir until fully melted, about 3-4 minutes.
- Simmer for an additional 2-3 minutes, then serve warm.
Leave a Reply