
The smell of simmering cherries wafting through the kitchen instantly takes me back to sun-soaked summer afternoons, and I can almost hear laughter and the clinking of dessert spoons. Today, I’m excited to share my favorite Easy Cherry Sauce Recipe that not only captures that nostalgic flavor but is also a delightful topping for all your favorite desserts. This quick, versatile sauce brings the perfect balance of sweetness and tartness to cheesecake, pancakes, or even a scoop of ice cream. Plus, it’s incredibly easy to whip up, allowing you to ditch the store-bought options and add a homemade touch to your meals. Picture yourself drizzling this glossy cherry sauce over your creations; can you think of a more beautiful way to enhance your desserts? Let’s dive into the sweet details!
Why is this cherry sauce a must-try?
Simplicity at Its Best: This easy cherry sauce requires just a few common ingredients and minimal prep time, making it a quick go-to for dessert enhancement.
Bursting with Flavor: The combination of sweet cherries and a hint of lemon juice creates a vibrant, fresh taste that will elevate any dessert.
Versatile Marvel: Use it on everything from pancakes to cheesecake or even vanilla ice cream; this sauce perfectly complements various sweet treats.
Healthier Alternative: With a low-calorie count, you can indulge without feeling guilty—perfect for those looking for delicious yet lighter options.
Make Ahead: Prepare this sauce in advance and store it in your fridge for easy access, so you’re always ready for an impromptu dessert.
Transform your sweet creations with this delightful sauce, and if you’re looking for more easy toppings, check out my Apple Cheesecake Dip for another crowd-pleasing option!
Easy Cherry Sauce Recipe Ingredients
• Here’s everything you need for the perfect Easy Cherry Sauce Recipe!
For the Sauce
- Sweet Cherries – Fresh or frozen, they bring a delicious sweetness to your sauce.
- Water – Helps to achieve the right consistency; adjust based on cherries used (1/4 cup for frozen, 1/3 cup for fresh).
- Corn Starch – A key thickener, ensuring your sauce has the perfect texture to cling to desserts.
- Lemon Juice – Fresh juice enhances the cherry flavor and adds a zesty brightness.
- Sugar – Sweetens the sauce; use 2 tbsp for sweet cherries, or add more if you opt for tart cherries.
For Variations
- Lemon Zest – Adds an extra layer of bright flavor; a great addition if you’re feeling adventurous.
- Extra Corn Starch – For a thicker pie filling variation, simply double the recipe and add another tablespoon.
- Other Fruits – Feel free to switch cherries for blueberries or strawberries for different yet delightful fruit sauces.
Step‑by‑Step Instructions for Easy Cherry Sauce Recipe
Step 1: Whisk Together Ingredients
In a medium saucepan, combine 1/3 cup of water (for fresh cherries), 2 tablespoons of corn starch, 1 tablespoon of lemon juice, and 2 tablespoons of sugar. Whisk these ingredients together until the mixture is smooth and well-combined, ensuring there are no lumps from the corn starch. This forms the base of your easy cherry sauce, setting the stage for rich flavor development.
Step 2: Heat the Mixture
Place the saucepan over medium heat on your stove. Continuously whisk the mixture as it heats, which will help it thicken evenly. Keep stirring for about 3-5 minutes, or until you notice the mixture bubbling gently and beginning to thicken to a syrup-like consistency. It’s important to maintain this heat to avoid scorching the sauce.
Step 3: Add the Cherries
Once your mixture has thickened, add 2 cups of sweet cherries (fresh, pitted, and halved). If you’re using frozen cherries, gently fold them in at this stage. Stir the cherries into the sauce, ensuring they’re well coated. Continue to cook for an additional 6-10 minutes for fresh cherries, or 12-15 minutes if using frozen, stirring occasionally until the sauce bubbles consistently.
Step 4: Cool and Store
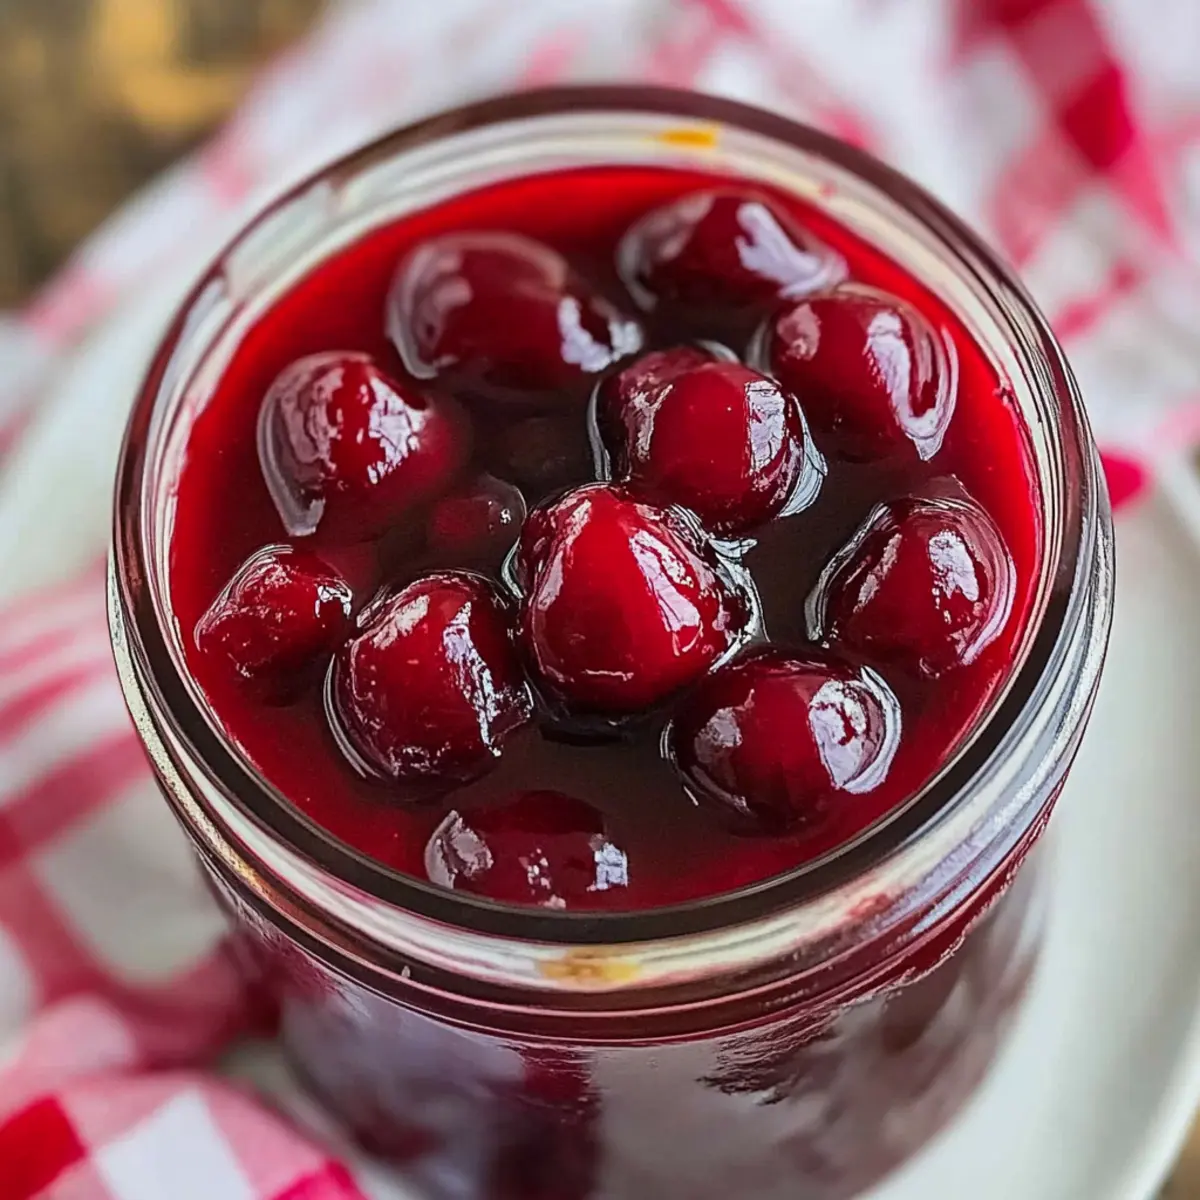
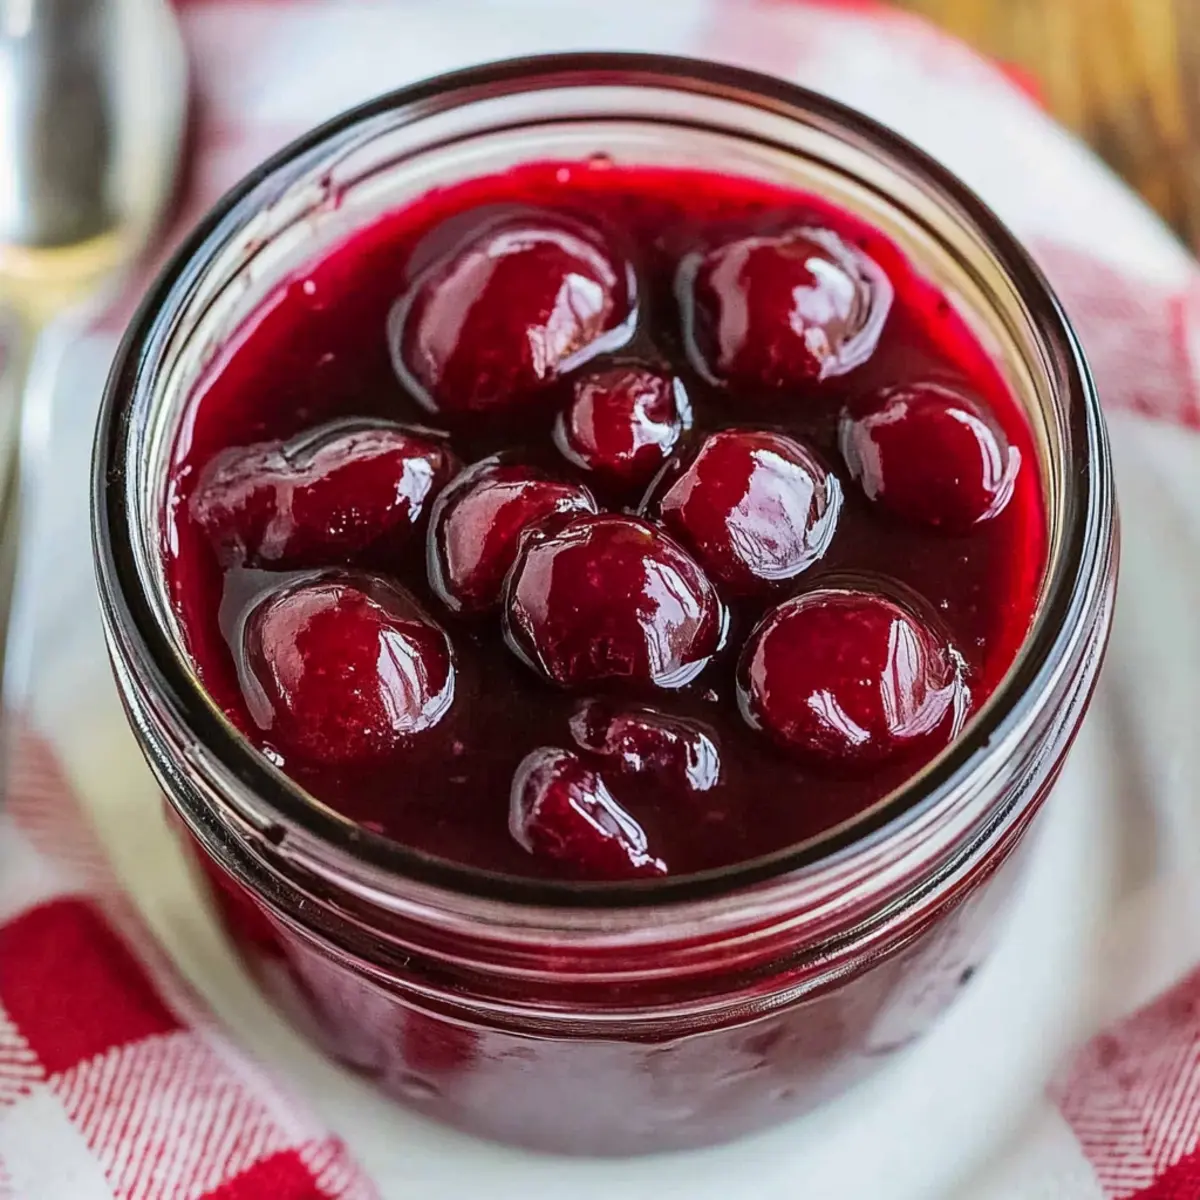
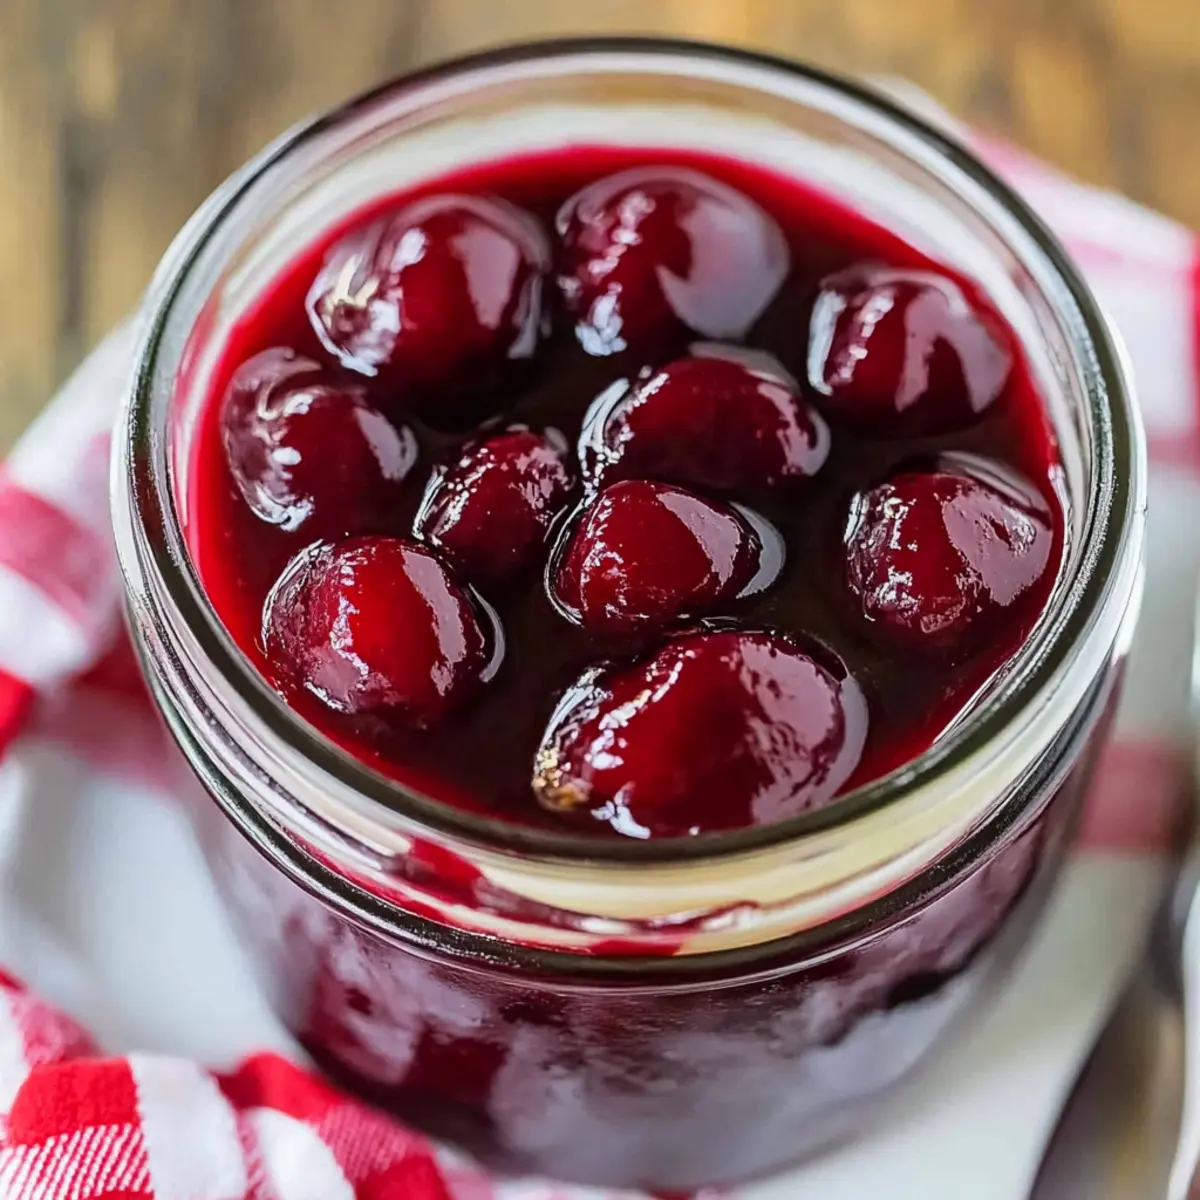
After cooking, remove the saucepan from heat and let the easy cherry sauce cool at room temperature. Once it reaches a comfortable temperature, you can transfer it to a glass jar or airtight container. This sauce can be stored in the fridge for up to 3 days. For longer storage, consider freezing it for later use, so you always have this delicious topping on hand!
What to Serve with Easy Cherry Sauce
Imagine how delightful it would be to create a complete meal that beautifully showcases this homemade cherry sauce.
-
Cheesecake: A classic pairing, the creamy richness of cheesecake harmonizes with the sweet-tart notes of cherry sauce, enhancing every bite. Drizzle generously over your favorite variety for a stunning dessert!
-
Pancakes: Fluffy pancakes topped with warm cherry sauce are a morning treat that feels indulgent and comforting. Add a dollop of whipped cream, and you’ve got a breakfast worth waking up for.
-
Vanilla Ice Cream: Cool and creamy, vanilla ice cream offers a delightful contrast to the vivid flavors of cherry sauce. This combination is sure to evoke happy memories of summer treats!
-
Waffles: Crispy waffles drenched in cherry sauce create a delightful texture contrast, perfect for a lazy brunch. Add some fresh fruit for a pop of color and extra flavor.
-
Pound Cake: A slice of buttery pound cake paired with sweet cherry sauce provides a marvelous balance of flavors and textures. It’s a simple yet elegant dessert that’s perfect for any occasion.
-
Soda or Lemonade: Refresh your palate with the effervescence of a fruity soda or a glass of homemade lemonade. The acidity and carbonation beautifully complement the sweetness of the cherries.
-
Chocolate Mousse: For a decadent twist, serve your cherry sauce over rich chocolate mousse. The interplay of flavors will surely leave your guests raving about this unforgettable dessert combination.
-
French Toast: Golden, buttery French toast topped with cherry sauce is an irresistible way to start the day. It’s a warm, satisfying dish that brings a touch of flair to your breakfast table.
With these delicious suggestions, your easy cherry sauce will shine as the star of the dessert show!
Easy Cherry Sauce Recipe Variations
Feel free to get creative with this cherry sauce, as it can perfectly adapt to your taste preferences and dietary needs!
-
Dairy-Free: Substitute regular sugar with coconut sugar for a subtle caramel flavor while keeping it vegan-friendly.
-
Extra Zing: Add orange zest alongside the lemon juice for a bright citrus twist that livens up the sauce.
-
Spice it Up: Incorporate a pinch of cinnamon or nutmeg for a warm spice note, making it perfect for fall desserts.
-
Thicker Texture: For a cherry pie filling, simply double the ingredients and add an extra tablespoon of corn starch for a luscious centerpiece.
-
Mixed Fruits: Swap cherries with raspberries or strawberries for a berry medley sauce that offers a delightful taste explosion.
-
Chili Kick: Mix in a dash of cayenne pepper for a surprising heat that contrasts beautifully with the sweetness.
-
Maple Sweetness: Replace sugar with maple syrup for a richer flavor profile that pairs excellently with pancakes or waffles.
-
Custom Consistency: For a thinner sauce, add a touch more water while cooking, allowing it to pour easily over desserts like ice cream or cheesecake.
Consider pairing this sauce with my White Chicken Chili or indulge in a scoop of vanilla ice cream topped with this delectable cherry sauce. The possibilities are deliciously endless!
How to Store and Freeze Easy Cherry Sauce
Fridge: Store your easy cherry sauce in a glass jar or airtight container for up to 3 days. Ensure it’s completely cooled before sealing to maintain freshness.
Freezer: For longer storage, freeze the sauce in ice cube trays. Once frozen, transfer the cubes to a zip-top bag for easy, single-serving portions that can last up to 3 months.
Reheating: Gently reheat the sauce on the stove over low heat or in the microwave until warm. If the sauce thickens too much, stir in a splash of water for a smoother consistency.
Usage: This versatile sauce can easily enhance a variety of desserts, perfect for indulging whenever the craving strikes!
Make Ahead Options
These Easy Cherry Sauce preparations are perfect for busy home cooks looking to save time! You can prepare the sauce up to 3 days in advance by following the cooking instructions and then allowing it to cool completely before storing it in an airtight container in the fridge. To maintain freshness, be sure to keep it refrigerated until you’re ready to serve. When the time comes to enjoy your delicious sauce, simply reheat it gently on the stove over low heat or in the microwave for a few seconds, stirring until it’s warmed through. This way, you can enjoy a homemade topping that’s just as delightful as freshly made, without the last-minute rush!
Expert Tips for Easy Cherry Sauce
• Choose the Right Cherries: Opt for fresh sweet cherries when possible; they enhance the sauce’s natural sweetness and flavor.
• Sugar Adjustments: If using tart cherries, add sugar progressively—2 tablespoons initially, then taste and increase up to 1/2 cup if needed for the perfect balance.
• Mind the Thickness: Keep a close eye on the cooking process; whisk regularly to avoid lumps and ensure a smooth, glossy finish in your easy cherry sauce.
• Storage Secrets: For freshness, store leftovers in a glass jar with a tight lid—this keeps the sauce tasting its best for up to 3 days.
• Freeze for Later: If making in bulk, pour the cooled sauce into ice cube trays, freeze, and transfer to a zip-top bag for convenient, pre-measured portions.

Easy Cherry Sauce Recipe FAQs
How do I choose ripe cherries for my sauce?
Absolutely! When selecting cherries, look for bright, plump specimens that are firm to the touch. Avoid any with dark spots or blemishes, as these can indicate overripeness. For the sweetest flavor, I recommend using sweet cherries, especially if you plan on using less sugar in your sauce.
How should I store leftover cherry sauce?
To keep your easy cherry sauce fresh, store it in a glass jar or airtight container in the fridge for up to 3 days. Make sure the sauce has completely cooled before sealing it up—this helps prevent condensation and keeps the flavor intact.
Can I freeze cherry sauce for later use?
Very much so! To freeze your easy cherry sauce, allow it to cool to room temperature. Then, pour it into ice cube trays and freeze until solid. Once frozen, transfer the cubes to a zip-top bag and label it with the date. This way, you can enjoy your homemade sauce for up to 3 months. Simply reheat as needed!
What should I do if my cherry sauce isn’t thickening?
If you find that your sauce isn’t thickening as desired, you can make a simple slurry. Combine an additional teaspoon of corn starch with a tablespoon of cold water, whisk until smooth, and then stir it into the simmering sauce. Continue cooking while stirring for a few minutes until it reaches your desired thickness.
Is the cherry sauce safe for pets?
While cherries themselves can be a tasty treat for us, they contain pits and cyanogenic compounds that can be harmful to dogs if ingested. Always keep any cherry sauce, especially one with added sugar, out of reach of pets. If unsure, check with your veterinarian to ensure safety based on your pet’s diet.
Can I adjust the sweetness of my cherry sauce?
Absolutely! You can taste the sauce as it cooks and adjust the sweetness to your liking. If you’re using tart cherries, start with 2 tablespoons of sugar and gradually add more, tasting until you reach your desired flavor. This way, the sauce can perfectly suit your sweetness preference or those of your family members!
Easy Cherry Sauce Recipe for Irresistible Desserts
Ingredients
Equipment
Method
- In a medium saucepan, combine 1/3 cup of water, 2 tablespoons of corn starch, 1 tablespoon of lemon juice, and 2 tablespoons of sugar. Whisk until smooth.
- Place the saucepan over medium heat and continuously whisk the mixture for 3-5 minutes until it starts to thicken.
- Add 2 cups of sweet cherries to the thickened mixture and stir until they are well coated. Cook for an additional 6-10 minutes for fresh cherries or 12-15 minutes for frozen.
- Remove from heat and let the sauce cool before transferring it to an airtight container. Store in the fridge for up to 3 days.
Leave a Reply