
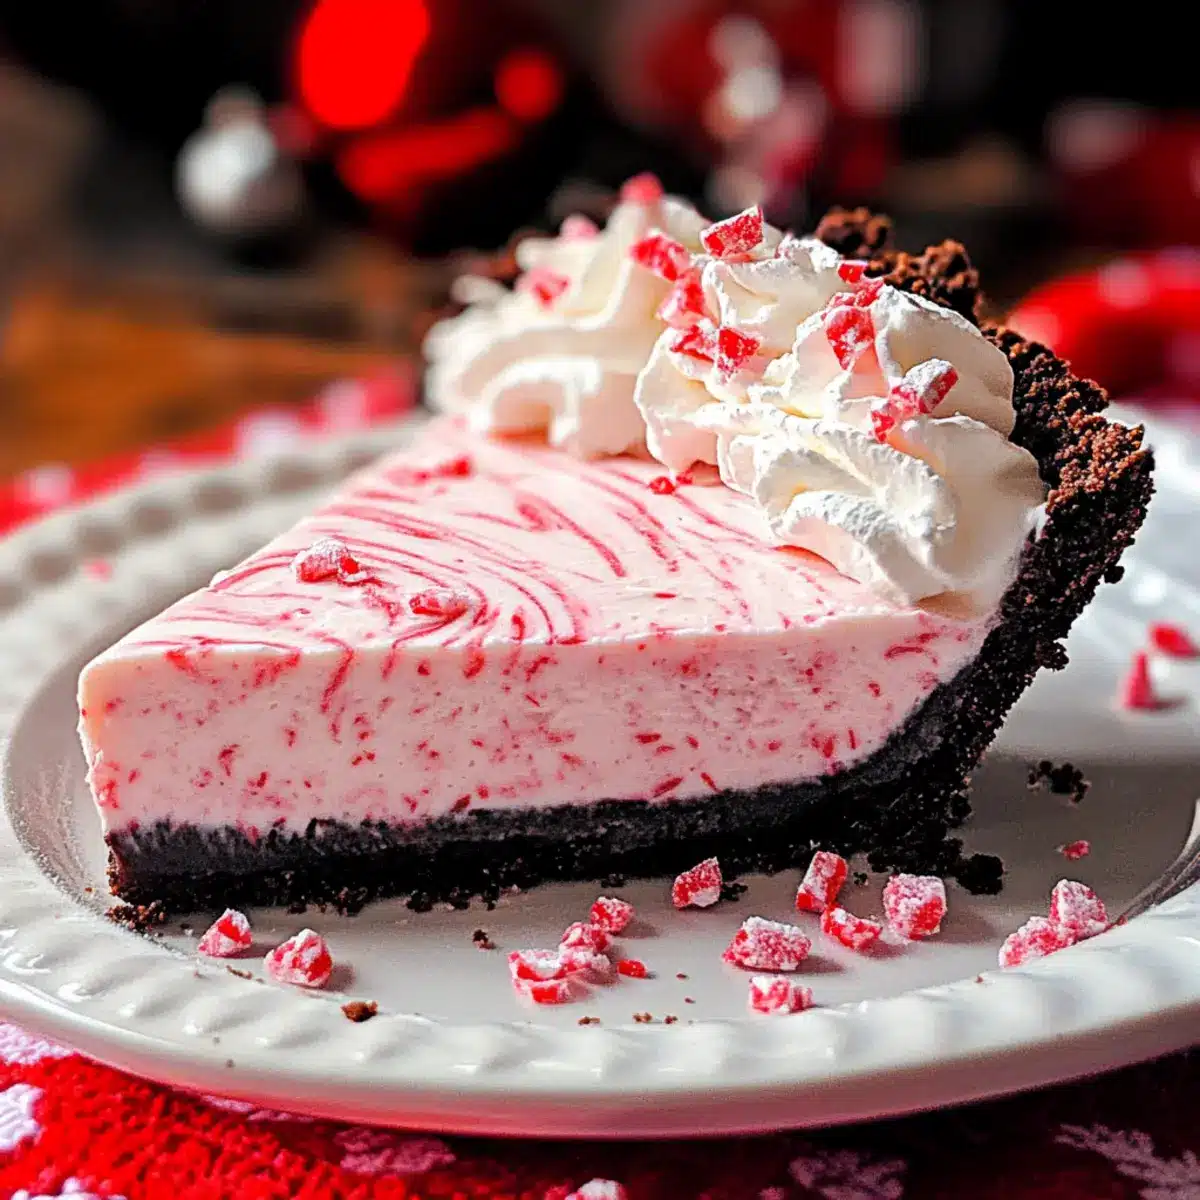
The first hint of peppermint in the air can instantly transport me to cozy holiday gatherings, where laughter mingles with the scent of sweet treats. My No Bake Christmas Peppermint Pie captures that magic perfectly, boasting a smooth cream cheese filling nestled in a delightful chocolate cookie crust. This festive dessert is not just a breeze to prepare—making it a wonderful make-ahead option; it’s also a guaranteed crowd-pleaser that will have everyone asking for seconds, especially the little ones. So, if you’re looking to elevate your holiday gatherings with a mouthwatering treat, this recipe is your new go-to. Ready to make memories, one slice at a time?
Why is this pie a must-try?
Simplicity: This No Bake Christmas Peppermint Pie requires minimal effort, allowing you to spend more time with loved ones during the holidays.
Crowd-Pleasing: With its creamy filling and rich chocolate cookie crust, this dessert is sure to win over friends and family alike.
Make-Ahead Friendly: Prepare it a day in advance, simplifying your party planning and ensuring it’s chilled to perfection by serving time.
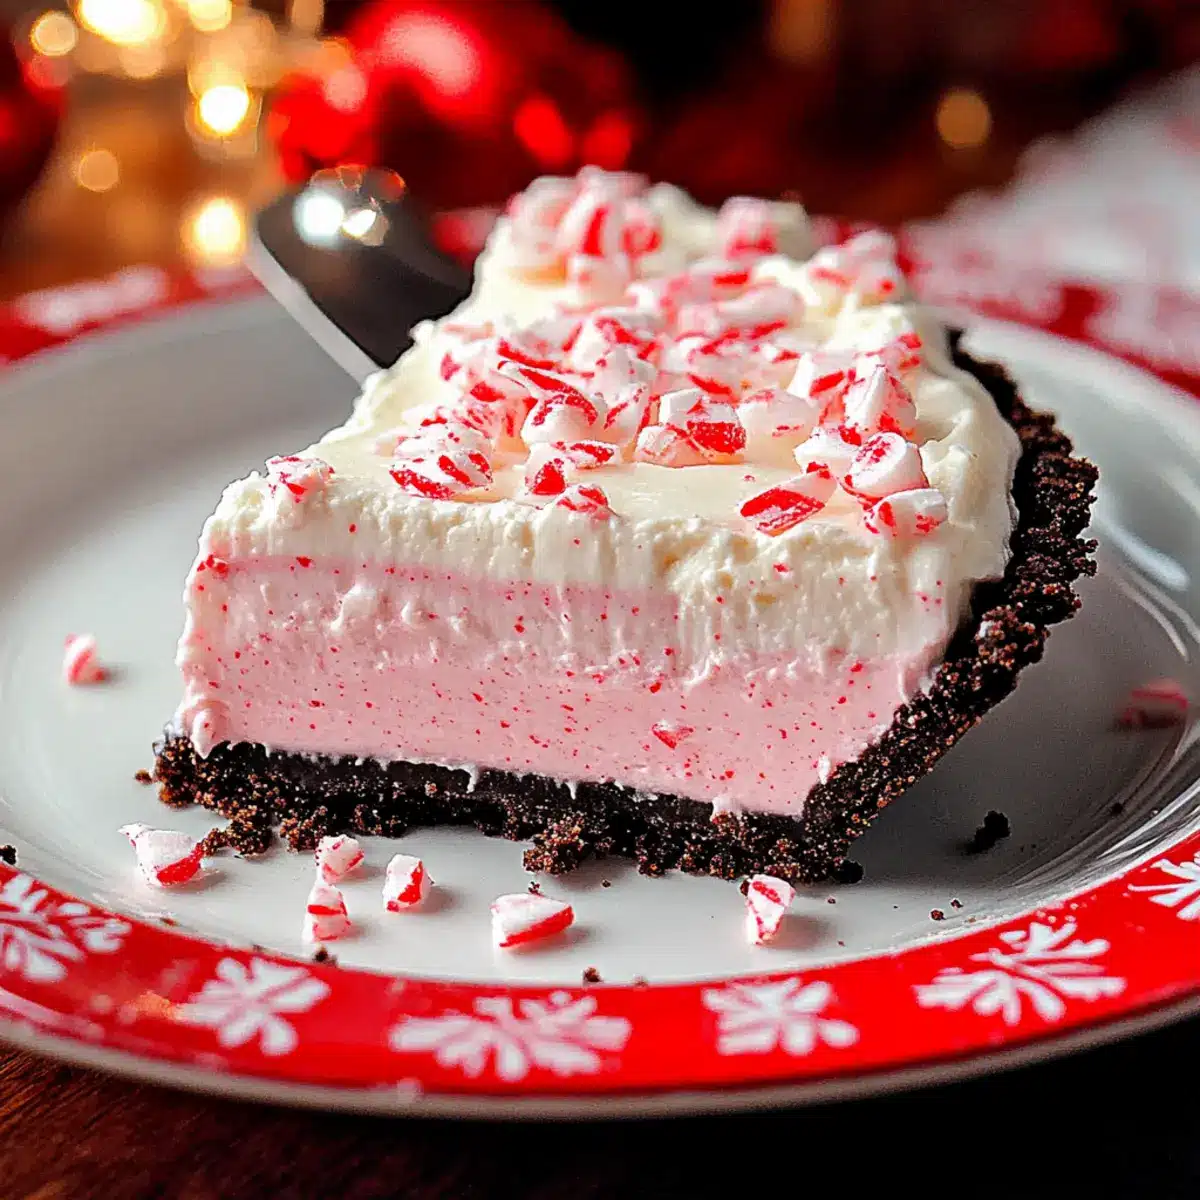
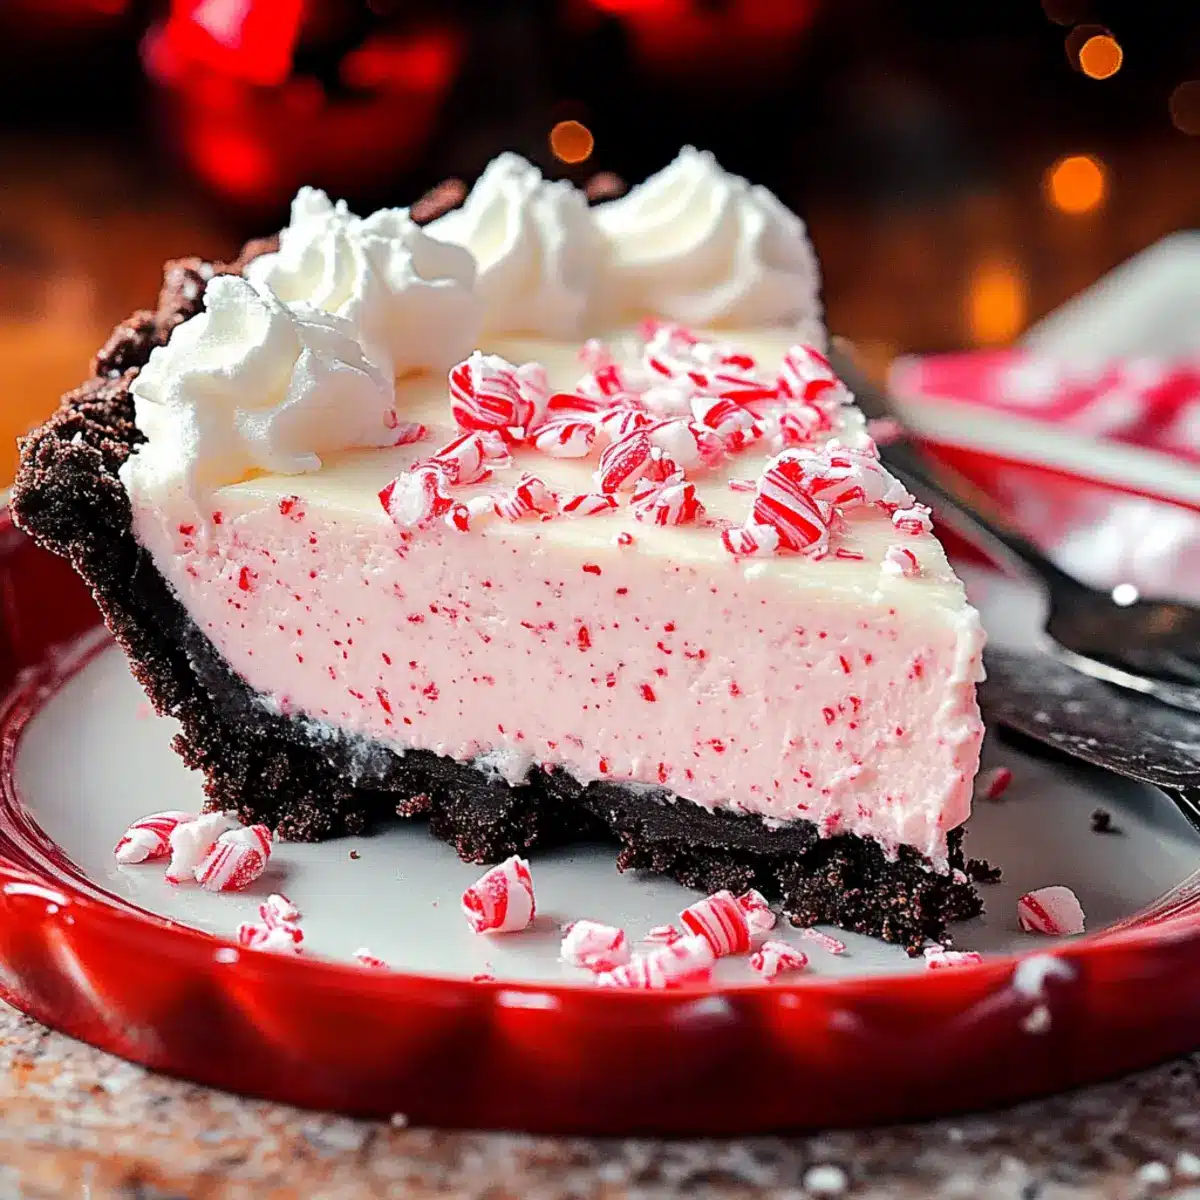
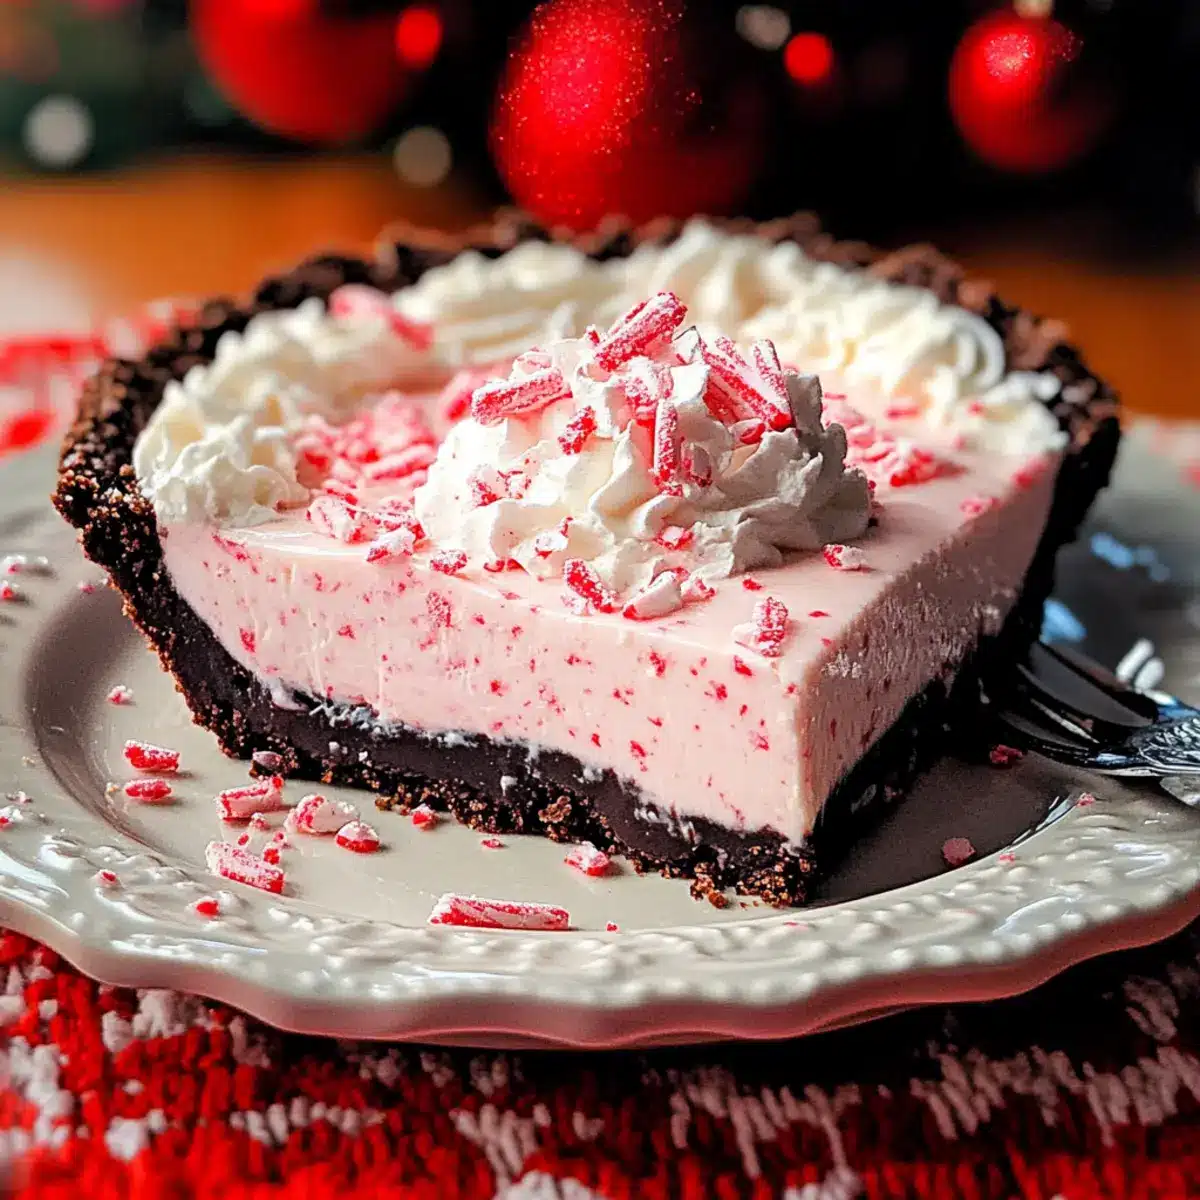
Festive Appeal: The combo of peppermint and playful swirls of color not only tastes delightful but looks stunning on any holiday table.
For more sweet ideas, check out my Christmas Cookies Butterscotch or try serving this with a warm cup of cocoa for the ultimate festive experience!
No Bake Christmas Peppermint Pie Ingredients
For the Creamy Filling
- Cream Cheese – Provides a creamy base with structure; use full-fat block cream cheese for the best texture.
- Powdered Sugar – Sweetens the filling while keeping it smooth; no substitutions are recommended.
- Heavy Cream – Essential for whipping into stiff peaks, adding lightness to the filling; make sure it’s cold for the best results.
- Vanilla Extract – Enhances flavor depth; consider substituting with almond extract for a unique twist.
- Peppermint Extract – Delivers the delightful festive peppermint flavor; start with a small amount and adjust to taste.
- Food Coloring (Optional) – Adds vibrant red and white swirls; gel colors work best for striking visuals.
For the Crust
- Chocolate Cookie Crust – Serves as a rich, flavorful base; a pre-made Oreo crust is highly recommended for convenience.
For the Topping
- Crushed Peppermint Candies – Adds texture and festive flair; aim for larger bits instead of crushing them too fine, which enhances the look and crunch.
Ready to create this delightful No Bake Christmas Peppermint Pie? Gather these ingredients and get started on a dessert that will surely bring smiles all around!
Step‑by‑Step Instructions for No Bake Christmas Peppermint Pie
Step 1: Preparation
Begin by allowing the cream cheese to soften at room temperature for 1 to 2 hours. This will ensure a smooth texture in your No Bake Christmas Peppermint Pie filling. While waiting, gather your mixing bowls, measuring cups, and electric mixer, so you’re ready to whip up your delicious pie.
Step 2: Whip Cream
In a large mixing bowl, pour in the cold heavy cream and start whipping at medium speed. Continue whipping until stiff peaks form, which should take about 3 to 5 minutes. Once done, set the whipped cream aside gently so it maintains its airy texture. This fluffy cream will add lightness to the filling later.
Step 3: Mix Filling
In another bowl, combine the softened cream cheese and powdered sugar using an electric mixer on medium speed until the mixture is smooth and creamy. Next, add in the vanilla and peppermint extracts, along with food coloring if desired, mixing until everything is evenly combined. This step creates the flavorful base for your peppermint filling.
Step 4: Combine Mixtures
Slowly fold the whipped cream into the cream cheese mixture using a spatula or a wooden spoon, ensuring to maintain the lightness of the whipped cream. Perform this step gently until just combined, as you want to keep that airy texture in your No Bake Christmas Peppermint Pie.
Step 5: Fill Crust
Carefully pour the creamy filling into the pre-made chocolate cookie crust, spreading it evenly with a spatula. Take your time to ensure the filling is smooth and reaches all edges of the crust. This delightful layer will be the star of your festive dessert once it’s set.
Step 6: Top and Chill
Once filled, top the pie with a layer of Cool Whip, spreading it smoothly across the surface. Sprinkle the crushed peppermint candies generously over the top for that festive crunch. Cover the pie with plastic wrap and refrigerate for at least 4 hours, or ideally overnight, to let the flavors meld and the pie to set perfectly.
Expert Tips for No Bake Christmas Peppermint Pie
-
Soften Cream Cheese: Always let your cream cheese reach room temperature to avoid lumps, ensuring a smooth filling for the No Bake Christmas Peppermint Pie.
-
Perfectly Whipped Cream: Whip the heavy cream to stiff peaks but watch it closely—overbeating can lead to a grainy texture. Lightness is key!
-
Start Small with Peppermint: Use less peppermint extract at first and taste as you go, avoiding an overpowering mint flavor that can overwhelm the pie.
-
Chill Time Matters: For the best texture and flavor, allow the pie to chill ideally overnight. This helps the creamy filling firm up beautifully.
-
Presentation Tips: For a striking look, consider adding large pieces of crushed peppermint candies on top—this adds festive charm while still being a treat!
Storage Tips for No Bake Christmas Peppermint Pie
Fridge: Store the pie in an airtight container in the refrigerator for up to 5 days, ensuring it’s covered to retain its freshness and flavor.
Freezer: For longer storage, freeze the pie for up to 2 months. Avoid adding peppermint garnish until ready to serve to maintain texture and appearance.
Thawing: When ready to enjoy, thaw in the refrigerator overnight. Let it sit at room temperature for 15-20 minutes before slicing for the best consistency.
Reheating: This pie is served chilled, so no reheating is necessary. Just slice and serve directly from the fridge for a refreshing dessert!
What to Serve with No Bake Christmas Peppermint Pie
Elevate your festive gatherings with delightful pairings that will complement the refreshing minty flavor of your dessert.
-
Rich Hot Chocolate: A cup of creamy hot chocolate enhances the pie’s peppermint notes, creating a cozy dessert experience that warms the heart.
-
Whipped Cream Topping: Offering extra whipped cream alongside the pie gives a delightful texture that mirrors the lightness of the filling, inviting visitors for a second slice.
-
Christmas Cookies: With their varied flavors and textures, a platter of soft gingerbread or sugary snowball cookies provides a delightful contrast to the rich chocolate crust.
-
Peppermint Mocha: This velvety blend of coffee and peppermint mirrors the pie, creating a harmonious pairing that is sure to please coffee lovers.
-
Sparkling Apple Cider: This refreshing, bubbly drink adds a festive cheer to your dessert spread, balancing the cake’s richness with a fruity zing.
-
Chocolate-Dipped Strawberries: Their tart sweetness and juicy texture contrast beautifully with the creamy pie, making for a stunning and indulgent treat.
-
Coconut Macaroons: The chewy coconut and sweet glaze add a different texture which enhances the overall festive feel while pairing perfectly with the pie.
-
Dark Chocolate Espresso Beans: These provide a bold crunch with deep flavor, making for a delightful pop of richness between your sweet bites.
-
Pecan Pie Bars: Their buttery, nutty flavors will blend beautifully with the peppermint pie, giving guests another sweet treat to savor.
Make Ahead Options
Preparing your No Bake Christmas Peppermint Pie in advance is a fantastic time-saver for busy holiday cooks! You can make the filling and pour it into the chocolate cookie crust up to 24 hours ahead of serving, allowing it to chill and set overnight for maximum flavor. To maintain the pie’s delightful texture, ensure you cover it tightly with plastic wrap while refrigerating. You can also prepare the crushed peppermint topping a few days ahead, storing it in an airtight container to prevent it from losing its crunch. When it’s time to serve, simply add the Cool Whip and peppermint garnish just before presenting—the pie will be just as festive and delicious as if made on the spot!
No Bake Christmas Peppermint Pie Variations
Feel free to let your creativity shine with these fun twists for the No Bake Christmas Peppermint Pie!
-
Minty Dark Chocolate: Replace the chocolate cookie crust with a dark chocolate crust for a bold flavor combination.
-
Dairy-Free Delight: Use coconut cream instead of heavy cream and dairy-free cream cheese for a vegan-friendly dessert that everyone can enjoy.
-
Nutty Crunch: Add chopped nuts like pecans or almonds to the crust for a delightful crunch. This extra texture pairs beautifully with the creamy filling.
-
Whipped Toppings: Instead of Cool Whip, top with freshly whipped cream for a homemade touch that makes all the difference.
-
Spicy Zing: For a kick, add a hint of ground cinnamon or ginger to the filling. This holiday spice adds warmth and depth to the peppermint flavor.
-
Fun Swirls: Incorporate colored whipped cream or a different flavored whipped topping for an eye-catching presentation. The holiday colors will dazzle your guests!
-
Fruity Touch: Toss in some crushed raspberries or strawberries into the filling for a fruity surprise that beautifully complements the minty flavor.
-
For the Adventurous: Try a twist with chai or pumpkin spice instead of peppermint for a different seasonal vibe. You’ll create an unexpected treat that will have everyone talking!
Embarking on any of these variations will truly elevate your No Bake Christmas Peppermint Pie. For an additional sweet indulgence, consider pairing it with some warm Peppermint Kiss Chocolate or baking up a batch of Christmas Cookies Butterscotch. Happy baking!
No Bake Christmas Peppermint Pie Recipe FAQs
How do I select the right cream cheese for the filling?
Absolutely! For the best texture in your No Bake Christmas Peppermint Pie, choose full-fat block cream cheese rather than low-fat or cream cheese in a tub. Softening the cream cheese at room temperature for 1-2 hours will prevent lumps and ensure a smoother filling.
What are the best storage methods for this pie?
To keep your pie fresh, store it in an airtight container in the refrigerator for up to 5 days. Make sure it’s well-covered to preserve its taste and texture. If you’re looking to keep it longer, you can freeze the pie for up to 2 months. Just remember to wait to add peppermint toppings until you’re ready to serve!
Can this pie be frozen, and if so, how?
Yes! To freeze your No Bake Christmas Peppermint Pie, first prepare it as directed, but skip adding the crushed peppermint candies on top. Cover the pie tightly with plastic wrap and then aluminum foil to prevent freezer burn. When you’re ready to enjoy it, transfer the pie to the refrigerator to thaw overnight. Allow it to sit at room temperature for 15-20 minutes before slicing for the best consistency.
What can I do if my whipped cream is not holding stiff peaks?
Very! If your whipped cream isn’t holding stiff peaks, ensure that your heavy cream is very cold before whipping. It should be whipped in a chilled bowl and at medium speed. If it starts to turn grainy, you’ve overbeaten it. If that happens, try adding a bit more cold cream and gently mix it in to create a lighter consistency again.
Can I make this pie dairy-free or adjust for allergies?
Certainly! For a dairy-free option, you can use vegan cream cheese and coconut whipped cream instead of heavy cream. Be cautious with peppermint extract as some may contain allergens, and always check labels to ensure there are no unwanted ingredients for your dietary needs.
Delightful No Bake Christmas Peppermint Pie for Easy Festive Fun
Ingredients
Equipment
Method
- Begin by allowing the cream cheese to soften at room temperature for 1 to 2 hours.
- In a large mixing bowl, pour in the cold heavy cream and whip at medium speed until stiff peaks form (about 3-5 minutes).
- In another bowl, combine softened cream cheese and powdered sugar, mixing until smooth. Add vanilla, peppermint extract, and food coloring.
- Gently fold in the whipped cream into the cream cheese mixture until just combined.
- Pour the creamy filling into the pre-made chocolate cookie crust, spreading it evenly.
- Top with Cool Whip and sprinkle crushed peppermint candies on top. Cover and refrigerate for at least 4 hours.
Leave a Reply