
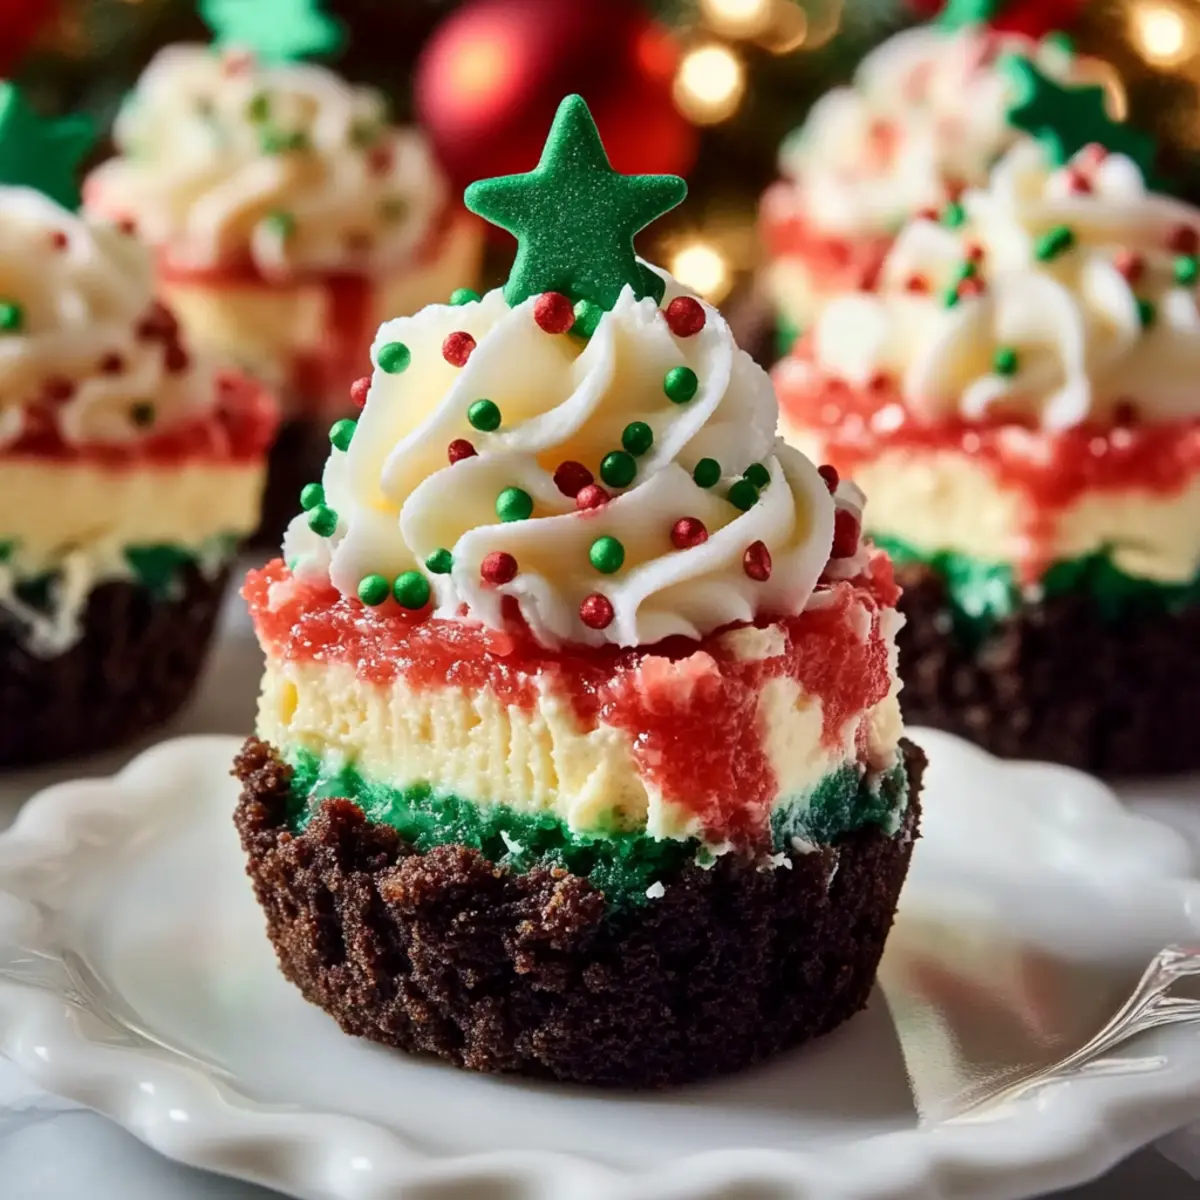
The vibrant laughter of holiday parties always fills me with excitement, but it’s the sweet treats that truly capture the spirit of the season. My Mini Christmas Cheesecakes are not just desserts; they’re little festive wonders, perfectly portioned to delight both young and old at your celebrations. With their creamy filling layered in cheerful red and green, they’re a feast for the eyes as much as for the taste buds. Plus, they’re incredibly easy to make, allowing you to whip up a batch without the stress of elaborate preparations. These bite-sized beauties are ideal for holiday gatherings where you want to impress without spending hours in the kitchen. Can you imagine the smiles they’ll bring to your table? Let’s get baking and make this Christmas unforgettable!

Why Choose Mini Christmas Cheesecake?
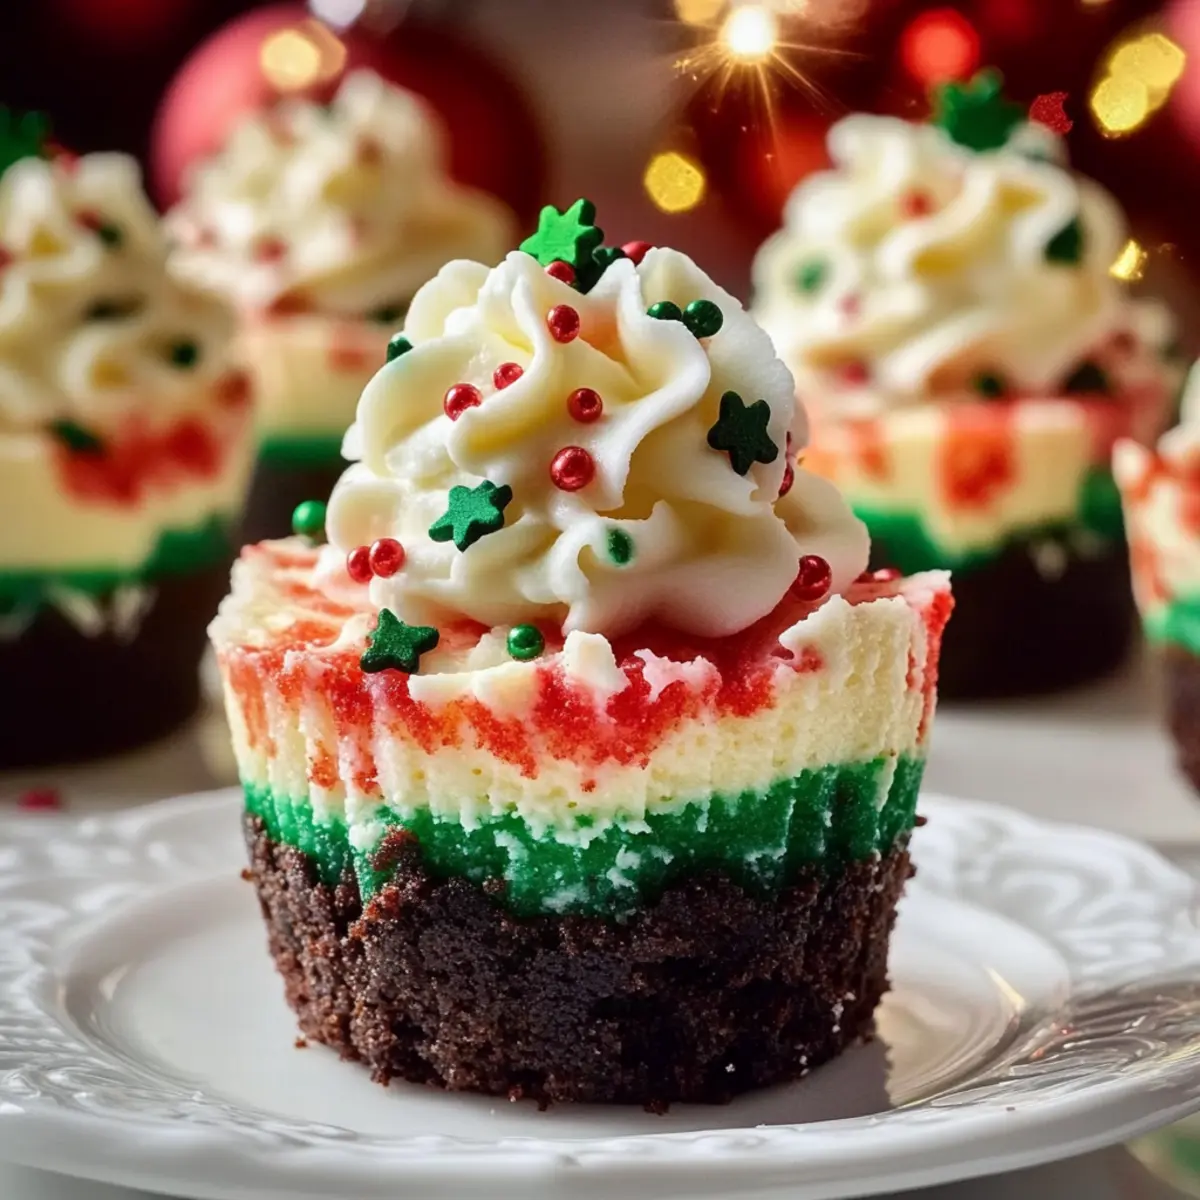
Delightfully Festive: These mini cheesecakes combine rich, creamy textures with vibrant layers, instantly elevating any holiday gathering.
Customization Options: Feel free to switch up the crust or try different festive colors to suit your theme, even considering a chocolate version!
Easy Preparation: Just a handful of simple steps make these mini treats a breeze to whip up, saving you time for what matters most—family and friends!
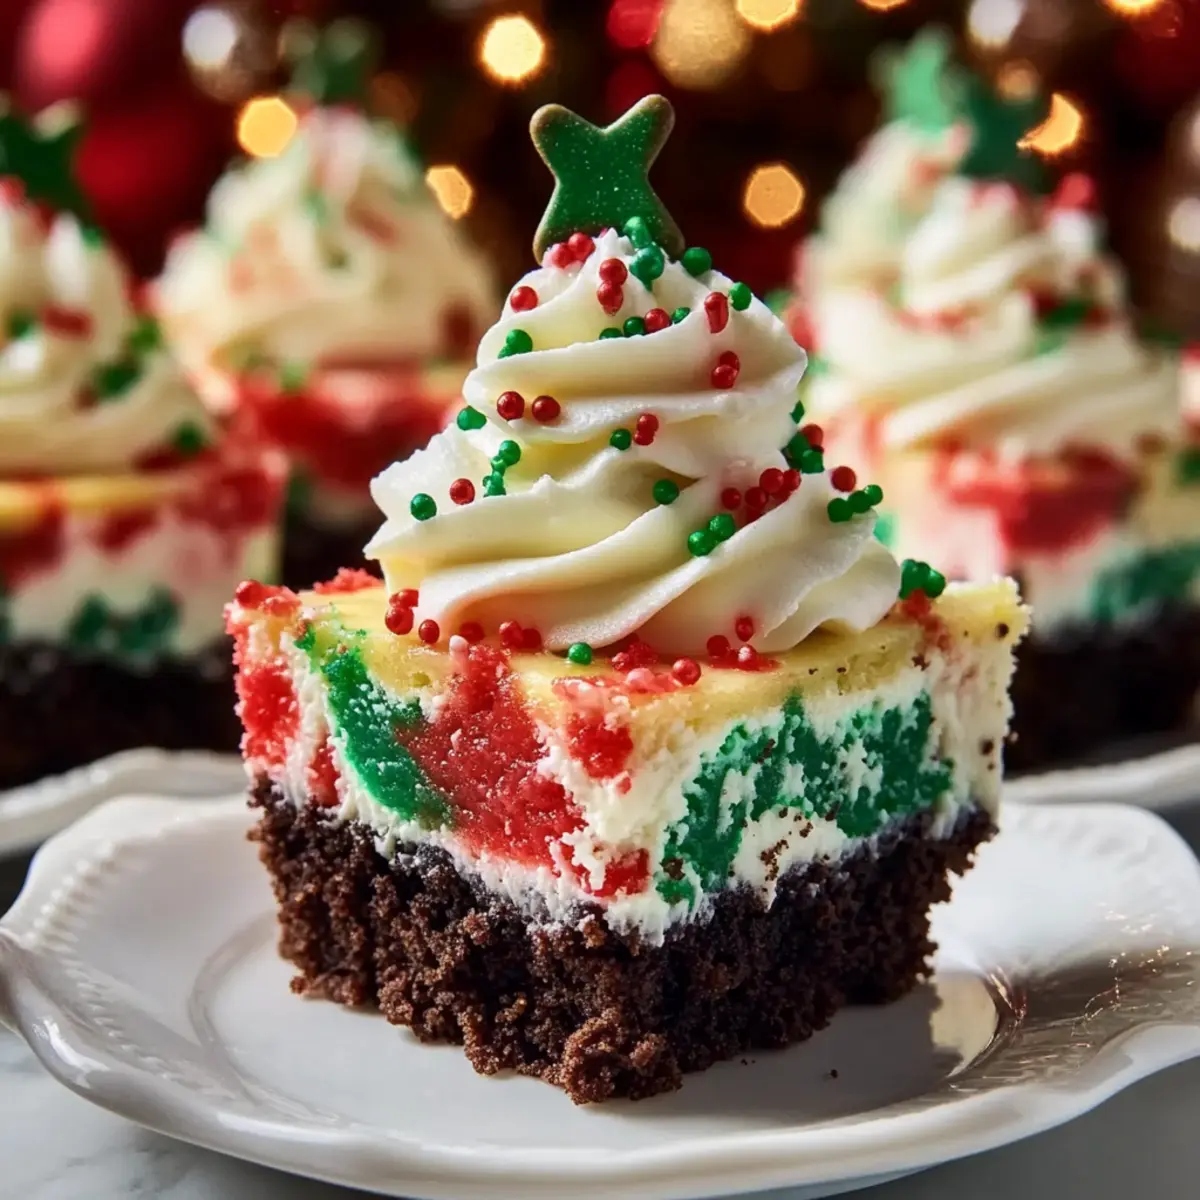
Visually Captivating: With their eye-catching marbled appearance, they are sure to become the star of your dessert table, just like our Caramel Apple Cheesecake.
Perfect for Sharing: Being bite-sized means they are easy to serve and enjoy, making them a hit at any holiday party.
Mini Christmas Cheesecake Ingredients
-
For the Crust
-
Oreo cookies – Ground into fine crumbs for a flavorful base; you can substitute with graham crackers or digestive biscuits.
-
Butter – Acts as a binder for the crust; using unsalted butter helps control the flavor.
-
For the Cheesecake Filling
-
Cream cheese – This is the main filling ingredient; ensure it’s at room temperature for a smooth batter.
-
Sugar – Adds sweetness to the Mini Christmas Cheesecake; feel free to experiment with alternatives for a different taste.
-
Flour – Provides necessary structure; cornstarch is a great substitute for a gluten-free option.
-
Lemon zest – Enhances flavor with a hint of citrus; you can skip this if you don’t have it on hand.
-
Eggs – Help bind the mixture and add richness; make sure they are at room temperature.
-
Vanilla extract – Adds depth and enhances the flavor; opt for pure vanilla for the best outcome.
-
Heavy cream – Contributes creaminess and richness; it’s optional but recommended for a decadent texture.
-
For the Festive Touch
-
Food coloring (red and green) – Used to create vibrant layers; you can omit for a simpler look if preferred.
Step‑by‑Step Instructions for Mini Christmas Cheesecake
Step 1: Preheat the Oven
Begin by preheating your oven to 150°C (302°F). While it’s heating up, take a cupcake tray and line it with cupcake casings, making sure they are secure. This preparation ensures the Mini Christmas Cheesecakes release easily after baking.
Step 2: Prepare the Crust
Next, crush the Oreo cookies into fine crumbs and combine them with melted butter in a medium bowl until the texture is similar to wet sand. Spoon this mixture into the lined casings, pressing firmly to create an even, compact crust layer. This step is vital as it provides the delightful base for your cheesecakes.
Step 3: Mix the Batter
In a large mixing bowl, beat the cream cheese until it becomes smooth and fluffy, about 2 minutes. Gradually add the sugar, flour, and lemon zest, mixing until completely combined. Then, incorporate the eggs and vanilla extract, blending until the batter is silky. Finally, fold in the heavy cream to elevate the richness of your Mini Christmas Cheesecake filling.
Step 4: Add Food Coloring
Divide the batter into three bowls. Keeping one portion plain, add a few drops of red food coloring to the second bowl and green to the third, mixing until the colors are vibrant. This is where the festive touch comes into play, allowing your Mini Christmas Cheesecakes to shine with holiday spirit.
Step 5: Assemble the Cheesecakes
Start layering by pouring a spoonful of the plain batter into each casing; this forms a lovely base. Next, alternate pouring in the red and green batters, creating a marbled effect. Use a skewer to swirl the colors together gently for an attractive finish that embodies the essence of the holiday.
Step 6: Bake the Cheesecakes
Place your filled cupcake tray into the preheated oven and bake for 20 minutes. For optimal results, place a small dish of water in the oven alongside the tray; this helps maintain moisture. Once baked, let the cheesecakes rest in the oven with the door slightly ajar for an additional 5 minutes to ensure they set perfectly.
Step 7: Cool the Cheesecakes
Once the baking time is up, carefully remove the tray from the oven and let it cool at room temperature for about 15 minutes. After cooling, refrigerate the Mini Christmas Cheesecakes for at least 4 hours or overnight, allowing them to firm up and develop their delicious flavor.
Step 8: Serve and Enjoy
When you’re ready to serve, gently remove the cheesecakes from their casings. Top each Mini Christmas Cheesecake with a dollop of whipped cream and a sprinkle of festive decorations like colorful sprinkles. These delightful bites are now perfect for sharing at your holiday gatherings!
What to Serve with Mini Christmas Cheesecake
Indulge in a delightful range of flavors and textures that beautifully complement these festive sweet treats.
- Creamy Mashed Potatoes: Their velvety texture contrasts wonderfully with the cheesecake, offering a savory balance to your meal.
- Classic Green Bean Casserole: The earthy flavors of green beans add a fresh crunch that cuts through the richness of the cheesecake.
- Warm Apple Cider: Serve this spiced beverage alongside for a cozy drink that enhances the festive spirit at your gatherings.
- Gingerbread Cookies: These spiced delights harmonize with the holiday theme, creating a comforting blend of tastes and textures.
- Roasted Brussels Sprouts: Crispy on the outside and tender within, they provide a delightful flavor contrast to the sweetness of the cheesecake.
- Chocolate Mint Cookies: Perfect for the holidays, chocolate and mint pair beautifully with your Mini Christmas Cheesecake, creating a festive experience.
- Pecan Pie Bars: Their nutty and sweet flavors align perfectly, making for a hearty dessert spread no one can resist during the holidays.
- Eggnog: This creamy, spiced drink makes a festive pairing, enhancing the holiday cheer while complementing the cheesecake’s flavors.
Helpful Tricks for Mini Christmas Cheesecake
-
Room Temperature Cream Cheese: Ensure the cream cheese is at room temperature before mixing. This prevents lumps and creates a smooth batter for your Mini Christmas Cheesecake.
-
Monitor Baking Time: Do not overbake the cheesecakes. They should remain slightly jiggly in the center for a creamy texture.
-
Optional Water Bath: For moist cheesecakes, place a dish of water in the oven. This helps maintain humidity, resulting in a perfect bake.
-
Lining the Tray: Line your cupcake trays properly to make removal easier. Use sturdy casings that won’t collapse under the weight of the cheesecake.
-
Flavor Substitutions: Feel free to experiment! Consider using crushed gingerbread cookies for a festive crust variation in your Mini Christmas Cheesecake.
-
Chilling Time: Allow sufficient chilling time. For the best flavor and texture, refrigerate the cheesecakes for at least 4 hours, or even overnight if possible.
Mini Christmas Cheesecake Variations
Feel free to let your inspiration flow and customize these delectable treats to suit your unique taste!
-
Chocolate Lovers: Substitute part of the cream cheese with melted chocolate for a rich, chocolatey twist that’s irresistible. Who doesn’t love a delectable chocolate cheesecake during the holidays?
-
Ginger Snap Crust: Swap out the classic Oreo crust for crushed ginger snaps to add a warm, spicy flavor that beautifully complements the creamy filling. It’s like Christmas in every bite!
-
Dairy-Free Delight: Use dairy-free cream cheese and coconut cream to create a luscious, plant-based dessert without sacrificing flavor. Your vegan friends will love you for this!
-
Fruit Infusion: Fold in crushed cranberries or diced strawberries into the batter before baking for a fruity pop that brightens the flavor profile. It’s a delightful contrast to the richness of the cheesecake.
-
Nutty Crunch: Top each cheesecake with a sprinkle of chopped nuts, such as pecans or walnuts, for an unexpected crunch that elevates the texture. Pair this with a drizzle of caramel for extra decadence!
-
Colorful Layering: Instead of the classic red and green, why not use bright blue and yellow food coloring? Keep the festive spirit alive with a different color spin that reflects your unique style.
-
Enhanced Spice: Add a pinch of cinnamon or nutmeg to the batter for a touch of holiday warmth. It’s a simple way to infuse your cheesecakes with seasonal flavors.
-
Meringue Topping: After cooling, top with a French meringue and briefly torch until golden for a toasted marshmallow vibe. This will not only beautify your cheesecakes but also add a sweet and crunchy layer.
With these variations in mind, you can enjoy a myriad of flavors while creating joyful memories with each bite. Ready to elevate your dessert game this holiday season? They’ll pair perfectly with festive treats like Christmas Cookies Butterscotch or even a classic Cheesy Christmas Lasagna. Happy baking!
How to Store and Freeze Mini Christmas Cheesecake
Fridge: Store your Mini Christmas Cheesecakes in an airtight container in the refrigerator for up to 4-5 days, ensuring they stay fresh and delicious.
Freezer: Although not recommended, if you must freeze, wrap each cheesecake tightly in plastic wrap and store in a freezer-safe container for up to 2 months. Be aware that freezing may cause slight texture changes.
Reheating: If you choose to freeze, thaw your Mini Christmas Cheesecakes in the fridge overnight. Enjoy them cold, or let them sit at room temperature for about 30 minutes before serving for the best texture.
Make-Ahead: Mini Christmas Cheesecakes can be made a day in advance, allowing flavors to meld beautifully while saving you time for holiday festivities.
Make Ahead Options
These Mini Christmas Cheesecakes are perfect for busy home cooks looking to save time during the festive season! You can prepare the cheesecake batter and fill the casings up to 24 hours in advance. Simply follow steps one through five, then cover the assembled cheesecakes and refrigerate them. This allows the flavors to develop while keeping them fresh and delicious. When you’re ready to bake, remove them from the fridge and proceed with step six. For optimal quality, be sure to let them cool completely and refrigerate for at least four hours after baking, ensuring they are just as scrumptious when it’s time to serve.
Mini Christmas Cheesecake Recipe FAQs
How can I select the right Oreos for the crust?
Absolutely! Choose classic Oreos that are intact, without any packaging damage, as this ensures your crust will have a consistent texture. Look for cookies that are fresh, meaning they should not have a dry or stale appearance. If you prefer a twist, feel free to use flavored Oreos or even graham crackers for a different taste.
What’s the best way to store Mini Christmas Cheesecakes?
Store your Mini Christmas Cheesecakes in an airtight container in the refrigerator for up to 4-5 days. To maintain their texture and prevent drying out, ensure they are covered well. For added freshness, you can place a piece of parchment paper between the cheesecakes if they’re stacked.
Can I freeze Mini Christmas Cheesecakes?
Sure! If you need to freeze them, wrap each cheesecake tightly in plastic wrap and place them in a freezer-safe container. They can be stored for up to 2 months. To thaw, place them in the fridge overnight or let them sit at room temperature for about 30 minutes before serving. However, keep in mind that freezing may affect their creamy texture slightly.
What if my Mini Cheesecakes are jiggly after baking?
Very! It’s perfectly normal for them to be slightly jiggly in the center when you take them out of the oven. This indicates they are still creamy inside. Just allow them to set in the oven with the door ajar for another 5 minutes post-bake, then cool them at room temperature before refrigerating. This helps them firm up without losing that delightful creaminess.
Can I make these for someone with a dairy allergy?
While traditional Mini Christmas Cheesecakes are dairy-based, you can create a dairy-free version by using non-dairy cream cheese and coconut cream instead of heavy cream. This way, those with dairy allergies can indulge in these festive treats too! Just be sure to check labels to avoid any hidden dairy ingredients.
What substitutions can I make for the ingredients?
You can get creative! For a gluten-free crust, use crushed gluten-free cookies or cornstarch in place of flour. To introduce an exciting flavor profile, substitute part of the cream cheese with melted chocolate or use alternative sweeteners like maple syrup. If lemon isn’t available, simply omit it; the cheesecake will still be delicious!
Mini Christmas Cheesecake: A Festive Delight to Savor
Ingredients
Equipment
Method
- Preheat your oven to 150°C (302°F). Line the cupcake tray with casings.
- Crush Oreo cookies into fine crumbs, combine with melted butter, and press into the casings.
- In a mixing bowl, beat cream cheese until fluffy, then add sugar, flour, and lemon zest. Mix until combined. Add eggs and vanilla, then fold in heavy cream.
- Divide batter into three bowls. Add red food coloring to one and green to another.
- Layer plain batter in casings, alternating with red and green batters, swirling for a marbled effect.
- Bake for 20 minutes, placing a dish of water in the oven for moisture. Let rest in the oven for 5 minutes.
- Cool at room temperature for 15 minutes, then refrigerate for at least 4 hours.
- Serve with whipped cream and festive decorations.
Leave a Reply