
As I stood in my kitchen, the warm aroma of buttery cookies filled the air, transporting me back to my childhood baking days. These Stained Glass Cookies are not just a treat; they are edible art, turning the simplest ingredients into a vibrant spectacle. With melted hard candies creating a kaleidoscope of colors, these cookies will charm both the young and the young at heart. Not only are they a quick and engaging way to spend a weekend afternoon, but they also make for the perfect festive delight, ideal for parties or holiday gatherings. Plus, they’re incredibly versatile—experiment with shapes and candy types to suit any occasion! Are you ready to add a splash of color to your baking repertoire? Let’s get started!

Why Will You Adore Stained Glass Cookies?
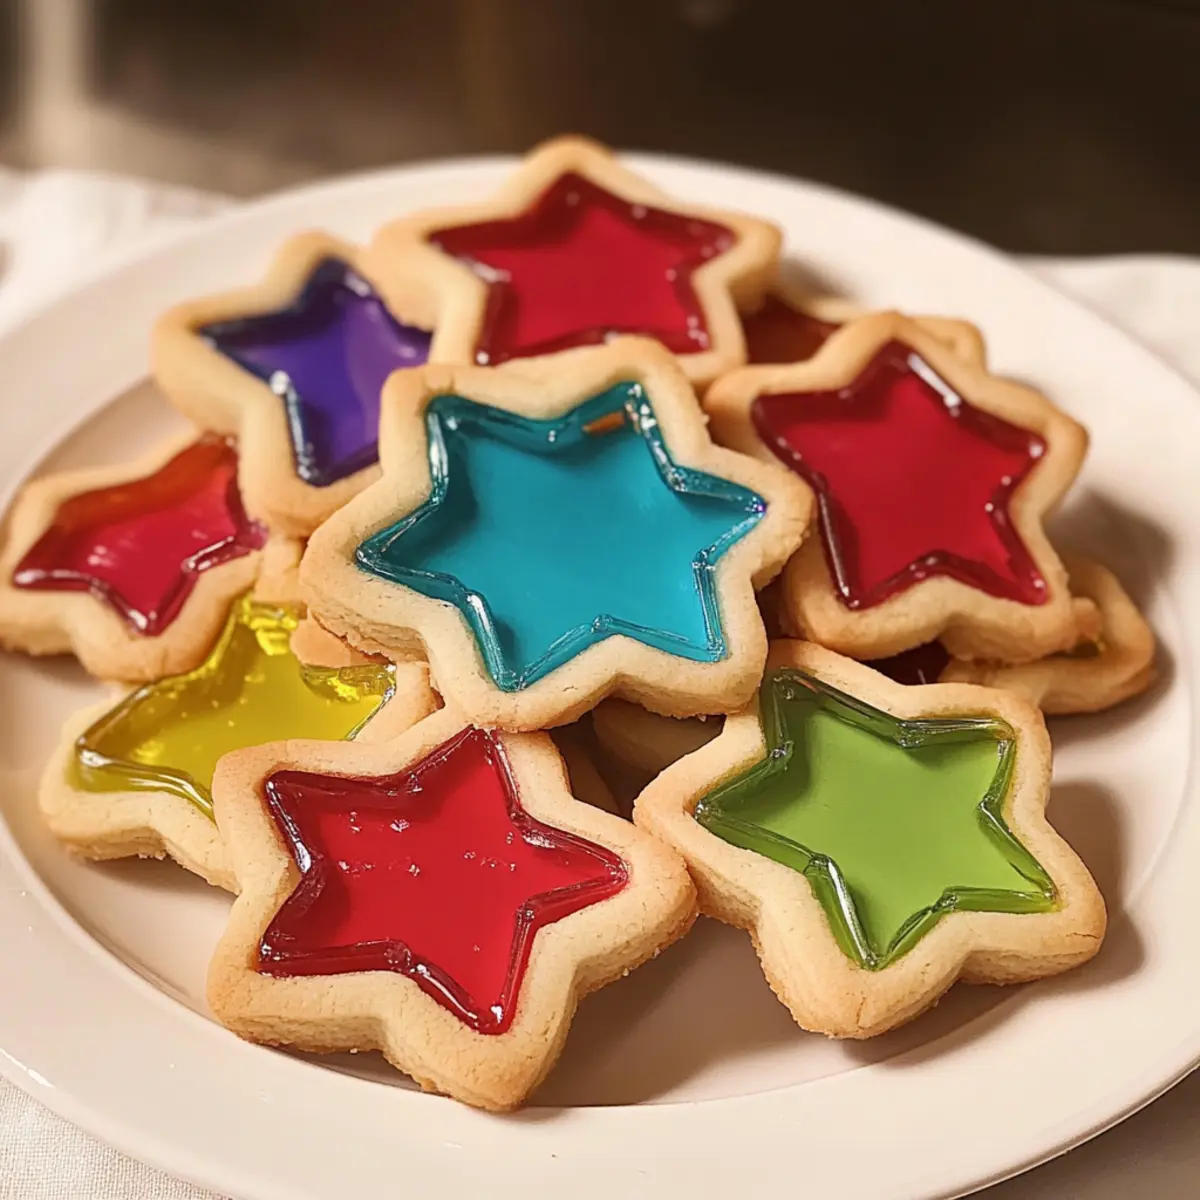
Visual Appeal: The dazzling array of colors from melted candies makes these cookies a showstopper on any dessert table.
Easy to Make: A simple recipe that requires minimal skills, perfect for bakers of all ages.
Versatile Options: Mix and match candy types for unique flavor profiles, or change shapes for different occasions.
Delightful Texture: The buttery cookie pairs wonderfully with the chewy, sweet candy center, creating a perfect bite.
Family Fun: A great activity for children and adults alike—everyone will love creating and decorating! For more delightful ideas, check out our Kiss Chocolate Cookies and Christmas Cookies Butterscotch.
Stained Glass Cookie Ingredients
For the Dough
- All-Purpose Flour – This forms the structure of your cookies; you can swap for gluten-free flour if needed.
- Baking Powder – A crucial leavening agent; make sure it’s fresh for the best rise.
- Salt – Enhances the overall flavor; feel free to use sea salt or kosher salt.
- Unsalted Butter – Provides richness; margarine is a great dairy-free alternative.
- Granulated Sugar – Brings sweetness and tenderness; brown sugar can make your cookies chewier.
- Egg – Binds all the ingredients together; a flax egg serves as a vegan substitute.
- Vanilla Extract – Adds depth to the flavor; consider almond extract for a unique twist.
For the Stained Glass Effect
- Assorted Hard Candies – These create the mesmerizing stained glass effect; try using sugar-free candies to reduce sugar content.
Step‑by‑Step Instructions for Stained Glass Cookies
Step 1: Prepare the Dough
In a medium bowl, whisk together 2 cups of all-purpose flour, 1 teaspoon of baking powder, and 1/2 teaspoon of salt. In a separate large bowl, cream 1 cup of unsalted butter with 1 cup of granulated sugar until light and fluffy, about 2-3 minutes. Add in 1 egg and 2 teaspoons of vanilla extract, mixing until well combined. Gradually incorporate the dry ingredients, creating a smooth dough. Divide the dough into two discs, wrap in plastic, and chill in the refrigerator for at least 1 hour.
Step 2: Preheat and Roll
Preheat your oven to 350°F (175°C) while the dough chills. Once ready, take one disc of dough out of the fridge and place it on a lightly floured surface. Roll the dough to about 1/4 inch thick, ensuring an even surface that will make the cutting step easy. Keep your rolling pin dusted with flour to prevent sticking. Use a sharp knife or a spatula to transfer your rolled dough onto a parchment-lined baking sheet.
Step 3: Cut and Fill
Using cookie cutters, cut out various shapes from the rolled dough to create your Stained Glass Cookies. For the ‘glass’ effect, use a smaller cutter to make a hole in the center of each cookie shape. Arrange the cookies on the baking sheet, leaving space between each cookie. Take assorted hard candies and crush them lightly, filling each hole with the colorful candy pieces to ensure they will melt and create the stained glass effect.
Step 4: Bake
Place the baking sheets in the preheated oven and bake the cookies for 8-10 minutes. Keep an eye on them—the edges should be lightly golden, and the candies will begin to melt, forming a vibrant glass center. Once baked, remove the cookies from the oven and allow them to cool on the baking sheet for a few minutes before transferring them to a wire rack.
Step 5: Cool
Let the cookies cool completely on the wire rack. This step is crucial, as the melted candy will be hot and delicate right after baking. Once cooled, the candy centers will harden, creating that spectacular stained glass look. Enjoy the delightful contrast of crisp edges and tender centers of your Stained Glass Cookies!

Storage Tips for Stained Glass Cookies
Room Temperature: Store your stained glass cookies in an airtight container for up to one week at room temperature to maintain their freshness and crisp texture.
Fridge: If you want to keep them longer, refrigerate the cookies, where they can last up to two weeks. Ensure they’re in a well-sealed container to avoid absorbing odors.
Freezer: For longer storage, freeze cookies in a single layer, then transfer to a zip-top bag for up to three months. Thaw in the fridge before enjoying.
Reheating: To refresh your cookies, warm them gently in a 300°F (150°C) oven for about 5 minutes. This will restore their delightful texture, making them just as enjoyable as the day they were baked!
Stained Glass Cookies: Fun Variations
Feel free to let your creativity shine while making these delightful cookies that are as unique as your personality!
-
Gluten-Free: Substitute all-purpose flour with a gluten-free blend for a cookie that everyone can enjoy.
Using a good quality blend ensures the texture remains light and buttery, just like the original! -
Dairy-Free: Replace unsalted butter with coconut oil or margarine for a dairy-free alternative.
This swap not only keeps the cookies moist but adds a subtle richness that might surprise you! -
Chewy Twist: Swap granulated sugar for brown sugar to create a chewier texture in your cookies.
The molasses in brown sugar adds depth to the sweetness and makes every bite a comforting experience. -
Flavorful Extracts: Experiment with almond extract instead of vanilla for a delightful twist in flavor.
The nutty undertone mixes beautifully with the cookie dough and pairs well with various candies you choose. -
Candy Variety: Use different types of candies, like sour gummies or fruit-flavored hard candies, for unique taste profiles.
Turn them into seasonal creations, swapping candies to match holidays or special events for colorful surprises! -
Spicy Kick: Add a pinch of cinnamon or even cayenne pepper to the dough for a spicy undertone.
This unexpected hint of warmth will leave your friends guessing and add an exciting kick to your cookies! -
Colorful Sugar Toppings: Before baking, sprinkle colored sugar on top of cookies for added visual appeal.
This simple addition brightens them up, making the cookies even more festive for any occasion!
For more great cookie inspirations, don’t miss our enticing Kiss Chocolate Cookies or try out the scrumptious Christmas Cookies Butterscotch.
Make Ahead Options
These Stained Glass Cookies are a dream for busy home cooks looking to save time! You can prepare the dough and chill it in the refrigerator up to 24 hours in advance—just wrap it tightly in plastic wrap to prevent drying. In addition, you can cut the cookie shapes and fill them with crushed candies up to 3 days ahead; simply store the prepared cookies on a parchment-lined baking sheet covered with plastic wrap in the fridge. When ready to bake, just preheat the oven and pop them in for 8-10 minutes until golden. With these make-ahead tips, you’ll have more time to enjoy the delightful results!
What to Serve with Stained Glass Cookies?
Imagine a delightful spread that elevates your Stained Glass Cookies from a sweet treat to the centerpiece of a cozy gathering or festive celebration.
-
Creamy Hot Chocolate: A rich, velvety drink that complements the sweet, buttery flavor of the cookies, creating a delightful pairing for a chilly day.
-
Milkshake Madness: A thick and frosty milkshake blends perfectly with the colorful cookies, making it a fun option for kids and adults alike!
-
Fruit Salad Fun: A vibrant mix of seasonal fruits adds a fresh, tangy contrast to the sweetness, balancing the deliciously rich cookies beautifully.
-
Nutty Biscotti: Provide a crunchy texture with homemade biscotti, perfect for dipping alongside cookies for those who love to experiment with flavors and textures.
-
Coffee or Tea Ritual: The deep, rich notes of coffee or a soothing cup of tea will enhance the cookie experience, making for a comforting afternoon treat.
-
Mini Cupcakes: Add some whimsy to the dessert table with mini cupcakes in playful flavors that mirror the colors of your cookies, inviting guests to indulge.
-
Candy Platter: Create a playful candy platter with assorted sweets. This not only mirrors the cookie’s candy center but encourages a joyful atmosphere for guests to enjoy.
With these fantastic options, your Stained Glass Cookies will shine even brighter at your next gathering!
Expert Tips for Stained Glass Cookies
• Chill the Dough: Ensure your dough is well-chilled for at least 1 hour; warm dough may spread too much during baking, sacrificing shape.
• Use Fresh Ingredients: Check the freshness of your baking powder and vanilla extract to achieve the best texture and flavor in your stained glass cookies.
• Handle with Care: When transferring baked cookies, use a spatula gently; the melted candy center is delicate and can break easily if not handled properly.
• Creative Candy Choices: Experiment with different candy types and colors to create unique stained glass effects; try sour candies for a delightful twist!
• Bake with Precision: Keep an eye on your cookies as they bake; remove them when the edges are lightly golden, but don’t overbake to maintain a tender center.

Stained Glass Cookies Recipe FAQs
What type of hard candies work best for the stained glass effect?
I recommend using clear or brightly colored hard candies like Jolly Ranchers or Life Savers. Avoid candies that might melt differently, like chocolate, as they won’t create the desired glassy effect.
How should I store Stained Glass Cookies?
Store your stained glass cookies in an airtight container at room temperature for up to one week. If you wish to keep them fresh for longer, they can be refrigerated for up to two weeks, provided they are in a well-sealed container to prevent them from absorbing any odors from the fridge.
Can I freeze Stained Glass Cookies?
Absolutely! To freeze your stained glass cookies, start by placing them in a single layer on a baking sheet and freeze until solid. After that, you can transfer them to a zip-top bag, where they can last for up to three months. When you’re ready to enjoy them, simply thaw in the fridge overnight, and they’ll be just as delightful!
What should I do if the candy center doesn’t melt properly?
If the candy doesn’t melt well, a few factors could be at play. Make sure you’re using the right type of hard candies, as some may not melt correctly. Additionally, ensure you’re baking at the correct temperature. If your cookies aren’t spread out enough on the baking sheet, they might also not bake evenly. A good rule of thumb is to keep them spaced adequately to allow for proper candy melting.
Can I make Stained Glass Cookies without eggs?
Yes! For a vegan version, simply use a flax egg. To make a flax egg, mix 1 tablespoon of ground flaxseed with 2.5 tablespoons of water. Let it sit for about 5 minutes until it thickens to a gel-like consistency, and use it in place of one egg in your recipe. This will help bind the ingredients while maintaining the delightful taste and texture of your cookies.
How can I keep my cookies from spreading too much while baking?
To ensure your cookies retain their shape, always chill the dough for at least one hour before rolling out. Warm dough tends to spread more during baking. If you’re still having issues, you can chill the cut-out shapes on the baking sheet for another 10-15 minutes before baking to help maintain their form!
Stained Glass Cookies: Colorful Delights Everyone Will Love
Ingredients
Equipment
Method
- In a medium bowl, whisk together 2 cups of all-purpose flour, 1 teaspoon of baking powder, and 1/2 teaspoon of salt. In a separate large bowl, cream 1 cup of unsalted butter with 1 cup of granulated sugar until light and fluffy, about 2-3 minutes. Add in 1 egg and 2 teaspoons of vanilla extract, mixing until well combined. Gradually incorporate the dry ingredients, creating a smooth dough. Divide the dough into two discs, wrap in plastic, and chill in the refrigerator for at least 1 hour.
- Preheat your oven to 350°F (175°C) while the dough chills. Once ready, take one disc of dough out of the fridge and place it on a lightly floured surface. Roll the dough to about 1/4 inch thick, ensuring an even surface that will make the cutting step easy. Keep your rolling pin dusted with flour to prevent sticking. Use a sharp knife or a spatula to transfer your rolled dough onto a parchment-lined baking sheet.
- Using cookie cutters, cut out various shapes from the rolled dough to create your Stained Glass Cookies. For the 'glass' effect, use a smaller cutter to make a hole in the center of each cookie shape. Arrange the cookies on the baking sheet, leaving space between each cookie. Take assorted hard candies and crush them lightly, filling each hole with the colorful candy pieces to ensure they will melt and create the stained glass effect.
- Place the baking sheets in the preheated oven and bake the cookies for 8-10 minutes. Keep an eye on them—the edges should be lightly golden, and the candies will begin to melt, forming a vibrant glass center. Once baked, remove the cookies from the oven and allow them to cool on the baking sheet for a few minutes before transferring them to a wire rack.
- Let the cookies cool completely on the wire rack. This step is crucial, as the melted candy will be hot and delicate right after baking. Once cooled, the candy centers will harden, creating that spectacular stained glass look.
Leave a Reply