
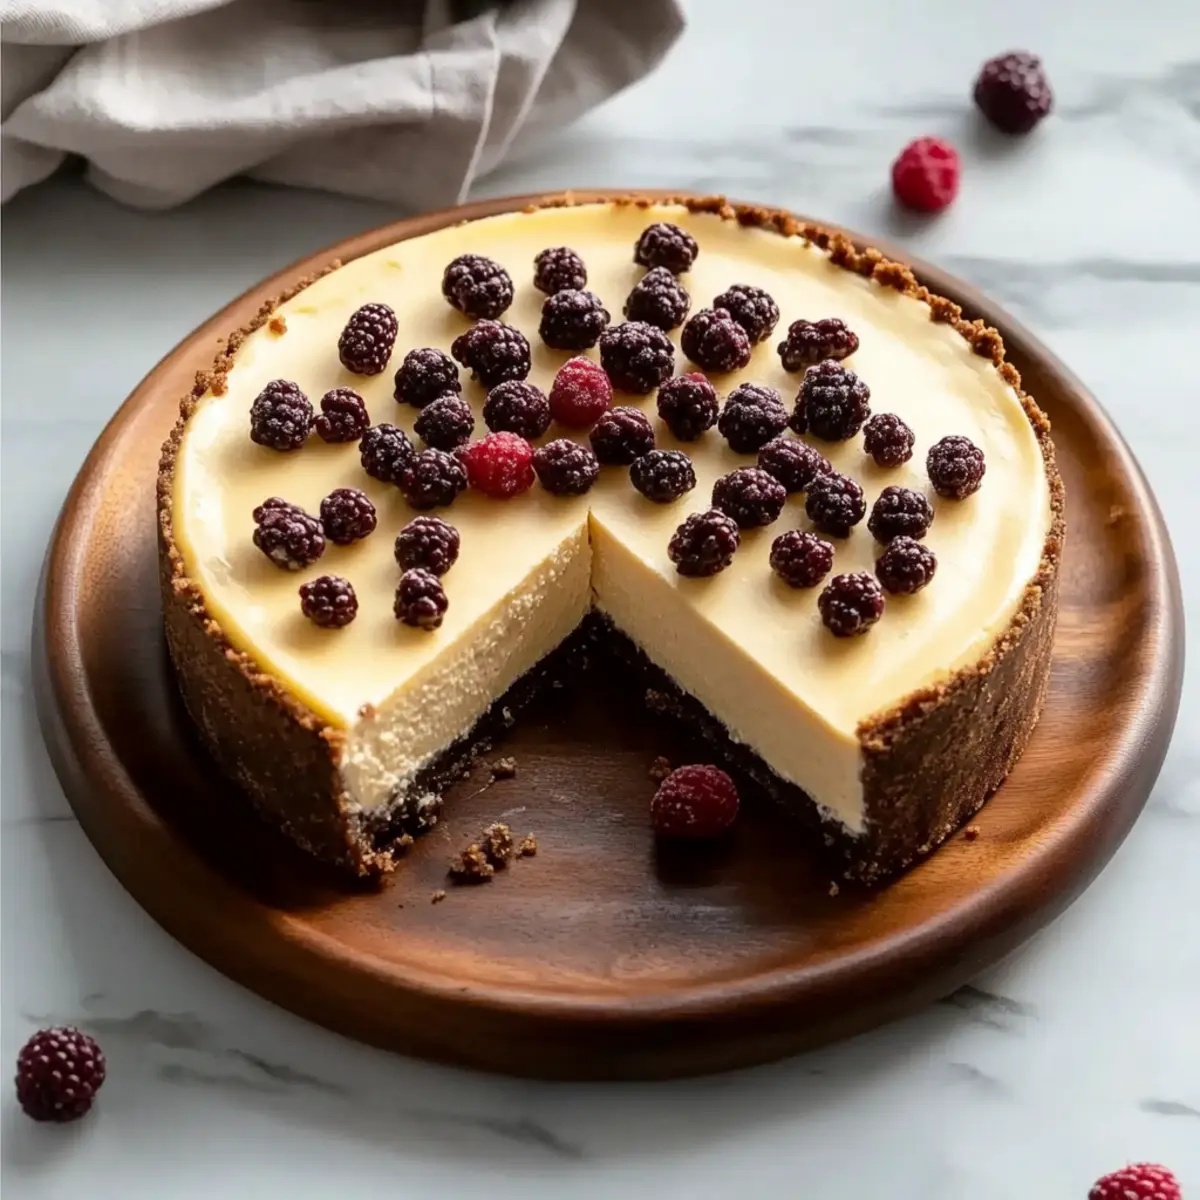
As I was rummaging through my kitchen one afternoon, I stumbled upon a tub of Greek yogurt and a pack of protein powder. An idea sparked: why not transform my love for cheesecake into a high-protein dessert? Enter this Creamy High Protein Cheesecake—a luscious yet guilt-free twist on a classic favorite. This delight delivers all the satisfying creaminess you crave, without loading up on sugar or calories. Not only is it a fantastic way to satiate your sweet tooth, but it also helps fuel your fitness goals with its high-protein content. Whether you’re hosting friends or in need of a personal indulgence, this cheesecake promises to be a showstopper. Curious about how to whip up this creamy dream? Let’s dive into this delightful recipe!
Why Is This Cheesecake a Must-Try?
Indulgent Yet Healthy: This Creamy High Protein Cheesecake allows you to enjoy a luxurious dessert without the guilt, making it a perfect choice for health-conscious sweet lovers.
Time-Saving Delight: With easy-to-follow steps, you’ll be enjoying this cheesecake in just a few hours, ideal for busy individuals balancing between sweet cravings and fitness goals.
Versatile Options: Feeling adventurous? Experiment with different protein powder flavors or fruit toppings like berries or sugar-free chocolate for a customized treat that keeps things exciting.
Crowd-Pleasing Choice: Whether you’re entertaining guests or simply treating yourself, this cheesecake will impress anyone—it’s the perfect guilty pleasure everyone can enjoy!
Easy to Store: Make-ahead friendly, you can slice and refrigerate or freeze to retain its delightful taste. For more easy meal prep options, check out my Creamy Mushroom Soup and Cajun Chicken Pasta recipes!
Creamy High Protein Cheesecake Ingredients
For the Cheesecake
- Cream Cheese – Provides structure and creaminess; make sure it’s softened for the best texture.
- Greek Yogurt – Adds protein and creaminess while keeping this cheesecake lower in fat; opt for plain, full-fat or low-fat.
- Protein Powder – Increases protein content; choose vanilla flavored or unflavored for the best results.
- Sweetener – Balances the tartness; select your favorite type like stevia or erythritol for a low-sugar option.
- Vanilla Extract – Elevates flavor with a hint of aromatic sweetness.
- Salt – Enhances overall flavor and balances out the sweetness.
Optional Crust
- Graham Cracker Crumbs – Classic choice for a rich crust; can be substituted with almond flour for a low-carb option.
- Melted Butter – Binds the crust together; you might use coconut oil for a dairy-free alternative.
This Creamy High Protein Cheesecake is your ticket to a guilt-free dessert that delivers on flavor without the excess calories!
Step‑by‑Step Instructions for Creamy High Protein Cheesecake
Step 1: Preheat and Set Up Your Oven
Begin by preheating your oven to 350°F (175°C). While it heats, prepare a water bath by placing a large baking dish filled with water on the lower rack of the oven. This will help maintain moisture while the cheesecake bakes, ensuring a creamy texture for your Creamy High Protein Cheesecake.
Step 2: Prepare the Springform Pan
Next, get your 9-inch springform pan ready. If you prefer a crust, mix graham cracker crumbs and melted butter (or coconut oil) in a bowl to form the crust mixture. Press this mixture firmly into the bottom of the pan. For a crustless option, simply grease the sides of the pan with a bit of butter or oil to prevent sticking.
Step 3: Mix the Cheesecake Filling
In a large mixing bowl, combine softened cream cheese, Greek yogurt, protein powder, sweetener, vanilla extract, and salt. Use an electric mixer to beat the ingredients together for 2-3 minutes until the mixture is smooth and creamy. Be careful not to overmix to ensure your Creamy High Protein Cheesecake maintains a soft texture.
Step 4: Pour and Level
Once your filling is ready, pour it evenly into the prepared springform pan. Use a spatula to level the surface smoothly, and gently tap the pan on the counter to release any trapped air bubbles, which contributes to a lovely, even top on your cheesecake.
Step 5: Bake and Monitor
Place the cheesecake in the oven and bake for 30 minutes. You’ll know it’s done when the edges are set but the center still jiggles slightly when moved. This jiggle is normal and indicates a creamy texture, quintessential for your Creamy High Protein Cheesecake.
Step 6: Cool Gradually
After baking, turn off the oven and crack the door open just a bit. Let the cheesecake rest in this warm environment for 5 minutes. This helps prevent cracks from forming on the surface as the temperature changes, ensuring your cheesecake remains beautifully presented when cooled.
Step 7: Chill on the Counter
Remove the cheesecake from the oven and let it cool completely on the counter for 1-2 hours. This gradual cooling is crucial to achieving that creamy texture you’re after in your Creamy High Protein Cheesecake.
Step 8: Refrigerate Overnight
Once cool, cover the cheesecake with plastic wrap and place it in the refrigerator. Allow it to chill for at least 4 hours, or preferably overnight. This extended cooling period enhances the flavors and sets the cheesecake to perfection, making it ready to serve when you are!
Step 9: Serve and Enjoy
When ready to serve, carefully release the sides of the springform pan. Slice the cheesecake into portions, and consider topping it with fresh berries or a drizzle of sugar-free chocolate sauce to elevate your dessert experience. Enjoy your indulgent yet guilt-free Creamy High Protein Cheesecake!
Creamy High Protein Cheesecake Variations
Get ready to unleash your creativity and personalize this cheesecake into your own dreamy masterpiece!
- Dairy-Free: Swap cream cheese and yogurt for dairy-free alternatives, like cashew cream and coconut yogurt, for a vegan twist.
- Nutty Crunch: Add crushed almonds or pecans to the base for a delightful nutty flavor and extra crunch that complements the creamy filling.
- Chocolate Lovers: Use chocolate-flavored protein powder to give your cheesecake a rich, chocolatey essence that’s perfect for any chocolate craving.
- Fruit-Infused: Blend in pureed fruits like strawberries or mango into the filling for a fruity twist that brightens up each slice.
- Sugar-Free: Opt for a sugar-free sweetener like erythritol or monk fruit to keep your cheesecake low in sugar without sacrificing sweetness.
- Citrus Zest: Fold in the zest of a lemon or orange to the batter. This adds a refreshing citrus note that enhances the overall flavor profile.
- Gourmet Toppings: Elevate your cheesecake by adding a drizzle of sugar-free caramel or a dollop of homemade fruit compote for an indulgent finishing touch.
- Mini Cheesecakes: Make individual servings using muffin tins for bite-sized treats that are perfect for parties or meal prep!
Each variation offers a unique twist to indulge your cravings—try them out and discover your favorite! If you’re looking for more delightful recipes, check out my Caramel Apple Cheesecake that puts a sweet spin on classics or my delicious High Protein Triple Berry bake for energizing mornings!
How to Store and Freeze Creamy High Protein Cheesecake
-
Fridge: Store the cheesecake covered in the refrigerator for up to 5 days. This will keep it fresh and creamy, ready for you to enjoy a slice whenever you crave a sweet treat.
-
Freezer: To extend its life, slice the cheesecake and wrap each piece individually in cling film or aluminum foil. It can be frozen for up to 2 months without losing its delicious flavor.
-
Thawing: When you’re ready to indulge, thaw the cheesecake slices in the refrigerator overnight for the best texture. This gentle thaw allows the cheesecake to regain its smooth, creamy consistency.
-
Serving After Freezing: Enjoy your frozen Creamy High Protein Cheesecake cold, or let it sit at room temperature for 15-20 minutes after thawing to soften slightly for perfect slicing and serving.
Expert Tips for Creamy High Protein Cheesecake
Room Temperature Cheese: Ensure your cream cheese is at room temperature before mixing to prevent lumps and achieve a smooth texture for your Creamy High Protein Cheesecake.
Gentle Mixing: Avoid overmixing after adding protein powder; this keeps the cheesecake creamy and prevents a grainy texture, making each bite delightful.
Cooling Matters: Don’t rush the cooling process—gradually cooling the cheesecake helps prevent cracks that could ruin its presentation.
Tap It Out: Before baking, gently tap the pan on the counter to release air bubbles for a smooth, even surface on your cheesecake.
Chill Time is Key: Letting your cheesecake chill overnight enhances its flavor and ensures that it sets properly, giving you that perfect slices.
Make Ahead Options
These Creamy High Protein Cheesecakes are a perfect option for those busy weeks when meal prep is essential! You can mix the cheesecake filling up to 24 hours in advance and store it in an airtight container in the refrigerator. Just remember to let the cream cheese and yogurt sit at room temperature for a bit before mixing to avoid lumps. Additionally, if you prefer a crust, you can prepare that up to 3 days ahead and keep it tightly wrapped. When you’re ready to bake, simply pour the filling into your prepared crust or greased pan, then follow the remaining instructions. This way, you’ll enjoy a rich, creamy cheesecake with far less effort, making your life a little sweeter!
What to Serve with Creamy High Protein Cheesecake
Indulging in a slice of this rich, creamy cheesecake opens up a world of delightful pairings that can enhance your dessert experience.
-
Fresh Berries: Bright, juicy berries complement the cheesecake’s richness and add a burst of natural sweetness and color.
-
Mint-Infused Whipped Cream: A dollop of light whipped cream with a hint of mint can elevate your dessert’s flavor profile while adding a refreshing touch.
-
Dark Chocolate Sauce: Drizzling warm, rich dark chocolate sauce adds a luxurious contrast, harmonizing beautifully with the cheesecake’s creamy texture.
-
Espresso or Coffee: A robust cup of espresso or coffee balances the sweetness, enhancing the flavors of the cheesecake while providing a comforting contrast.
-
Coconut Flake Topping: Toasted coconut flakes add a delightful crunch and subtle sweetness, enhancing the cheesecake’s flavor and texture for an interesting twist.
-
Homemade Fruit Compote: A warm compote made from mixed berries or stone fruits can add a tangy and sweet flavor, creating a beautiful fusion with the cheesecake’s creaminess.
-
Ice-Cold Almond Milk: Serve this cheesecake with fresh almond milk for a refreshing drink option that complements your healthy dessert choice beautifully.
By thoughtfully pairing these delightful accompaniments, you’ll create a memorable dessert experience that everyone can enjoy!
Creamy High Protein Cheesecake Recipe FAQs
What type of cream cheese should I use for the best texture?
I recommend using full-fat cream cheese that’s softened to room temperature. This ensures a smooth and creamy texture without lumps, which is crucial for your Creamy High Protein Cheesecake.
How long can I store the cheesecake in the fridge?
Your cheesecake will stay fresh and delicious for up to 5 days when covered properly in the refrigerator. Just be sure to keep it sealed to maintain its creamy texture.
Can I freeze slices of the cheesecake?
Absolutely! To freeze, slice the cheesecake and wrap each piece individually in cling film or aluminum foil. It can be safely stored in the freezer for up to 2 months. When you’re ready to enjoy, thaw it in the refrigerator overnight for the best texture.
What should I do if my cheesecake cracks while baking?
No worries—if cracks form, it can happen even to the best of us! To prevent this, let your cheesecake cool gradually in the oven with the door slightly ajar for about 5 minutes after baking. This gentle cooling helps minimize temperature shock, which is a common cause for cracks.
Is this recipe suitable for people with dairy allergies?
Not exactly, as this Creamy High Protein Cheesecake contains dairy products. However, you can substitute Greek yogurt and cream cheese with dairy-free alternatives, such as cashew cream or coconut yogurt. Just make sure to adjust the sweetness to your taste!
What can I do if my cheesecake is too dense?
If your cheesecake turns out denser than expected, a few factors may be at play. Firstly, ensure your ingredients are at room temperature to blend smoothly. Secondly, mixing too vigorously after adding the protein powder can lead to a grainy texture. For a lighter consistency, you can try incorporating a bit more Greek yogurt or reducing the baking time slightly!
Creamy High Protein Cheesecake That Tastes Indulgent Yet Light
Ingredients
Equipment
Method
- Preheat your oven to 350°F (175°C) and prepare a water bath with a large baking dish filled with water on the lower rack.
- Prepare a 9-inch springform pan. For a crust, mix graham cracker crumbs and melted butter (or coconut oil) and press into the bottom.
- In a large mixing bowl, combine softened cream cheese, Greek yogurt, protein powder, sweetener, vanilla extract, and salt. Beat with an electric mixer for 2-3 minutes until smooth.
- Pour the filling into the prepared springform pan, level the surface with a spatula, and tap the pan on the counter to release air bubbles.
- Bake in the oven for 30 minutes, until the edges are set but the center jiggles.
- Turn off the oven and crack the door open. Let cheesecake rest in the warm oven for 5 minutes.
- Remove from oven and let cool completely on the counter for 1-2 hours.
- Cover with plastic wrap and refrigerate for at least 4 hours, preferably overnight, to enhance flavors and set.
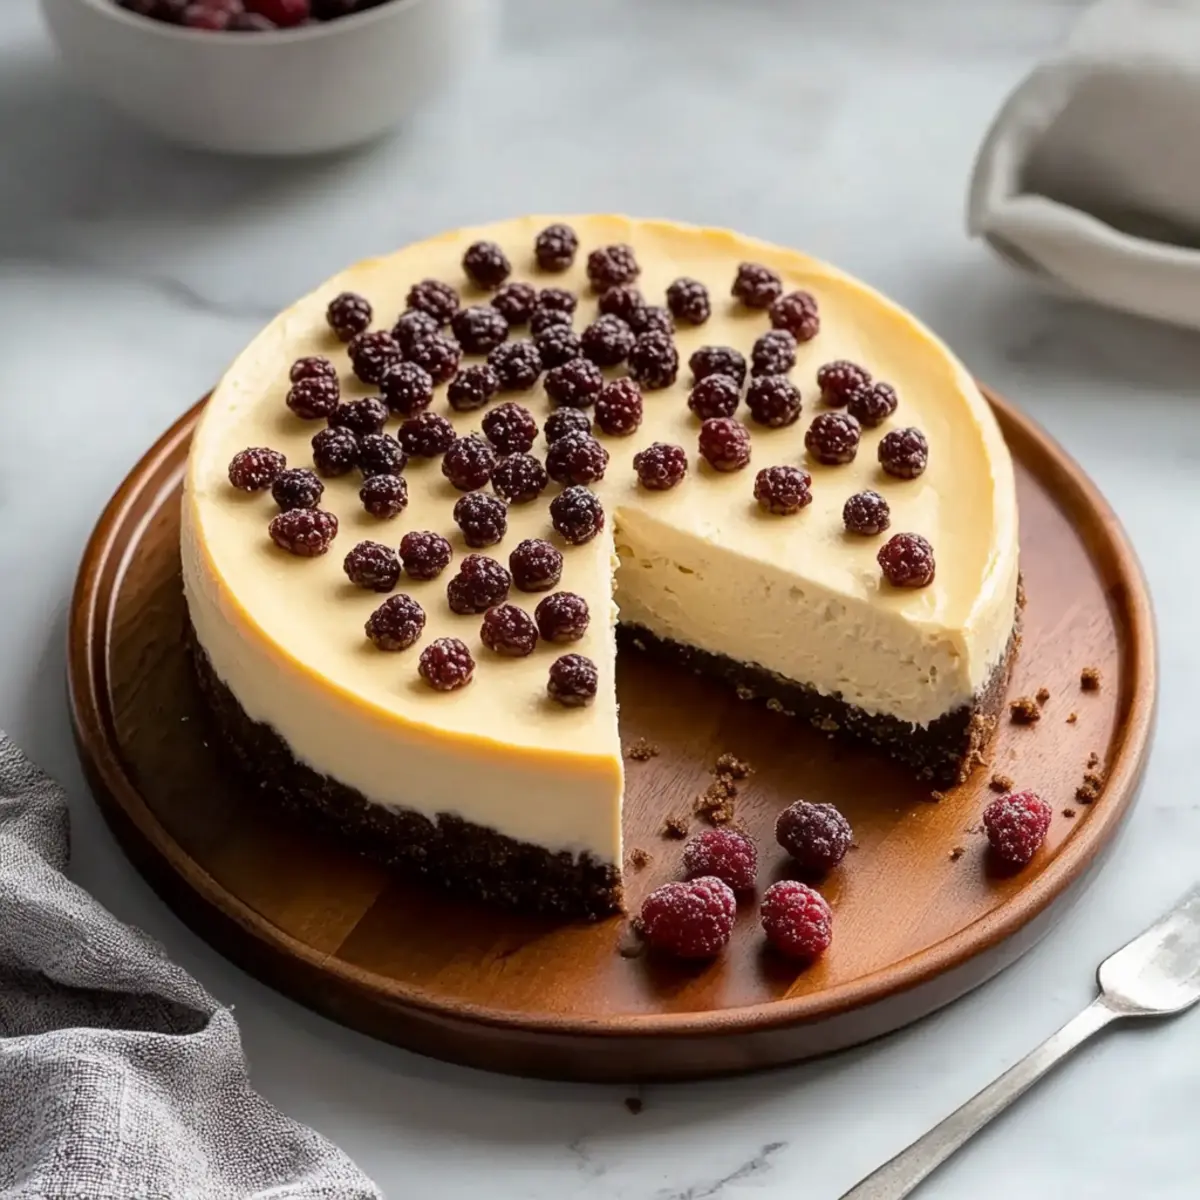
- Release the sides of the springform pan, slice into portions, and serve topped with fresh berries or sugar-free chocolate sauce.
Leave a Reply