
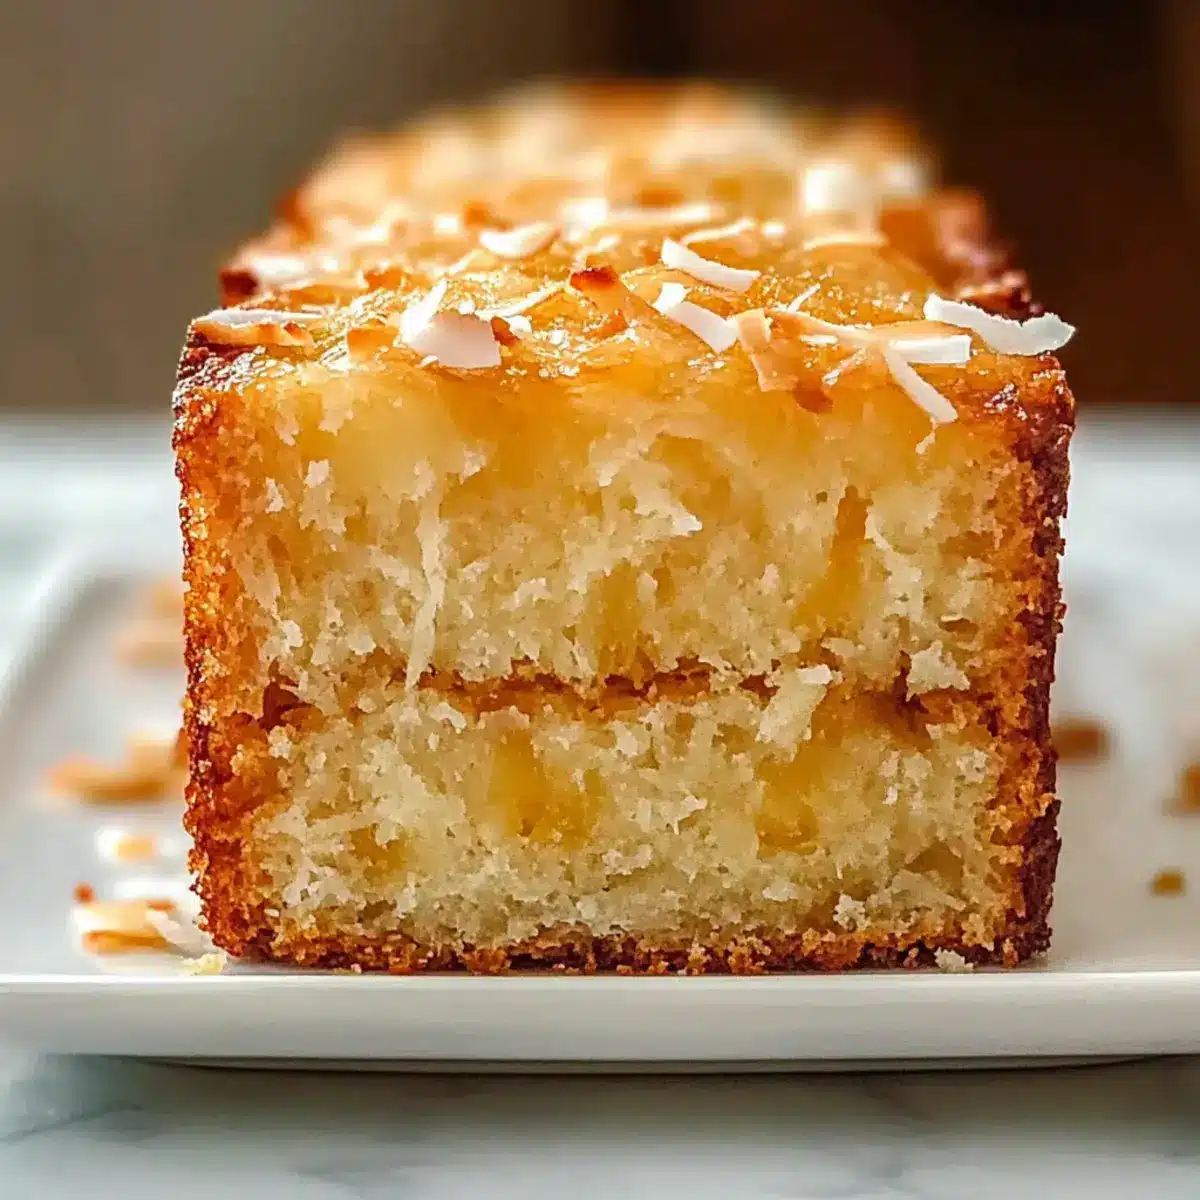
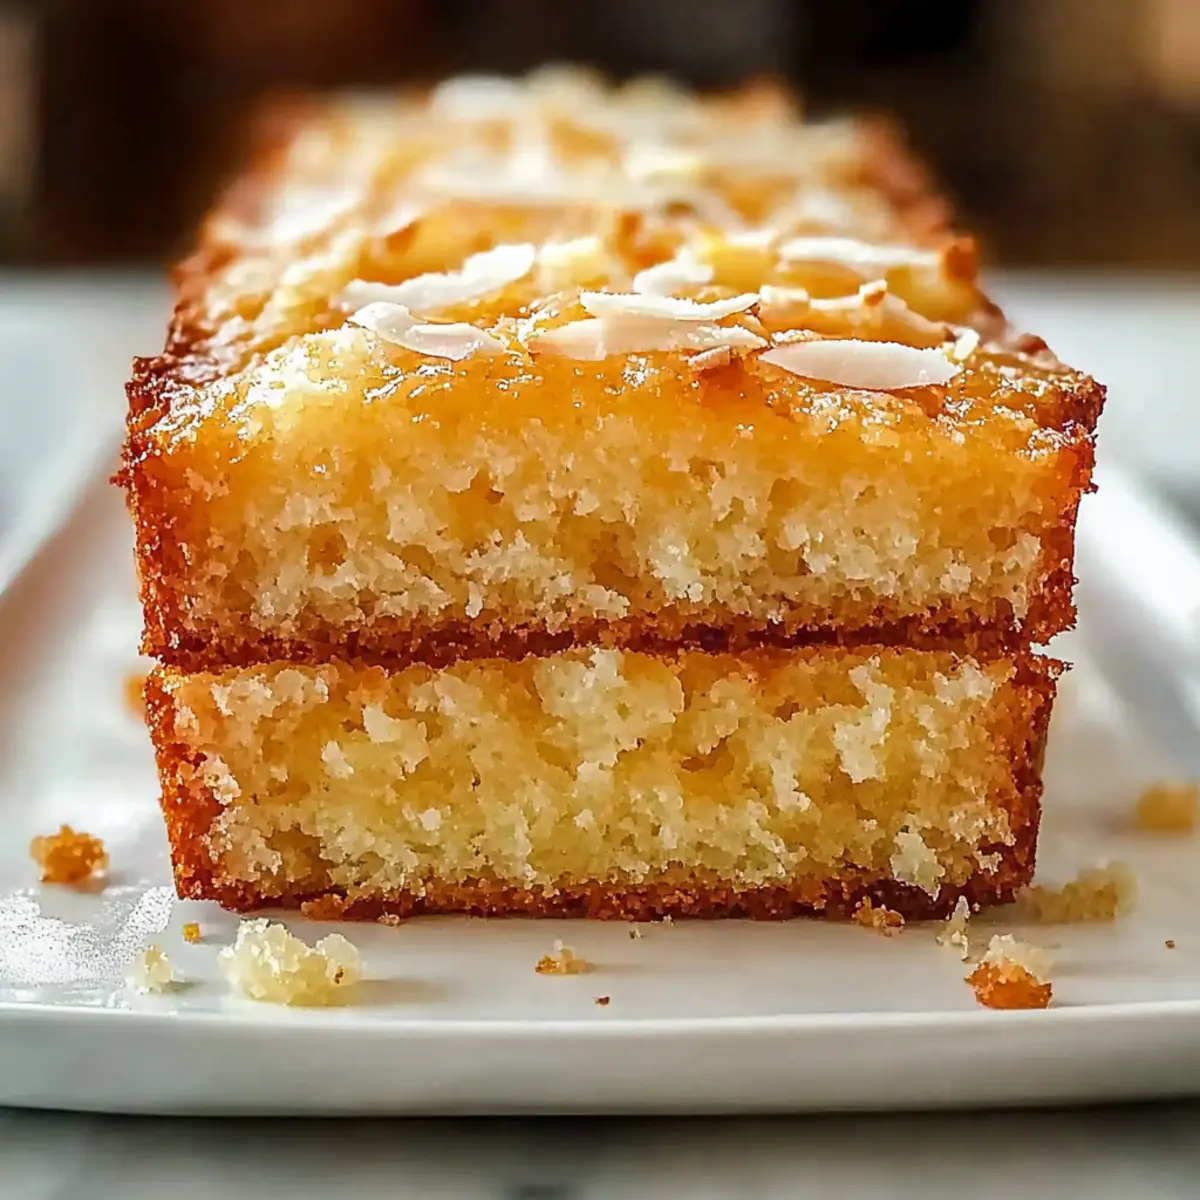
The warm scent of a tropical island wafts through my kitchen as I whip up a loaf of Pineapple Coconut Bread, instantly transporting me to sunny shores and swaying palm trees. This recipe is perfect for those quick mornings or as a delightful afternoon snack that requires minimal effort. What’s more, the added perk of gluten-free options makes it accessible for everyone! Each slice delights with moist, fluffy texture and the sweet combination of crushed pineapple and shredded coconut, making it a favorite with friends and family alike. Have you ever tasted a slice of summer?
Why is Pineapple Coconut Bread a must-try?
Tropical Escape: With each slice, you’ll feel as if you’re basking under a Hawaiian sun, enjoying the sweet harmony of pineapple and coconut.
Quick and Easy: Perfect for busy mornings, this straightforward recipe takes minimal effort and produces maximum delight.
Gluten-Free Friendly: Easily adapt the recipe to cater to gluten-sensitive friends by swapping in a gluten-free flour blend.
Crowd-Pleasing Flavor: Serve this loaf fresh for brunch, and watch it become the star of the table alongside a refreshing tropical fruit salad.
Great for Snacking: Enjoy it as a delightful afternoon treat or as part of a cozy breakfast routine, paired with your favorite nut butter!
For more delightful bread recipes, check out my Sprinkle Buttermilk Bread or Moist Banana Bread!
Pineapple Coconut Bread Ingredients
For the Batter
• All-Purpose Flour – Provides structure; substitute with a gluten-free flour blend for a gluten-free version.
• Granulated Sugar – Adds sweetness and moisture; no specific substitutions recommended.
• Baking Powder – Leavening agent for rising; ensure it is fresh for best results.
• Baking Soda – Works with baking powder for leavening; freshness is key.
• Salt – Enhances flavor; applicable to all versions.
• Unsweetened Shredded Coconut – Adds texture and tropical flavor; opt for sweetened coconut for extra sweetness.
• Crushed Pineapple – Main flavor component; use fresh pineapple for a vibrant taste but drain well for batter consistency.
• Unsalted Butter – Provides richness and moisture; substitute with coconut oil for a dairy-free option.
• Large Eggs – Binds ingredients and adds moisture; no substitutes specified.
• Vanilla Extract – Adds depth of flavor; pure extract is recommended for the best taste.
• Buttermilk – Provides moisture and tang; substitute with coconut milk for a stronger coconut flavor.
Step‑by‑Step Instructions for Pineapple Coconut Bread
Step 1: Preheat and Prepare
Begin by preheating your oven to 350°F (175°C). While the oven warms up, grease a 9×5-inch loaf pan with butter or cooking spray to ensure your Pineapple Coconut Bread releases easily after baking. This initial preparation is vital to achieving that perfect golden crust.
Step 2: Mix Dry Ingredients
In a large mixing bowl, whisk together the all-purpose flour, granulated sugar, baking powder, baking soda, salt, and unsweetened shredded coconut. Ensure the dry ingredients are well-combined, as this blend will provide the structure and flavor foundation for your bread. The whisking process should take about 1-2 minutes for an even mix.
Step 3: Combine Wet Ingredients
In a separate bowl, mix together the melted butter, large eggs, vanilla extract, buttermilk, and well-drained crushed pineapple. Stir this mixture until it’s smooth and fully combined, which should take around 2-3 minutes. The moisture from the buttermilk and pineapple will enhance the tenderness of your Pineapple Coconut Bread.
Step 4: Mix Wet and Dry Ingredients
Gently combine the wet ingredient mixture with your dry ingredients in the large bowl. Use a spatula to fold the mixtures together, just until they are barely combined; don’t worry if a few lumps remain. This careful mixing technique is key to achieving a light and fluffy texture for your bread, taking about 1 minute.
Step 5: Transfer to Pan
Pour the batter into the prepared loaf pan, using a spatula to smooth the top evenly. Ensuring the batter is evenly distributed will promote even baking and a lovely rise. Take a moment to admire the tropical blend before it heads into the oven for baking.
Step 6: Bake the Bread
Place the loaf pan in the preheated oven and bake for 55 to 60 minutes. Keep an eye on the bread towards the end; it’s done when a toothpick inserted into the center comes out clean. The aroma of Pineapple Coconut Bread will fill your kitchen, signaling that it’s almost time to enjoy!
Step 7: Cool in Pan
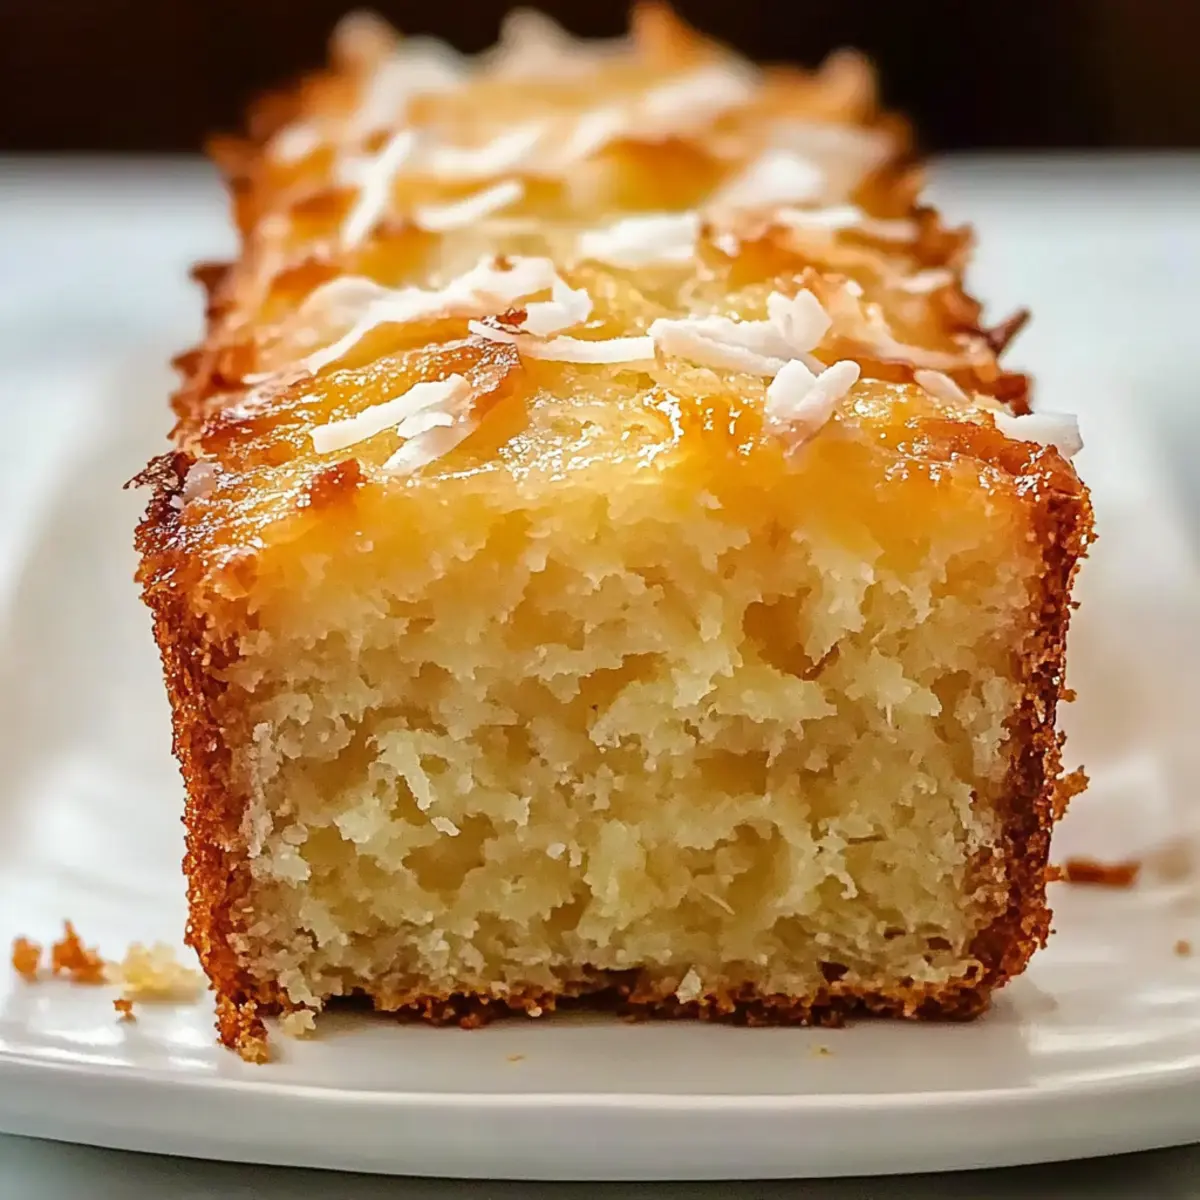
Once baked, remove the loaf pan from the oven and let it cool for about 10 minutes. This cooling period allows the bread to set and makes it easier to transfer without breaking. You’ll notice the slight golden-brown color on the top, giving you a hint of the delightful flavors inside.
Step 8: Transfer and Cool Completely
Carefully transfer the loaf onto a wire rack to cool completely. Allowing the bread to cool fully will enhance its flavors and make slicing easier. Once cooled, you’re ready to slice and serve this tropical delight, ensuring everyone gets to savor its sweet, fluffy goodness!

Expert Tips for Pineapple Coconut Bread
-
Avoid Overmixing: Gently mix the batter just until combined to prevent a dense bread. A few lumps are perfectly fine for a light texture.
-
Fresh Ingredients Matter: Ensure your baking powder and baking soda are fresh for the best rise and fluffiness in your Pineapple Coconut Bread.
-
Draining Pineapple: If using fresh pineapple, finely chop and drain it well. Excess moisture can lead to a soggy bread, so this step is crucial.
-
Butter Temperature: Use warm melted butter rather than hot to avoid cooking the eggs. This helps create a smoother batter.
-
Flavor Enhancers: Consider adding chopped macadamia nuts or walnuts for a delightful crunch, enhancing both texture and flavor in your delicious bread.
Make Ahead Options
These Pineapple Coconut Bread loaves are perfect for meal prep enthusiasts! You can prepare the batter up to 24 hours in advance by mixing the dry ingredients and storing them in an airtight container. The wet ingredients, including melted butter, eggs, vanilla, buttermilk, and crushed pineapple, can also be prepped separately, stored in the refrigerator, and ready to combine when you’re set to bake. For optimal flavor, it’s best to bake the bread the day of serving, but leftover slices taste just as delicious when wrapped tightly and stored at room temperature for up to 3 days. When you’re ready to enjoy your bread, simply bake and cool as directed, and savor that tropical delight with minimal effort!
Storage Tips for Pineapple Coconut Bread
Room Temperature: Store the bread in an airtight container at room temperature for up to 3 days. This keeps it fresh and ready for quick snacking!
Fridge: If you want to extend freshness, you can refrigerate the bread for up to a week; however, it may dry out slightly, so ensure it’s well wrapped.
Freezer: For longer storage, wrap the Pineapple Coconut Bread tightly in plastic wrap, then foil, or place it in a freezer-safe bag. It will stay delicious for up to 3 months.
Reheating: When you’re ready to enjoy, thaw at room temperature if frozen. Reheat slices in the toaster or microwave for a few seconds to bring back that delightful warmth!
What to Serve with Pineapple Coconut Bread?
The sweet aroma of fresh-baked Pineapple Coconut Bread makes any mealtime feel like a tropical getaway, so why not enhance the experience with perfect pairings?
-
Tropical Fruit Salad: A refreshing medley of vibrant fruits brings out the tropical notes, making every bite feel like a sunny embrace.
-
Coconut Tea: This fragrant, warm drink complements the bread’s flavors beautifully and adds to the tropical ambiance of your meal.
-
Vanilla Ice Cream: The creamy richness of vanilla ice cream contrasts delightfully with the moist bread, creating a luscious dessert experience.
-
Greek Yogurt with Honey: The tangy yogurt paired with honey provides a nutritious, creamy balance, perfect for breakfast or an afternoon snack.
-
Chopped Nuts: Sprinkle some macadamia or walnuts on top for added crunch, enhancing the texture while echoing the bread’s nutty undertones.
Indulge in these pairings to create memories around the table, as each bites bursts with flavors that beckon thoughts of summer days spent in paradise.
Pineapple Coconut Bread Variations
Feel free to get creative with your Pineapple Coconut Bread, adding your favorite flavors and ingredients!
-
Nutty Delight: Add ½ cup of chopped macadamia nuts or walnuts for a delightful crunch in every slice. The nutty flavor pairs beautifully with the tropical elements.
-
Coconut Boost: Substitute buttermilk with coconut milk to intensify the tropical flavor and create a richer texture. Each bite will feel like a mini-vacation to the islands!
-
Gluten-Free Option: Easily adapt this recipe using a gluten-free flour blend for a version that everyone can enjoy. Your gluten-sensitive friends will appreciate the thoughtful touch.
-
Tropical Medley: Consider throwing in shredded carrots or banana for a fruity twist. This not only amps up the flavor but also adds extra moisture and sweetness.
-
Spice it Up: Incorporate a teaspoon of cinnamon or nutmeg to evoke warm spice notes. These spices beautifully balance the sweetness of pineapple and coconut.
-
Dairy-Free Alternative: Replace unsalted butter with coconut oil for a completely dairy-free option, allowing more coconut flavor while keeping the bread moist.
-
Zesty Addition: Add the zest of one lime or lemon to infuse a citrusy kick that brightens the bread without overpowering the tropical taste. It’s a refreshing surprise with every bite!
For more delicious bread ideas, try out my Keto Cottage Bread or the classic Moist Banana Bread that your family will adore!
Pineapple Coconut Bread Recipe FAQs
What type of pineapple is best for this recipe?
Absolutely! For the best flavor, I recommend using fresh pineapple that is ripe and sweet. Look for pineapples with a fragrant aroma and a firm shell that gives slightly when pressed. If using canned crushed pineapple, be sure to drain it well to maintain the batter’s consistency.
How should I store Pineapple Coconut Bread?
To keep your Pineapple Coconut Bread fresh, store it in an airtight container at room temperature for up to 3 days. If you want to enjoy it longer, refrigerate it, but it may dry out slightly. Just be sure to wrap it tightly!
Can I freeze Pineapple Coconut Bread?
Yes, you can! To freeze, wrap the cooled loaf tightly in plastic wrap, followed by foil, or place it in a freezer-safe bag. It will stay delightful for up to 3 months. When ready to enjoy, thaw at room temperature and reheat slices as desired.
What if my Pineapple Coconut Bread turns out dense?
Very! If you notice a dense texture, it’s often due to overmixing the batter. Mix the dry and wet ingredients just until combined—lumps are perfectly fine! Ensuring your leavening agents (baking powder and baking soda) are fresh is another essential step to achieve that fluffy texture.
Are there any dietary considerations for this recipe?
Absolutely! This recipe can easily be made gluten-free by substituting all-purpose flour with a gluten-free flour blend. For those with dairy allergies, you can replace unsalted butter with coconut oil and buttermilk with coconut milk, making it a delicious choice for everyone.
Can I add other ingredients to the Pineapple Coconut Bread?
The more the merrier! Feel free to add ½ cup of chopped macadamia nuts or walnuts for added texture. Just fold them into the batter when combining wet and dry ingredients for a delightful crunch that complements the tropical flavors beautifully!
Pineapple Coconut Bread: Your Ticket to Tropical Bliss
Ingredients
Equipment
Method
- Preheat your oven to 350°F (175°C). Grease a 9×5-inch loaf pan.
- In a large mixing bowl, whisk together the all-purpose flour, granulated sugar, baking powder, baking soda, salt, and shredded coconut.
- In another bowl, mix together the melted butter, eggs, vanilla extract, buttermilk, and crushed pineapple until smooth.
- Combine the wet and dry ingredients together and mix gently until barely combined.
- Pour the batter into the prepared loaf pan and smooth the top.
- Bake for 55 to 60 minutes, or until a toothpick inserted comes out clean.
- Let cool in the pan for 10 minutes before transferring to a wire rack to cool completely.
Leave a Reply