
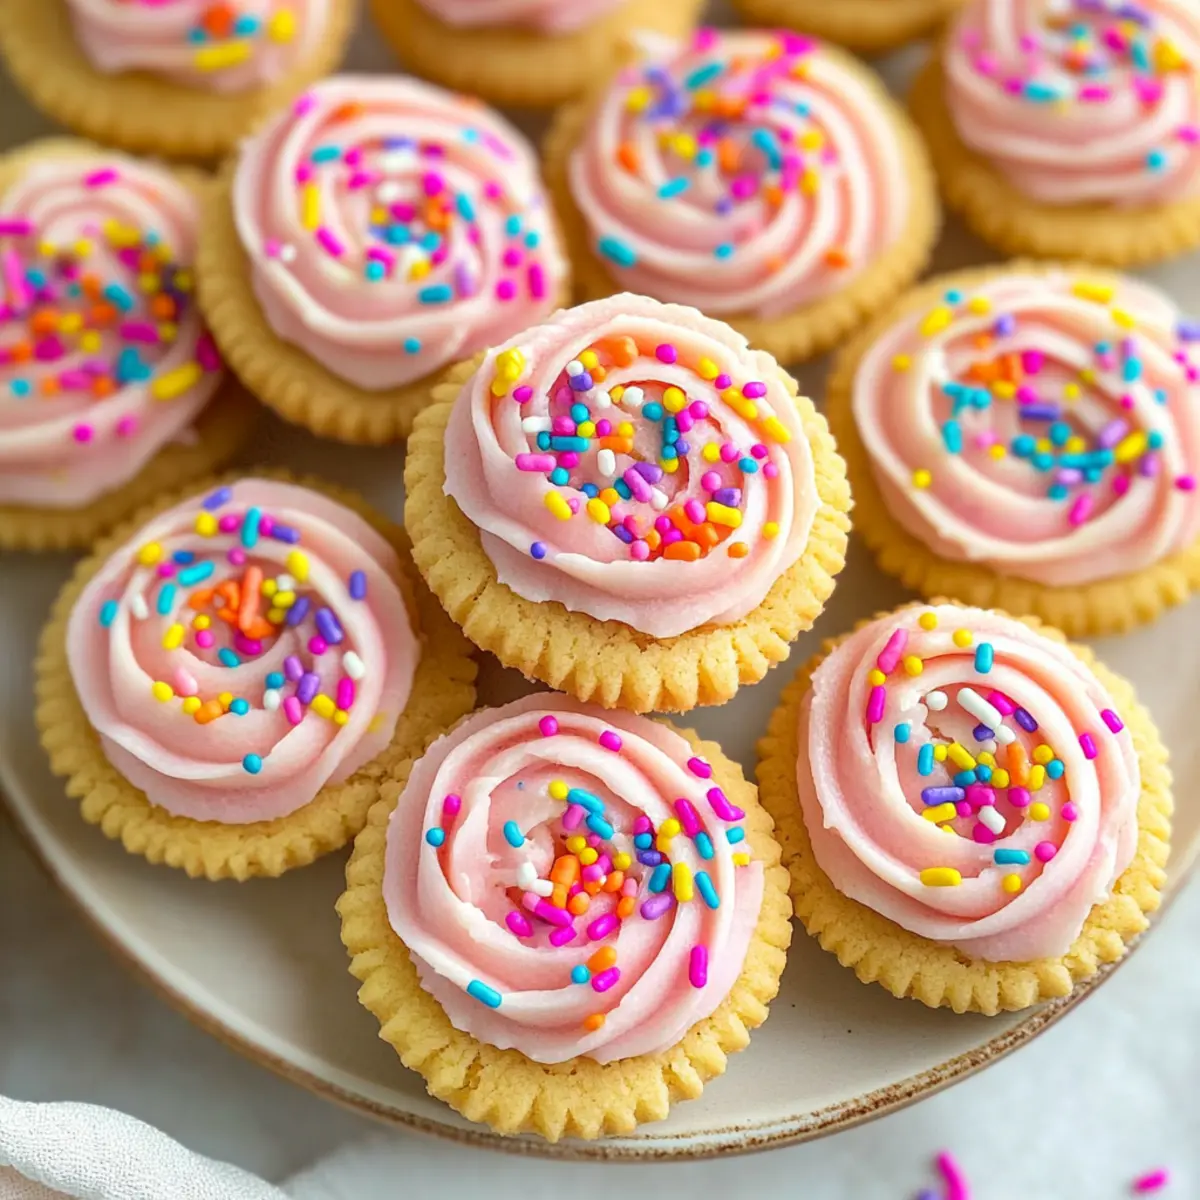
The other day, I overheard a delightful conversation between two kids as they tasted my latest creation. “These are like tiny cookie cups!” one exclaimed, as the other eagerly devoured another. Let me introduce you to my Sugar Cookie Cups—an adorable treat that marries a soft, chewy cookie base with a swirl of cream cheese buttercream frosting. Not only are these little delights a feast for the eyes, but they also bring a touch of whimsy to any holiday or gathering. Perfect for everything from birthday parties to cozy nights in, these Sugar Cookie Cups come with the bonus of being incredibly versatile; you can customize them with various frostings and toppings! Whether you want to whip up a quick treat or impress guests with a fun dessert, this recipe is just what you need. Are you ready to take your cookie game to the next level? Let’s dive into this sweet adventure together!
Why are Sugar Cookie Cups so special?
Irresistible, these Sugar Cookie Cups are a delightful twist on traditional cookies, combining a chewy base with creamy frosting. Customizable, you can mix and match frostings like chocolate or lemon curd to suit any palate. Fun and festive, they’re perfect for all occasions, whether it’s a birthday bash or a simple family gathering. Quick to prepare, these treats save you time while impressing your guests! For more tasty ideas, don’t forget to check out Monster Cookie Dough and Christmas Cookies Butterscotch.
Sugar Cookie Cups Ingredients
• For the Cookie Base
- Salted Butter – Adds richness and flavor; opt for unsalted if you prefer more control over salt levels.
- Granulated Sugar – This main sweetener contributes to the delightful texture and taste of your Sugar Cookie Cups.
- Large Egg – Serves to bind ingredients together, providing structure and moisture.
- Vanilla Extract – Enhances the overall flavor; for a unique twist, consider using vanilla bean extract.
- Almond Extract – A splash of this adds that unmistakable “sugar cookie” flavor every bite craves.
- All-Purpose Flour – Essential for structure; ensure you spoon and level your measurement for accuracy.
- Baking Powder & Baking Soda – These leavening agents work together to help your cookie cups rise beautifully.
• For the Cream Cheese Frosting
- Cream Cheese – Combines perfectly with butter for a smooth and creamy frosting texture.
- Powdered Sugar – Sweetens the frosting while helping it thicken; feel free to adjust with milk for desired consistency.
- Milk – Adds liquid to your frosting, making it easier to spread or pipe into your cookie cups.
• For Toppings
- Sprinkles – A festive touch to customize your adorable Sugar Cookie Cups for any occasion!
These ingredients come together to create the most delightful Sugar Cookie Cups that everyone will adore!
Step‑by‑Step Instructions for Sugar Cookie Cups
Step 1: Preheat the Oven
Begin by preheating your oven to 350°F (175°C). While the oven warms up, generously grease two regular muffin pans with nonstick spray to ensure your Sugar Cookie Cups release easily after baking. This preparation is essential for achieving that perfect, soft cookie base that will cradle the creamy frosting.
Step 2: Cream the Butter and Sugar
In a large mixing bowl, combine 1 cup of softened salted butter and 1 ½ cups of granulated sugar using an electric mixer. Beat them together on medium speed until the mixture is light and fluffy, which should take about 3-4 minutes. This step creates the base texture for your sugar cookie cups that will hold the delightful frosting.
Step 3: Add the Wet Ingredients
Next, crack in 1 large egg and pour in 1 teaspoon of vanilla extract and ½ teaspoon of almond extract. Mix the ingredients on low speed until they are fully incorporated and smooth, which will take about a minute. This blend of flavors enhances the overall taste, making your Sugar Cookie Cups irresistible.
Step 4: Combine the Dry Ingredients
In a separate bowl, whisk together 2 ½ cups of all-purpose flour, 1 teaspoon of baking powder, and ½ teaspoon of baking soda. Gradually add this dry mixture to the wet ingredients, stirring just until a soft dough forms. Avoid overmixing, as this could affect the chewy texture of your cookie cups.
Step 5: Form the Cookie Cups
Using a tablespoon, scoop about 2 tablespoons of dough and press it firmly into the bottom of each greased muffin cup. Be sure to push the dough halfway up the sides to create a cup shape. This will ensure that your Sugar Cookie Cups have enough room for the luscious cream cheese frosting.
Step 6: Bake the Cookie Cups
Place the filled muffin pans in your preheated oven and bake for 12 minutes. You’ll know they’re ready when the edges are lightly golden, but the center looks soft and slightly puffy. Remove them from the oven and let them cool in the pans for about 15 minutes.
Step 7: Shape the Cups
After cooling, gently press down the center of each cookie with the back of a spoon to accentuate the cup shape further. This will create the perfect little bowl for your frosting, so don’t skip this step! Once shaped, allow them to cool completely before frosting.
Step 8: Prepare the Cream Cheese Frosting
While your Sugar Cookie Cups finish cooling, prepare the frosting. In a mixing bowl, beat together 8 oz of cream cheese and ½ cup of softened butter until creamy. Gradually add 4 cups of powdered sugar and 1 tablespoon of milk, mixing until the desired frosting consistency is reached.
Step 9: Frost the Cookie Cups
Once the cookie cups are completely cool, use a piping bag or a spoon to fill each cup with the luscious cream cheese frosting. Generously swirl it for an appealing look, and finish off with colorful sprinkles. This final touch adds a festive flair, making your Sugar Cookie Cups perfect for any occasion!
Make Ahead Options
These delightful Sugar Cookie Cups are perfect for meal prep, saving you time on those busy weeknights! You can bake the cookie cups up to 3 days in advance; simply allow them to cool completely before storing them in an airtight container at room temperature. For the frosting, prepare the cream cheese buttercream and refrigerate it for up to 2 days—just remember to let it sit at room temperature for about 15-20 minutes before frosting to make it spreadable. When you’re ready to serve, fill each cooled cookie cup with the frosting and add your favorite sprinkles for a fresh, festive look. With these make-ahead tips, you’ll enjoy delicious Sugar Cookie Cups that are just as delightful as if they were made the same day!
Expert Tips for Sugar Cookie Cups
-
Room Temperature: Ensure all ingredients are at room temperature for optimal mixing, which helps in achieving a smooth dough and frosting.
-
Cool Completely: Let your cookie cups cool completely before frosting. This prevents the frosting from melting and losing its shape.
-
Perfect Measurement: Be sure to spoon and level your flour when measuring. This avoids dense cookie cups that may not rise properly.
-
Using Sprinkles: Add sprinkles right after frosting for a festive look. If you sprinkle too early, they may sink into the frosting.
-
Variation Ideas: Experiment with different frostings like chocolate or fruit-flavored cream cheese for unique Sugar Cookie Cups that everyone will love!
What to Serve with Adorable Sugar Cookie Cups
These delightful treats are not just desserts; they can inspire a whole meal experience that will delight your friends and family.
-
Fresh Fruit Salad: A colorful mix of seasonal fruits provides a refreshing contrast to the sweet cookie cups, enhancing each bite’s enjoyment. Think juicy strawberries, vibrant blueberries, and zesty citrus segments!
-
Chocolate Milkshake: This indulgent drink adds a playful, nostalgic touch, making your Sugar Cookie Cups even more enjoyable. The chocolatey goodness pairs beautifully with the creamy frosting, adding a rich flavor combination.
-
Vanilla Ice Cream: A scoop of velvety vanilla ice cream adds a delightful creaminess that complements the chewy cookie base perfectly. It creates a luxurious experience, especially when enjoyed warm!
-
Coffee or Espresso: A warm cup of coffee or a bold espresso can counter the sweetness of the cookie cups, creating a perfect balance. The bitterness of coffee enhances the rich flavors while giving a cozy feel to your dessert experience.
-
Whipped Cream Topping: Light and airy whipped cream can be dolloped on top of your Sugar Cookie Cups for added texture and creaminess. This simple addition elevates the treat, perfect for parties or gatherings!
-
Nutty Granola: For a crunchy contrast, serve a side of nutty granola. Its crunchy texture and earthy flavors can complement the sweetness of the sugary cups, providing a delightful balance.
These pairings can elevate your Sugar Cookie Cups into a whimsical dessert experience that your family and friends are sure to adore!
How to Store and Freeze Sugar Cookie Cups
-
Room Temperature: Store any leftover Sugar Cookie Cups in an airtight container for up to 3 days to keep them fresh and chewy. Enjoy them at room temperature for the best flavor and texture.
-
Fridge: If you prefer, you can refrigerate the cookie cups for up to 1 week. Just make sure to keep them in an airtight container to prevent drying out and absorbing any fridge odors.
-
Freezer: Freeze unfilled Sugar Cookie Cups for up to 2 months. Place them in a single layer in a freezer-safe container or bag, ensuring they don’t stick together. Frosting should be added after thawing.
-
Reheating: To enjoy warm, simply reheat the Sugar Cookie Cups in the oven at 300°F for about 5 minutes. This will rejuvenate their soft texture before adding frosting.
Sugar Cookie Cups Variations
Feel free to get creative with your Sugar Cookie Cups by trying out these fun variations!
-
Gluten-Free: Substitute all-purpose flour with a gluten-free flour blend for a tasty treat that everyone can enjoy.
-
Chocolate Frosting: Swap the cream cheese buttercream for rich chocolate frosting to satisfy chocolate lovers.
-
Lemon Curd Filling: For a zesty twist, fill the cups with tangy lemon curd instead of frosting. This bright flavor brings a refreshing surprise.
-
Mini Cupcakes: Use mini muffin pans for adorable bite-sized versions. Just remember to adjust the baking time down to about 8-10 minutes!
-
Nutty Flavor: Add a teaspoon of almond extract or a sprinkle of finely chopped nuts to your cookie dough for extra flavor and crunch.
-
Berry Topping: Top your frosting with fresh berries, like strawberries or raspberries, for a fruity, colorful finish. They add a burst of freshness that complements the sweetness.
-
Spiced Variation: Mix in cinnamon or nutmeg into the dough for a warm, cozy spice flavor that’s perfect for the fall season.
-
Festive Sprinkles: Change up your sprinkles for different holidays or celebrations! Use themed sprinkles to match the occasion, turning them into a festive centerpiece.
As you embark on this sweet adventure, don’t miss the chance to explore more delicious options, like Kiss Chocolate Cookies or create delightful treats with Christmas Cookies Butterscotch. Happy baking!
Sugar Cookie Cups Recipe FAQs
How do I choose the right ripeness for the ingredients?
Absolutely! For the best results, make sure your butter is softened to room temperature for easy creaming with sugar. The egg should also be at room temperature; if you’re in a hurry, place it in warm (not hot!) water for about 5-10 minutes.
What’s the best way to store leftover Sugar Cookie Cups?
You can keep your leftover Sugar Cookie Cups in an airtight container at room temperature for up to 3 days. If you prefer them chilled, refrigerate for up to a week, also in an airtight container, to keep their deliciousness intact.
Can I freeze Sugar Cookie Cups?
Yes, you can freeze unfilled Sugar Cookie Cups for up to 2 months! Just ensure they’re arranged in a single layer in a freezer-safe bag or container. Once you’re ready to enjoy, let them thaw at room temperature, and then add your frosting for a fresh taste!
I’m having trouble with the cookie cups spreading too much. What should I do?
Very common! Make sure you’re accurately measuring your flour by spooning and leveling it off. If your dough seems to wet or sticky, chilling it in the fridge for 30 minutes before baking can help maintain shape. Also, ensure your baking powder and soda are fresh for the best rise without too much spread.
Are Sugar Cookie Cups safe for gluten-sensitive individuals?
Yes! You can make these Sugar Cookie Cups gluten-free by substituting regular all-purpose flour with a gluten-free blend. Just make sure to check that all other ingredients, including baking powder, are also gluten-free to ensure a safe and scrumptious treat!
Can pets eat Sugar Cookie Cups?
It’s best to keep Sugar Cookie Cups away from pets, as ingredients like sugar and chocolate can be harmful to them. Always keep an eye on your delicious treats and share safe snacks with your furry friends instead.
Irresistible Sugar Cookie Cups with Creamy Frosting Delight
Ingredients
Equipment
Method
- Preheat your oven to 350°F (175°C) and grease two muffin pans with nonstick spray.
- In a bowl, cream together 1 cup of butter and 1.5 cups of sugar until light and fluffy.
- Add 1 egg, 1 teaspoon of vanilla extract, and 0.5 teaspoon of almond extract and mix until smooth.
- In another bowl, whisk together 2.5 cups of flour, 1 teaspoon of baking powder, and 0.5 teaspoon of baking soda, then combine with the wet ingredients.
- Scoop 2 tablespoons of dough into each muffin cup and press up the sides to form a cup shape.
- Bake for 12 minutes until edges are lightly golden and center looks soft.
- Cool in pans for 15 minutes, then press centers down to reshape and cool completely.
- In a bowl, beat 8 oz of cream cheese and 0.5 cup of butter, then gradually add 4 cups of powdered sugar and 1 tablespoon of milk until smooth.
- Frost the cooled cookie cups and add sprinkles for decoration.
Leave a Reply