
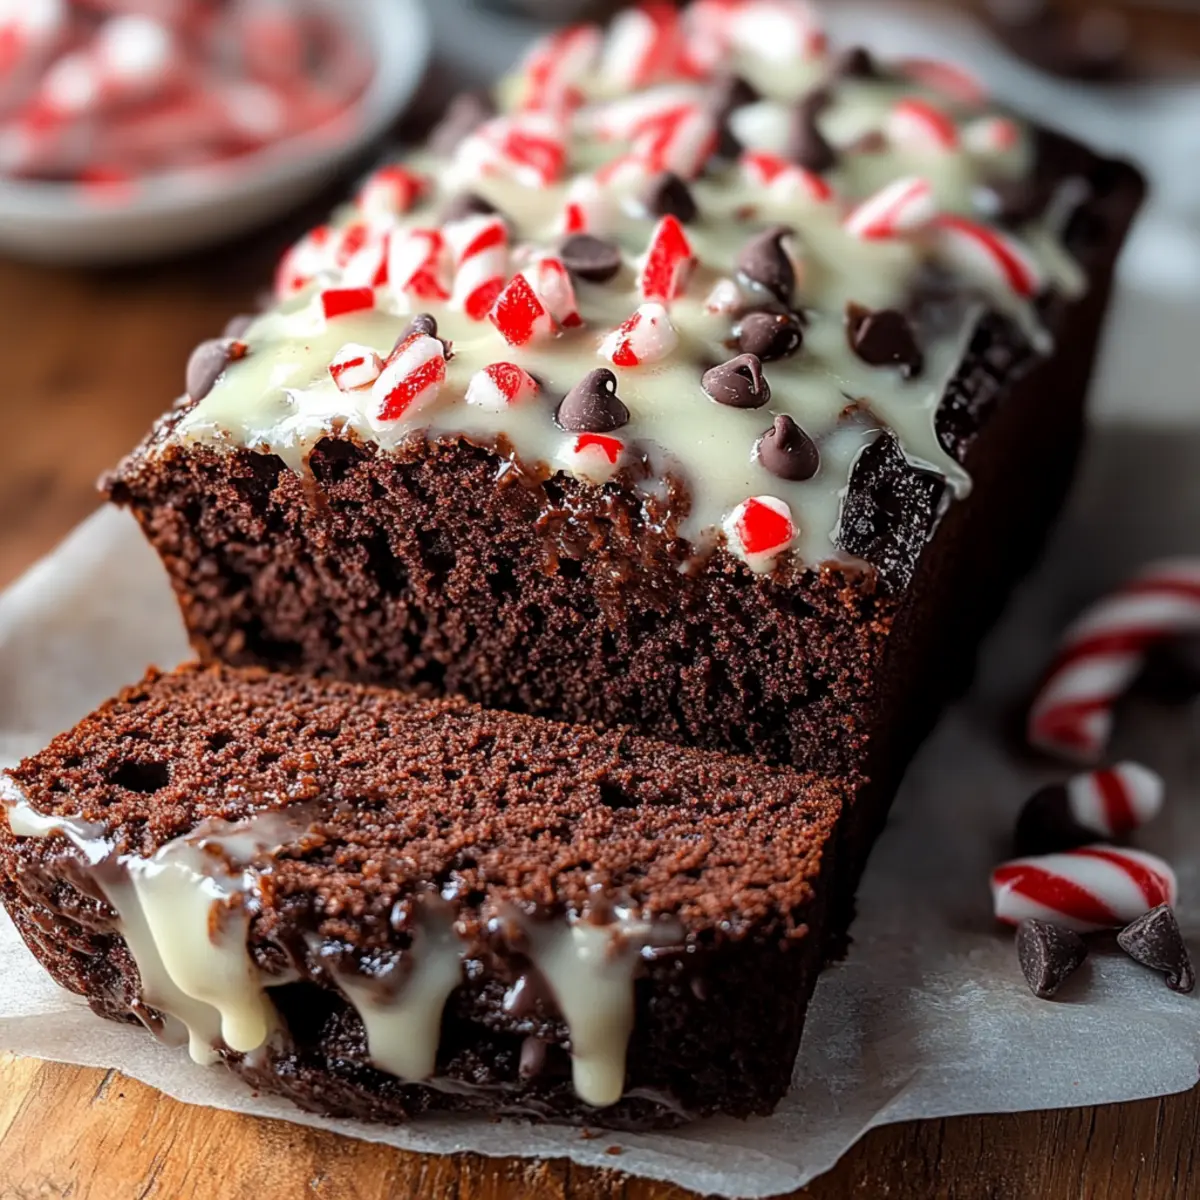
As I unwrapped the last of the holiday treats, a wave of nostalgia hit me—those cozy family gatherings filled with laughter and delicious smells were always anchored by one delightful dessert: Double Chocolate Peppermint Bread. This rich and moist loaf is a festive marvel, marrying the indulgent flavors of dark chocolate with the invigorating essence of peppermint. Perfect for sharing at holiday parties or gifting to friends, this recipe not only elevates your dessert game but also makes your kitchen feel like a winter wonderland. With just a handful of ingredients and quick prep, you can create an irresistible treat that leaves everyone craving more. Want to discover how to whip up this festive delight? Let’s get started!
Why is this recipe a holiday must-try?
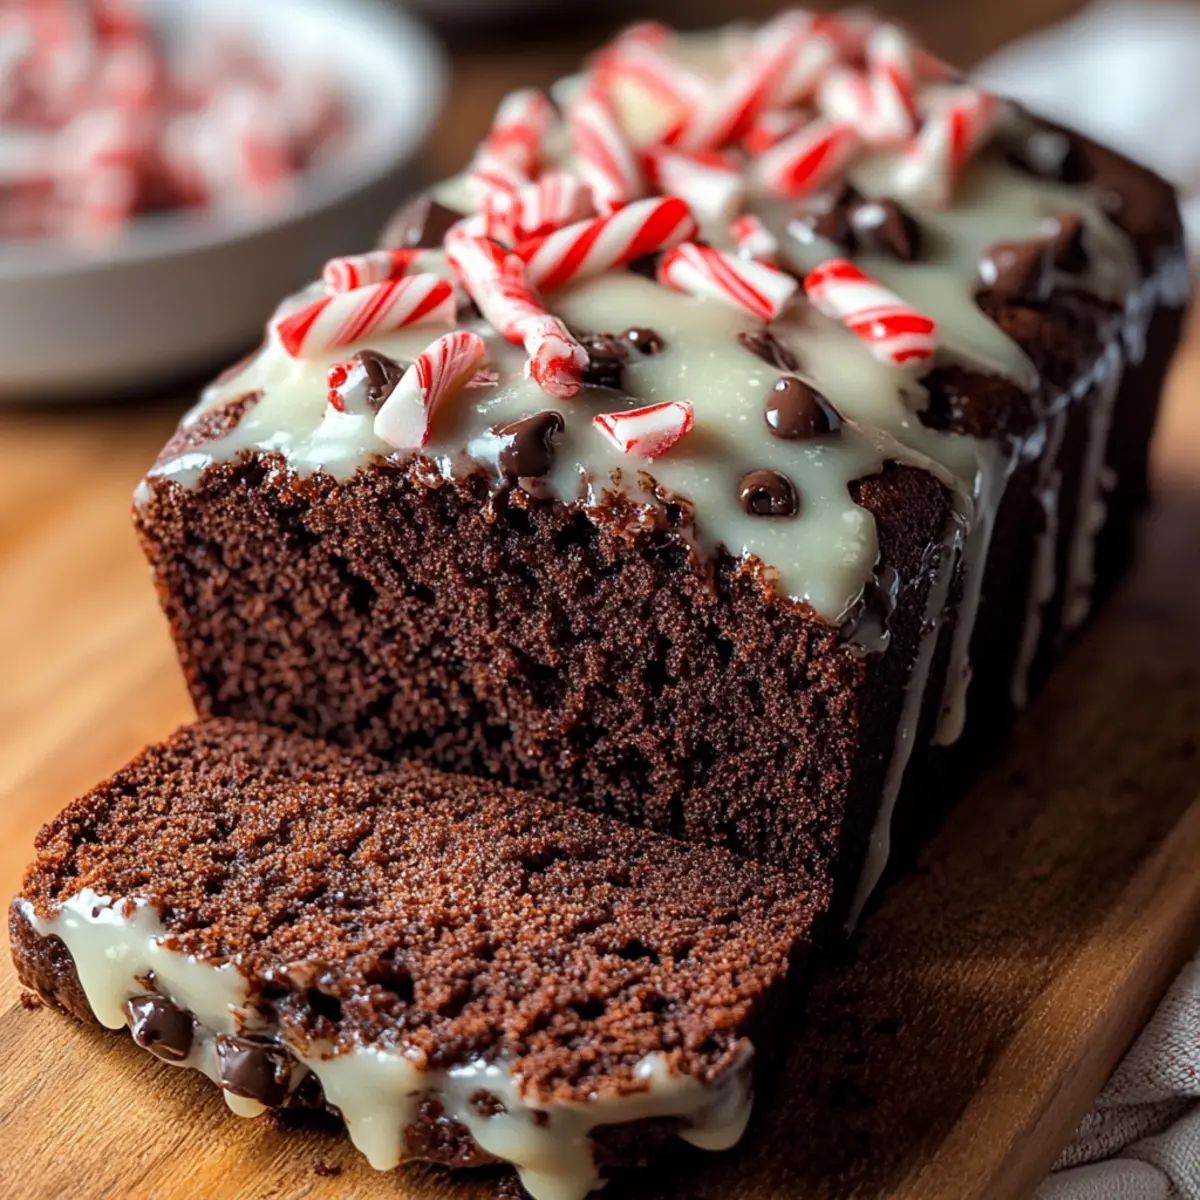
Decadent chocolate and peppermint come together in this recipe, creating a loaf that’s as delightful to eat as it is to gift. Easy to prepare, it requires minimal time in the kitchen—perfect for busy holiday schedules! Impressive visual appeal with the creamy glaze and festive candy cane topping makes it a showstopper on any dessert table. Versatile serving options allow you to enjoy it as a breakfast treat, dessert, or sweet snack for holiday gatherings. For more delicious ideas, check out my Moist Banana Bread or indulge in a slice of Peppermint Kiss Chocolate. This recipe will leave your guests asking for seconds!
Chocolate Peppermint Bread Ingredients
• Dive into the world of Chocolate Peppermint Bread with the following must-have ingredients to create this festive marvel!
For the Bread
- Butter – provides moisture and richness; use softened butter for easy creaming.
- White Sugar – sweetens the bread and contributes to its texture; can be substituted with coconut sugar for a healthier option.
- Brown Sugar – adds depth of flavor and moisture; both light and dark varieties work beautifully.
- Eggs – acts as a binding agent and enriches the dough; swap with flax eggs for a vegan alternative.
- Peppermint Extract – infuses that delightful peppermint flavor; can be replaced with vanilla extract for a different twist.
- Flour – forms the structure of the loaf; all-purpose or a gluten-free blend are great options.
- Cocoa Powder – enriches the chocolate flavor and color; Dutch-processed cocoa can deepen the richness.
- Baking Powder & Baking Soda – essential leavening agents for a good rise; ensure they are fresh for the best results.
- Espresso Powder – enhances chocolate flavor without adding coffee notes; feel free to omit if unavailable.
- Milk – adds moisture to the batter; swap for almond or oat milk for a dairy-free option.
- Dark Chocolate Chips – create pockets of gooey melted chocolate; semi-sweet or dairy-free chips are alternatives.
- Salt – balances sweetness and enhances flavor; a key element for overall taste.
- Optional: Sour Cream or Mini Marshmallows – increases moisture and adds delightful texture; Greek yogurt works as a substitute for a lighter option.
For the Frosting
- Powdered Sugar – sweetens the glaze; feel free to use stevia powdered sugar for a low-calorie version.
- Milk – thins out the glaze; substitute with non-dairy milk for a vegan-friendly option.
- Peppermint Extract – amplifies the glaze flavor; optional but highly recommended for that peppermint pop!
- Greek Yogurt – adds creaminess to the glaze; can be omitted if you prefer a simpler version.
- Crushed Candy Canes – brings a festive crunch and flavor; sprinkles can be used for a non-candy alternative.
Enjoy crafting your Chocolate Peppermint Bread with love and plenty of holiday cheer!
Step‑by‑Step Instructions for Chocolate Peppermint Bread
Step 1: Preparation
Begin your delightful journey by preheating your oven to 350°F (175°C). While the oven warms up, line two 8×4” loaf pans with parchment paper, ensuring the paper hangs over the sides to help with easy removal later. This preparation is key to achieving that perfect Chocolate Peppermint Bread with minimal sticking!
Step 2: Creaming
In a spacious mixing bowl, combine softened butter, white sugar, and brown sugar. Using an electric mixer, cream them together on medium speed for about 3–5 minutes, or until the mixture is light and fluffy. This essential step creates the luscious texture that makes your Chocolate Peppermint Bread so irresistible!
Step 3: Incorporate Eggs
Next, add the eggs to your creamed mixture, one at a time, beating well after each addition. Pour in the peppermint extract and mix until fully incorporated, about 2 minutes. This step ensures the flavors meld beautifully, giving your bread that signature peppermint magic with every slice!
Step 4: Mix Dry Ingredients
In a separate bowl, whisk together the flour, cocoa powder, baking powder, baking soda, espresso powder, and salt. This dry mixture helps to evenly distribute the leavening agents and cocoa, creating a rich chocolate base for your Chocolate Peppermint Bread. Make sure there are no lumps for a smooth batter!
Step 5: Combine Wet and Dry Mixtures
Start by gradually adding half of the dry mixture to the wet ingredients, mixing gently on low speed. Then, slowly pour in the milk and mix until just combined. Alternate with the remaining dry ingredients, folding in dark chocolate chips (and any optional sour cream or mini marshmallows) until the batter is smooth and well-blended.
Step 6: Transfer to Pans
Evenly divide the rich, chocolatey batter between your prepared loaf pans, using a spatula to smooth the tops for an even rise. The batter should fill each pan about two-thirds full, allowing space for the bread to rise beautifully as it bakes.
Step 7: Baking
Place the loaf pans into the preheated oven and bake for 45–55 minutes. To check for doneness, insert a toothpick into the center of the loaves; it should come out clean or with a few moist crumbs. The aroma of chocolate and peppermint will fill your kitchen as they bake!
Step 8: Cooling
Once baked, remove the pans from the oven and let the loaves cool in the pans for about 10 minutes. Then, carefully lift the loaves out using the parchment paper and transfer them to a wire rack to cool completely. This step is crucial to keep the texture perfect for slicing!
Step 9: Prepare Glaze
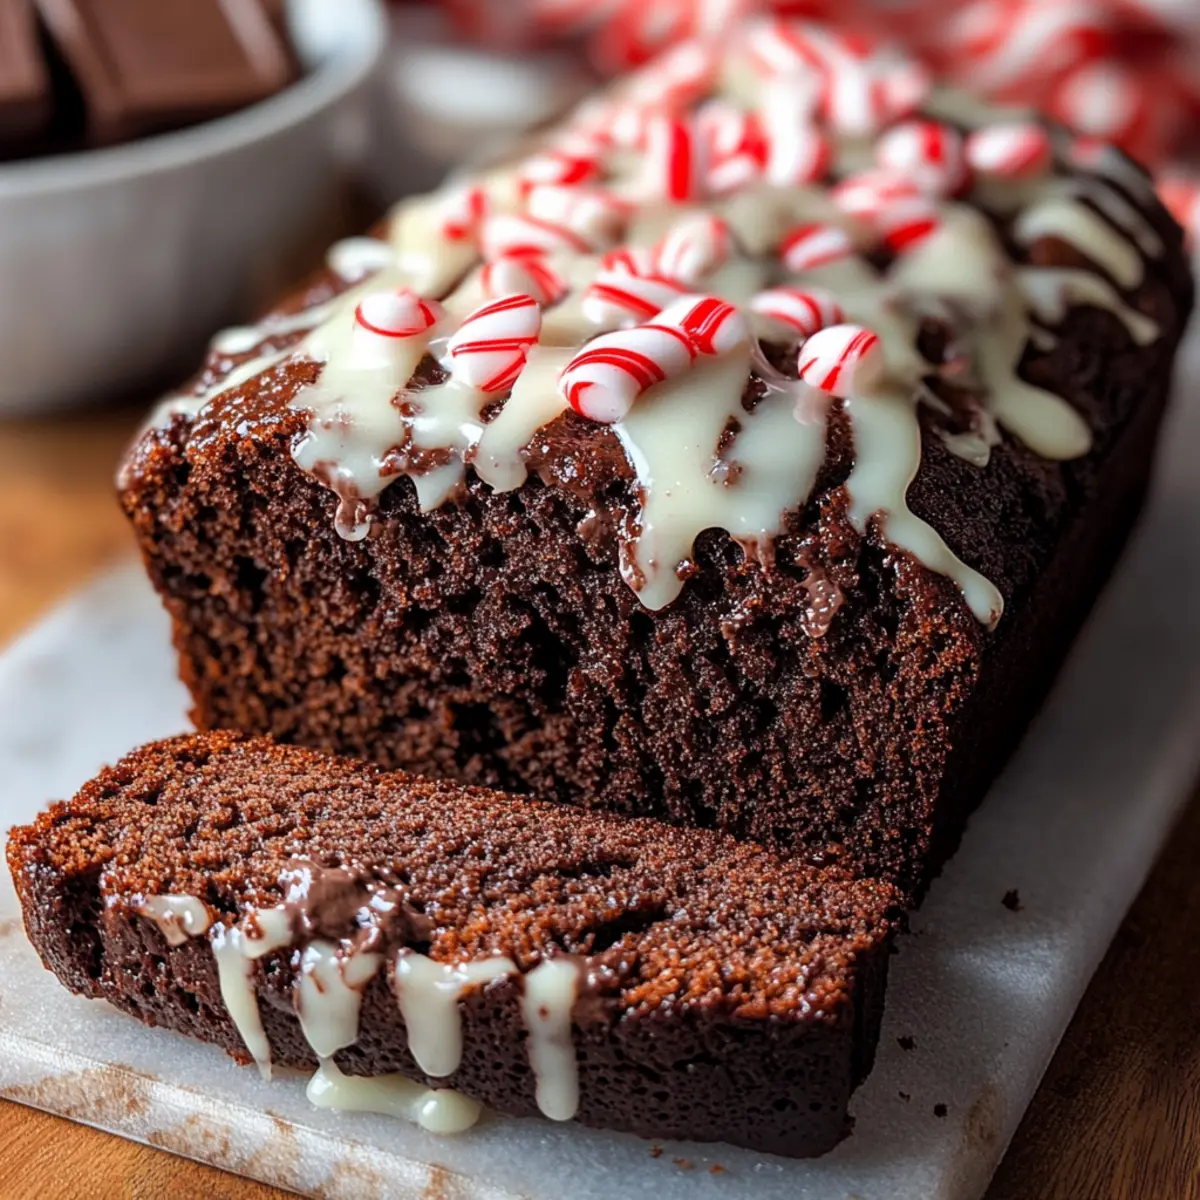
In a medium bowl, whisk together powdered sugar, milk, peppermint extract, and Greek yogurt until the mixture is smooth and drizzle-able. This creamy glaze adds a delightful finish to your Chocolate Peppermint Bread, making it even more festive and delicious when topped with crushed candy canes.
Step 10: Frosting the Loaves
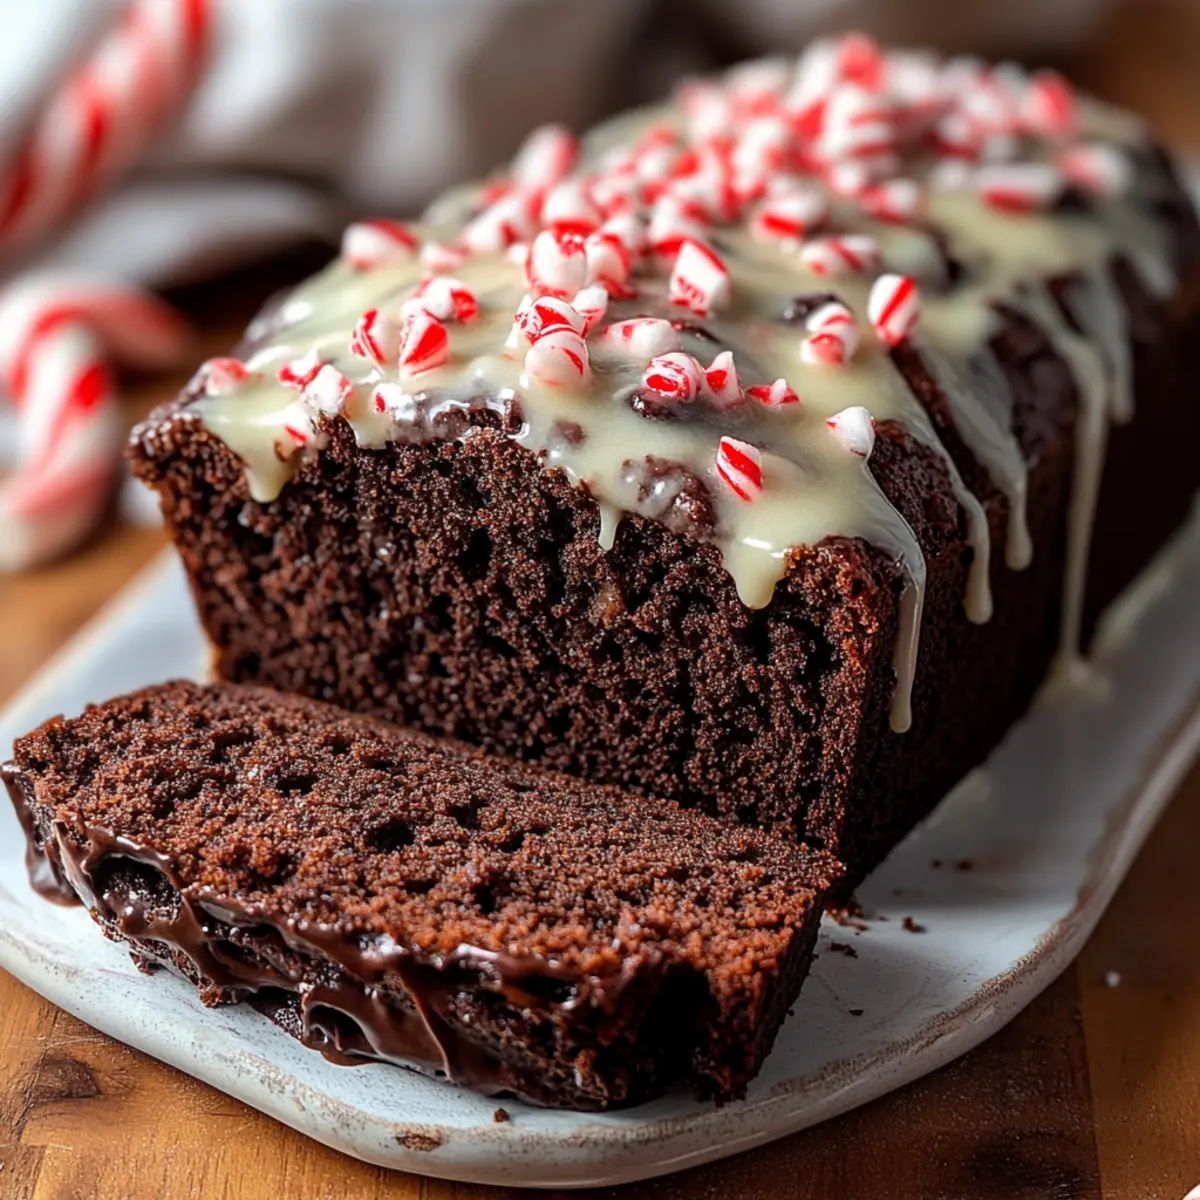
Once your chocolate peppermint loaves are completely cool, generously spread the glaze over the tops. Sprinkle the crushed candy canes on top for that perfect holiday crunch and added sweetness. The glossy finish will make your Chocolate Peppermint Bread both eye-catching and mouthwatering!
Expert Tips for Perfect Chocolate Peppermint Bread
- Fresh Ingredients Matter: Use fresh baking powder and soda for the best rise in your Chocolate Peppermint Bread. Outdated ingredients can lead to a dense loaf.
- Measure Accurately: Ensure accurate measurements, especially with flour, to avoid a dry loaf. Spoon and level flour rather than scooping directly from the bag.
- Don’t Overmix: Once the dry and wet mixtures are combined, mix just until incorporated. Overmixing can lead to a tougher texture in your delicious bread.
- Cooling Time is Key: Let the loaves cool completely before glazing. If they’re warm, the glaze will melt and may not set properly.
- Elevate the Flavor: If you want a deeper chocolate flavor, consider adding a bit more espresso powder, which enhances the richness without tasting like coffee.
- Garnish for Presentation: Sprinkle extra crushed candy canes on top of the glaze right before serving for an eye-catching finish that adds festive cheer!
What to Serve with Double Chocolate Peppermint Bread
Indulging in a slice of warm bread topped with creamy glaze sparks the joy of the season, making it irresistible to create a full meal around!
-
Rich Hot Chocolate: A steaming cup of hot chocolate pairs perfectly, echoing the flavors of chocolate and peppermint while keeping spirits cozy.
-
Fresh Holiday Fruit Salad: Bright, tangy fruits like oranges and berries cut through the richness, adding a refreshing burst of flavor to balance the sweet bread.
-
Whipped Cream or Vanilla Ice Cream: A dollop of whipped cream or a scoop of vanilla ice cream creates a luxurious treat, enhancing the indulgent chocolate experience.
-
Spiced Chai Latte: This warming beverage, with its aromatic spices, complements the rich chocolate and invigorating peppermint, making every bite a celebration.
-
Nutty Granola Parfait: Layering granola with yogurt and fresh fruit adds texture and tenderness, creating a delightful contrast to the moist bread.
-
Pumpkin Spice Cookies: These cookies bring a festive flair to your dessert table, making a perfect holiday pairing with the bread’s chocolatey goodness.
Craft a festive spread with these delightful pairings, sending your holiday guests home with sweet memories!
Variations & Substitutions for Chocolate Peppermint Bread
Customize your Chocolate Peppermint Bread with these delightful variations that will tempt your taste buds and elevate your holiday baking experience!
-
Muffins: Transform your batter into muffins by baking at 375°F for 18-22 minutes. Perfect for quick breakfasts or treats on-the-go!
-
Dairy-Free: Substitute regular milk with almond or oat milk and replace butter with coconut oil for a rich, dairy-free twist on this beloved recipe.
-
Gluten-Free: Use a gluten-free flour blend in place of all-purpose flour for a loaf that everyone can enjoy, keeping all the delicious flavors intact.
-
Mint Chocolate Chip Twist: Fold in mint chocolate chips along with dark chocolate chips for a double dose of minty goodness in every bite!
-
Holiday Spices: Add a pinch of cinnamon and nutmeg to your batter for warm, cozy spices that complement the peppermint wonderfully.
-
Cookie Dough Swirl: Add dollops of cookie dough (like edible cookie dough) into the batter before baking for a surprise treat in every slice!
-
Nutty Crunch: Mix in chopped walnuts or pecans to bring a delightful crunch and earthy flavor that plays beautifully with the chocolate and mint.
-
Chocolate Peppermint Cake: Make this recipe as a layer cake instead of bread! Bake in round pans and layer with frosting for a stunning dessert centerpiece.
For more tasty ideas, you might love exploring my Sprinkle Buttermilk Bread or bake up a delightful Chocolate Pretzel Cupcakes to share during your holiday celebrations!
Make Ahead Options
Perfect for busy holiday schedules, this Double Chocolate Peppermint Bread can be prepped ahead to save valuable time! You can prepare the batter up to 24 hours in advance; simply cover the mixing bowl with plastic wrap and refrigerate it until you’re ready to bake. Additionally, the baked loaves can be wrapped tightly in plastic wrap and stored in the refrigerator for up to 3 days. To maintain freshness, be sure the bread is completely cooled before wrapping. When you’re ready to serve, apply the glaze and garnish with crushed candy canes for a festive touch. This way, you can enjoy that delightful holiday treat with minimal effort on the day of your gathering!
How to Store and Freeze Chocolate Peppermint Bread
Fridge: Keep your Chocolate Peppermint Bread stored in an airtight container or wrapped in plastic wrap for up to 3 days to maintain its moisture and flavor.
Freezer: For longer storage, wrap completely cooled, unfrosted loaves tightly in plastic wrap and then in aluminum foil. They can be frozen for up to 3 months.
Thawing: When ready to enjoy, simply remove from the freezer and thaw in the fridge overnight. For a quicker option, let it sit at room temperature for a few hours.
Reheating: To refresh the bread, reheat individual slices in the microwave for about 10-15 seconds or warm in a toaster oven until just heated through, ensuring the chocolate stays melty!
Chocolate Peppermint Bread Recipe FAQs
How do I choose ripe ingredients for my Chocolate Peppermint Bread?
Absolutely! When selecting your butter, make sure it’s softened so it creams easily with the sugars. For fresh eggs, look for ones without any cracks on the shell, ideally with a recent sell-by date. Also, check that your cocoa powder is fresh, as old cocoa can lead to a loss in flavor.
What is the best way to store Chocolate Peppermint Bread?
Very! After your bread has completely cooled, wrap it tightly in plastic wrap and then in aluminum foil to keep it moist. You can store it in the refrigerator for up to 3 days. For longer-lasting freshness, place it in an airtight container, where it can stay delicious for up to 3 months.
Can I freeze Chocolate Peppermint Bread?
Absolutely! Follow these simple steps for freezing:
- Wait until the loaves are completely cooled and unfrosted.
- Wrap each loaf tightly in plastic wrap.
- Next, wrap it again with aluminum foil to prevent freezer burn.
- Label with the date so you can enjoy it within 3 months.
When ready to eat, just thaw in the fridge overnight or at room temperature for a few hours.
What should I do if my bread sinks in the middle?
Don’t worry! Sinking can happen to anyone. To troubleshoot, ensure your leavening agents (baking powder and baking soda) are fresh. Always perform the toothpick test: if it comes out with wet batter, it needs more time to bake. If it sinks and you’re ready to serve, drench with glaze and sprinkle candy canes on top—it’ll be a showstopper!
Is Chocolate Peppermint Bread safe for my dog?
Very! While certain ingredients in this recipe are safe for dogs in moderation, it’s best to keep the finished chocolate bread away from your furry friend. Chocolate can be toxic to dogs, so stick to dog-friendly treats and save this festive delight for your own enjoyment!
Are there any common allergies associated with this recipe?
Absolutely! Ensure you’re mindful of any nut allergies when selecting your milk alternatives, like almond milk. If you’re baking for someone with egg allergies, substituting with flax eggs is a great option! Always check labels on your chocolate chips, as some can contain allergens like dairy or soy.
Decadent Chocolate Peppermint Bread for Holiday Cheer
Ingredients
Equipment
Method
- Preheat your oven to 350°F (175°C) and line two 8x4” loaf pans with parchment paper.
- In a mixing bowl, cream softened butter, white sugar, and brown sugar together on medium speed for 3–5 minutes until light and fluffy.
- Add eggs one at a time, beating well after each addition along with the peppermint extract for about 2 minutes.
- Whisk together flour, cocoa powder, baking powder, baking soda, espresso powder, and salt in a separate bowl.
- Gradually mix half of the dry mixture into the wet ingredients, then add the milk and mix until just combined.
- Alternate with the remaining dry ingredients and fold in dark chocolate chips.
- Divide the batter between the prepared loaf pans, filling them about two-thirds full.
- Bake in the preheated oven for 45–55 minutes, checking for doneness with a toothpick.
- Let the loaves cool in the pans for about 10 minutes, then transfer to a wire rack to cool completely.
- Whisk together powdered sugar, milk, peppermint extract, and Greek yogurt until smooth for the glaze.
- Spread the glaze over the cooled loaves and sprinkle with crushed candy canes.
Leave a Reply