
The moment the oven door swings open, a wave of buttery cocoa and fresh peppermint fills the kitchen, instantly transporting me to a cozy holiday gathering. These Peppermint Kiss Chocolate Cookies are more than just a delightful treat; they offer a winning combination of chewy texture and a surprising minty center that elevates them to festive perfection. Not only are they ideal for sharing—think cookie platters during family get-togethers—but they also lend a touch of elegance and holiday spirit to any occasion. Plus, with a few simple adjustments, you can optimize their crisp edges while retaining that irresistible fudgy interior. Are you ready to fill your home with the sweet aroma of these scrumptious cookies? Let’s dive into the recipe!

Why are Peppermint Kiss Cookies a must-try?
Irresistible Aroma: The moment you start baking, your kitchen will be filled with the warm, buttery scent of cocoa mingling with fresh peppermint—truly a holiday atmosphere.
Chewy Delight: These cookies boast a perfect balance of chewy texture with a fudgy center that makes every bite a joy.
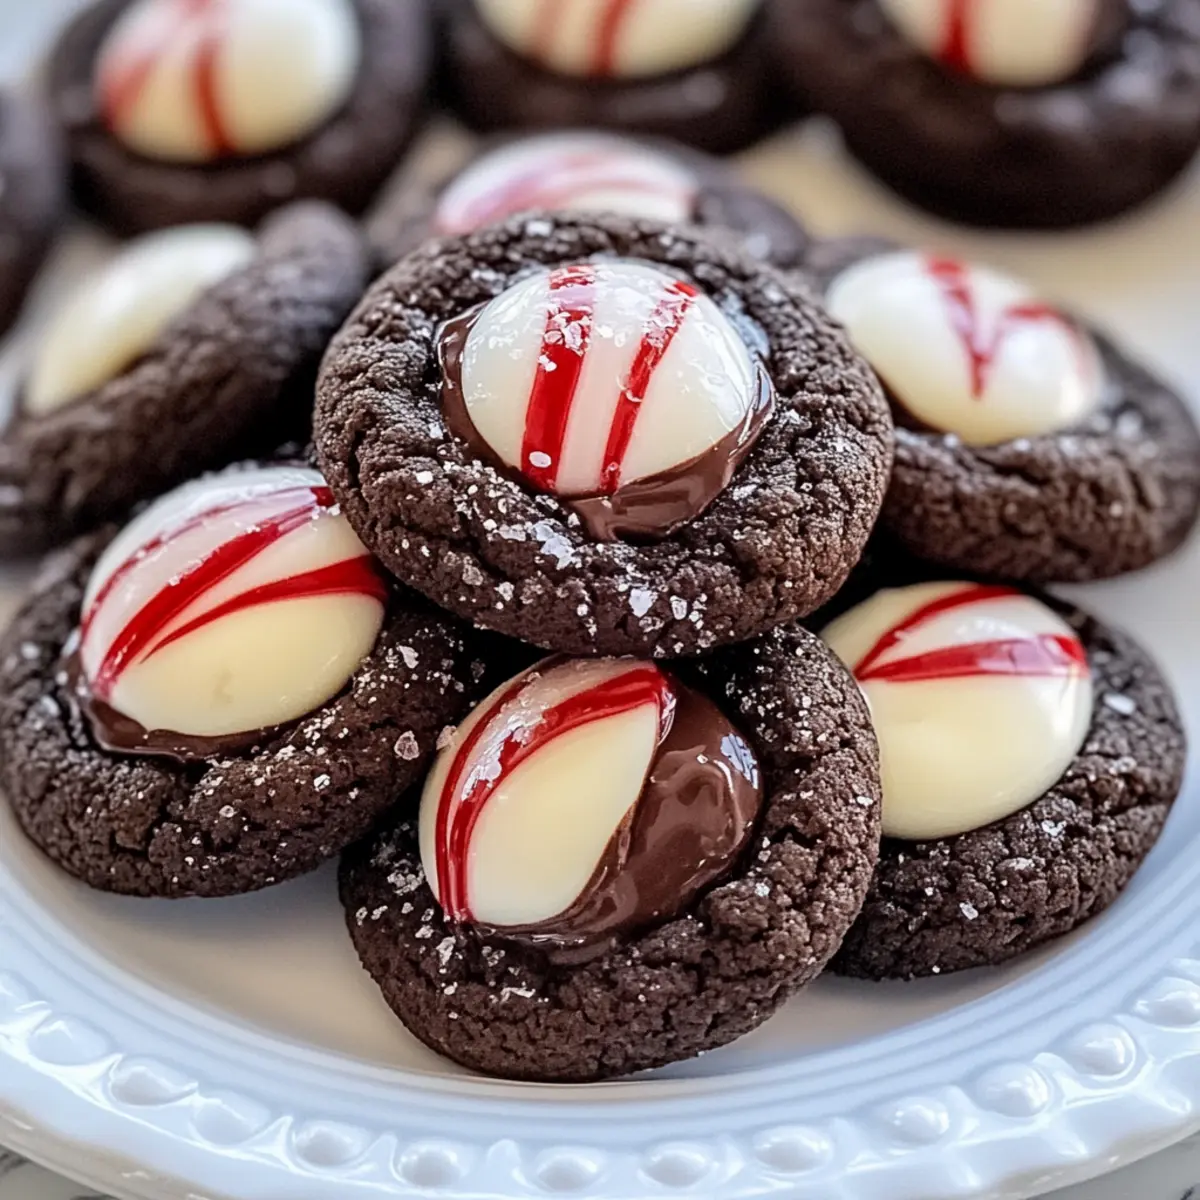
Festive Appeal: Not only are they visually stunning with their glossy tops and vibrant mint kisses, but they also make a great addition to any cookie platter or gift box.
Customizable: Want to switch things up? Try adding crushed peppermint candies for extra crunch or swap the chocolate kisses for white chocolate versions for a twist. For more delicious holiday ideas, check out these [Christmas Cookies Butterscotch](https://savoryra.com/easy-christmas-cookies-with-butterscotch/).
Quick & Simple: With less than 45 minutes from prep to bake, these cookies are a fantastic time-saver for the busy holiday season. Whether you’re baking for a crowd or just your family, these cookies will charm everyone.
Peppermint Kiss Chocolate Cookies Ingredients
These essential ingredients will help you create the most delightful Peppermint Kiss Chocolate Cookies!
For the Cookie Dough
- All-purpose flour – Provides structure; spoon and level for accuracy.
- Unsweetened cocoa powder – Infuses rich chocolate flavor; opt for dark cocoa for added depth.
- Baking soda – Acts as a leavening agent; freshness is key for proper rise.
- Salt – Balances sweetness; a pinch enhances overall flavor.
- Unsalted butter – Adds creaminess; make sure it’s at room temperature for easy mixing.
- Granulated sugar – Sweetens and gives structure; cane sugar can be a tasty alternative.
- Light brown sugar – Contributes moisture and caramel notes; dark brown sugar offers a bolder flavor.
- Eggs – Binds the ingredients; use large, room temperature eggs for the best emulsion.
- Vanilla extract – Enhances flavor; pure vanilla is always the better choice.
For the Topping
- Peppermint Hershey’s kisses (unwrapped) – Adds a festive touch and minty flavor; consider other mint chocolates if desired.
These ingredients are the key to crafting delicious Peppermint Kiss Chocolate Cookies that everyone will love!
Step‑by‑Step Instructions for Peppermint Kiss Chocolate Cookies
Step 1: Prep Dry Ingredients
In a medium bowl, whisk together 1 ¾ cups of all-purpose flour, ¾ cup of unsweetened cocoa powder, 1 teaspoon of baking soda, and ½ teaspoon of salt until well combined. The mixture should appear uniform in color, creating the perfect balance of dry ingredients for your Peppermint Kiss Chocolate Cookies. This step is crucial for even distribution of flavors, so take the time to mix well.
Step 2: Cream Wet Ingredients
In a stand mixer, beat together ½ cup of room temperature unsalted butter, ½ cup of granulated sugar, and ½ cup of light brown sugar until the mixture is pale and fluffy, about 2 to 3 minutes. You’ll know it’s ready when it appears light and airy, indicating the butter is well integrated. This creaming process helps create a tender texture in your cookies.
Step 3: Incorporate Eggs
Add two large eggs to the creamed mixture, one at a time, mixing thoroughly after each addition. Follow this with 1 teaspoon of pure vanilla extract. Beat until everything is well combined, about another minute. The batter should now be smooth and glossy. This step helps bind the cookie dough while infusing lovely vanilla flavor.
Step 4: Combine Mixtures
With the mixer on a low setting, gradually add the dry ingredient mixture from Step 1. Mix just until combined, ensuring not to overmix; the dough should be slightly sticky but hold its shape. This step is important to maintain the ideal fudge-like texture of the Peppermint Kiss Chocolate Cookies, so take care not to rush!
Step 5: Chill Dough
Cover the bowl with plastic wrap and chill the dough in the refrigerator for 30 to 45 minutes. Chilling helps the flavors meld and firms up the dough for easier handling later. You’ll know it’s ready when it’s a bit harder to the touch and less sticky, making scooping more manageable when you’re ready to bake.
Step 6: Preheat Oven
While the dough chills, preheat your oven to 350°F (177°C) and line two baking sheets with parchment paper. Preheating ensures your cookies will bake evenly, giving them that lovely crispy edge. As the oven warms up, take a moment to visualize those delicious Peppermint Kiss Chocolate Cookies baking to perfection.
Step 7: Scoop Dough
After chilling, use a tablespoon to scoop balls of dough and place them 2 inches apart on the prepared baking sheets. Each ball should be about 1 tablespoon in size. The spacing is crucial as they will spread while baking. This step lays the foundation for evenly sized cookies that bake consistently.
Step 8: Bake
Place the baking sheets in the preheated oven and bake for 9 to 10 minutes. The cookies are done when the edges look set, and the tops show slight cracks. The aroma of chocolate and peppermint will start to fill the kitchen, signaling that your Peppermint Kiss Chocolate Cookies are almost ready to shine.
Step 9: Add Kisses
Immediately after removing the cookies from the oven, press an unwrapped peppermint kiss into the center of each cookie. Allow them to sit for 5 minutes to let the kisses soften and adhere to the cookie tops. This finishing touch adds a festive flair and ensures each cookie is a delightful surprise filled with peppermint goodness.

Storage Tips for Peppermint Kiss Chocolate Cookies
Room Temperature: Store the cooled cookies in an airtight container at room temperature for up to 4 days to maintain their freshness and chewy texture.
Freezer: For longer storage, freeze the unwrapped peppermint kisses in freezer bags for up to 2 months. Allow them to thaw at room temperature before using.
Refrigerate Raw Dough: If you want to prep in advance, raw cookie dough can be refrigerated in a sealed container for up to 3 days or frozen for up to one month.
Reheating: When ready to enjoy, gently reheat the cookies in a preheated oven at 350°F for about 5 minutes to bring back that fresh-baked warmth and flavor to your Peppermint Kiss Chocolate Cookies.
Peppermint Kiss Chocolate Cookies Variations
Feel free to personalize your Peppermint Kiss Chocolate Cookies for a unique twist that captures holiday cheer and delightful flavors!
-
White Chocolate Kisses: Swap out the peppermint kisses for white chocolate kisses for a creamy, sweet alternative. This change adds a smooth richness that pairs beautifully with the chocolate backdrop.
-
Mint Chocolate Swirl: Add a few drops of peppermint extract to the dough for an extra zing. Just a bit will elevate the minty flavor, making every bite feel festive and fresh.
-
Crushed Candy Canes: Sprinkle crushed candy canes on top of your cookies before baking for a festive crunch. The added texture complements the soft chewy cookies perfectly, while giving off a holiday vibe.
-
Nutty Delight: Incorporate chopped walnuts or pecans into the dough for a delightful crunch. The nuttiness pairs perfectly with the chocolate and peppermint, adding complexity to each bite!
-
Gluten-Free Switch: Replace all-purpose flour with a 1:1 gluten-free baking blend for a delicious gluten-free version. Everyone deserves a tasty cookie, and this adjustment ensures everyone can join in on the fun.
-
Spicy Twist: Add a pinch of cayenne pepper or cinnamon for an unexpected kick. This small tweak adds warmth that balances the sweetness and celebrates the holiday spirit.
-
Choco-Mint Chip: Fold in mini chocolate chips for a melty chocolate surprise in each cookie. These extra chocolatey bits enrich the flavor while enhancing the whimsical nature of your cookies.
-
Elegant Drizzle: After the cookies are cooled, drizzle melted dark chocolate on top for a sophisticated touch. This adds a luxurious finish that makes them perfect for gifting or special occasions.
For more ideas, consider treating yourself to delicious [Chocolate Pretzel Cupcakes](https://savoryra.com/chocolate-pretzel-cupcakes/) that combine your love for chocolate and creative baking!
What to Serve with Peppermint Kiss Chocolate Cookies
Imagine gathering around the table with friends and family, as the festive aroma of peppermint and chocolate envelops the room, inviting everyone to indulge in a delightful feast.
- Whipped Cream: A dollop of whipped cream adds a luscious, airy texture that beautifully balances the rich chocolate cookies.
- Hot Cocoa: Warm up the winter nights with a steaming cup of hot cocoa, making an ideal pairing that complements the minty flavors.
- Coffee: Rich, freshly brewed coffee enhances the chocolate notes, creating a comforting experience perfect for cozy gatherings.
- Milk: The classic duo! A cold glass of milk sweetens the deal, offering a nostalgic touch that everyone loves with cookies.
- Chocolate Fondue: Dip the peppermint kiss cookies into warm chocolate fondue for a decadent treat that elevates your dessert experience.
- Fresh Berries: Bright, juicy berries like raspberries or strawberries add a pop of freshness that contrasts beautifully with the cookies’ sweetness.
- Ice Cream: Pair them with a scoop of vanilla or peppermint ice cream for a delightful sundae that celebrates the holiday spirit.
Whether you’re hosting a festive gathering or simply indulging in a quiet night at home, these pairings will elevate your Peppermint Kiss Chocolate Cookies into a full holiday experience.
Make Ahead Options
These Peppermint Kiss Chocolate Cookies are perfect for busy bakers looking to save time during the hectic holiday season! You can prepare the cookie dough up to 3 days in advance by chilling it in an airtight container in the refrigerator. For even longer storage, the dough can be frozen for up to one month; just thaw overnight in the refrigerator before using. When ready to bake, scoop the chilled dough onto your baking sheets, and proceed with baking as usual. This ensures that your cookies retain their soft, chewy texture while making holiday baking a breeze. Enjoy delicious, freshly baked Peppermint Kiss Chocolate Cookies with minimal effort!
Expert Tips for Perfect Peppermint Kiss Chocolate Cookies
-
Chill the Dough: Ensure the dough is chilled for at least 30 minutes to maintain the shape of your Peppermint Kiss Chocolate Cookies, preventing them from spreading too much.
-
Don’t Overmix: Mix the dough just until combined to keep a fudgy center. Overmixing can lead to dry cookies, so be gentle!
-
Watch the Bake Time: Keep an eye on the cookies as they bake. Remove them at the lower end of the bake time for a tender, gooey center.
-
Prep Kisses Early: Unwrap the peppermint kisses in advance to avoid last-minute chaos when the cookies come out of the oven.
-
Experiment with Flavors: Try swapping in different chocolate kisses or adding crushed peppermint for an exciting twist on your Peppermint Kiss Chocolate Cookies!

Peppermint Kiss Chocolate Cookies Recipe FAQs
How do I choose the right cocoa powder?
Absolutely! For the best flavor in your Peppermint Kiss Chocolate Cookies, go for unsweetened cocoa powder with a rich, dark color. If you’re feeling adventurous, consider using dark cocoa powder for an intense chocolate taste that pairs beautifully with the peppermint.
How should I store the cookies?
You can store the cooled cookies in an airtight container at room temperature for up to 4 days. I recommend placing parchment paper between the layers to maintain their texture. If you’d like to keep them longer, freezing is a fantastic option!
Can I freeze the cookie dough?
Yes, you can absolutely freeze the raw cookie dough! After chilling, scoop the dough into balls and freeze them on a baking sheet until solid. Once frozen, transfer them to a freezer bag for up to one month. When you’re ready, bake them directly from frozen—just add an extra minute or two to the baking time for perfect Peppermint Kiss Chocolate Cookies.
What if my cookies spread too much while baking?
Very! If your cookies spread more than you’d like, it could be due to the dough being too warm or not chilling it long enough. Make sure to chill the dough for at least 30 minutes before scooping. Also, ensure your baking sheets are at room temperature when placing the dough balls; placing them on warm sheets can lead to excess spreading.
Can I make these cookies gluten-free?
Absolutely! To turn your Peppermint Kiss Chocolate Cookies into a gluten-free treat, simply substitute the all-purpose flour with a 1:1 gluten-free baking blend. This way, everyone can join in on the festive delight!
Are there any allergens to be aware of?
Yes, keep in mind that this recipe contains common allergens such as eggs, dairy (from butter), and gluten. If you’re baking for friends or family with specific dietary restrictions, make sure to check labels for potential traces of nuts, soy, or dairy, especially in the peppermint kisses!
Peppermint Kiss Chocolate Cookies That Melt in Your Mouth
Ingredients
Equipment
Method
- In a medium bowl, whisk together the dry ingredients: flour, cocoa powder, baking soda, and salt until well combined.
- In a stand mixer, beat the unsalted butter, granulated sugar, and light brown sugar until pale and fluffy, about 2 to 3 minutes.
- Add the eggs one at a time and mix thoroughly, then add vanilla extract and beat until well combined.
- Gradually add the dry ingredients while mixing on low until combined; the dough should be slightly sticky.
- Cover the bowl with plastic wrap and chill the dough in the refrigerator for 30 to 45 minutes.
- Preheat your oven to 350°F (177°C) and line two baking sheets with parchment paper.
- Scoop balls of dough using a tablespoon and place them 2 inches apart on the prepared baking sheets.
- Bake for 9 to 10 minutes until the edges are set and the tops show slight cracks.
- Immediately press an unwrapped peppermint kiss into the center of each cookie and let sit for 5 minutes.
Leave a Reply