
“Who doesn’t love a little sweet magic in the kitchen?” As I gathered my kids around the table for our annual Easter treats tradition, I was reminded of how creating No-Bake Easter Egg Oreo Balls brings joy to both young and old. These delightful, kid-friendly desserts combine crushed Oreo cookies with a creamy filling, wrapped in a colorful chocolate coating that’s almost too pretty to eat! With minimal prep time, they fit perfectly into our busy spring celebrations while still allowing us to connect as a family. Plus, the customizable options make them an exciting project that sparks creativity in every little chef. Ready to hop into some delicious fun? Let’s roll up our sleeves and get started!

Why Try These Oreo Balls?
Kid-Friendly Fun: These No-Bake Easter Egg Oreo Balls are perfect for little hands to help make! Kids will love dipping and decorating, making it an enjoyable family activity.
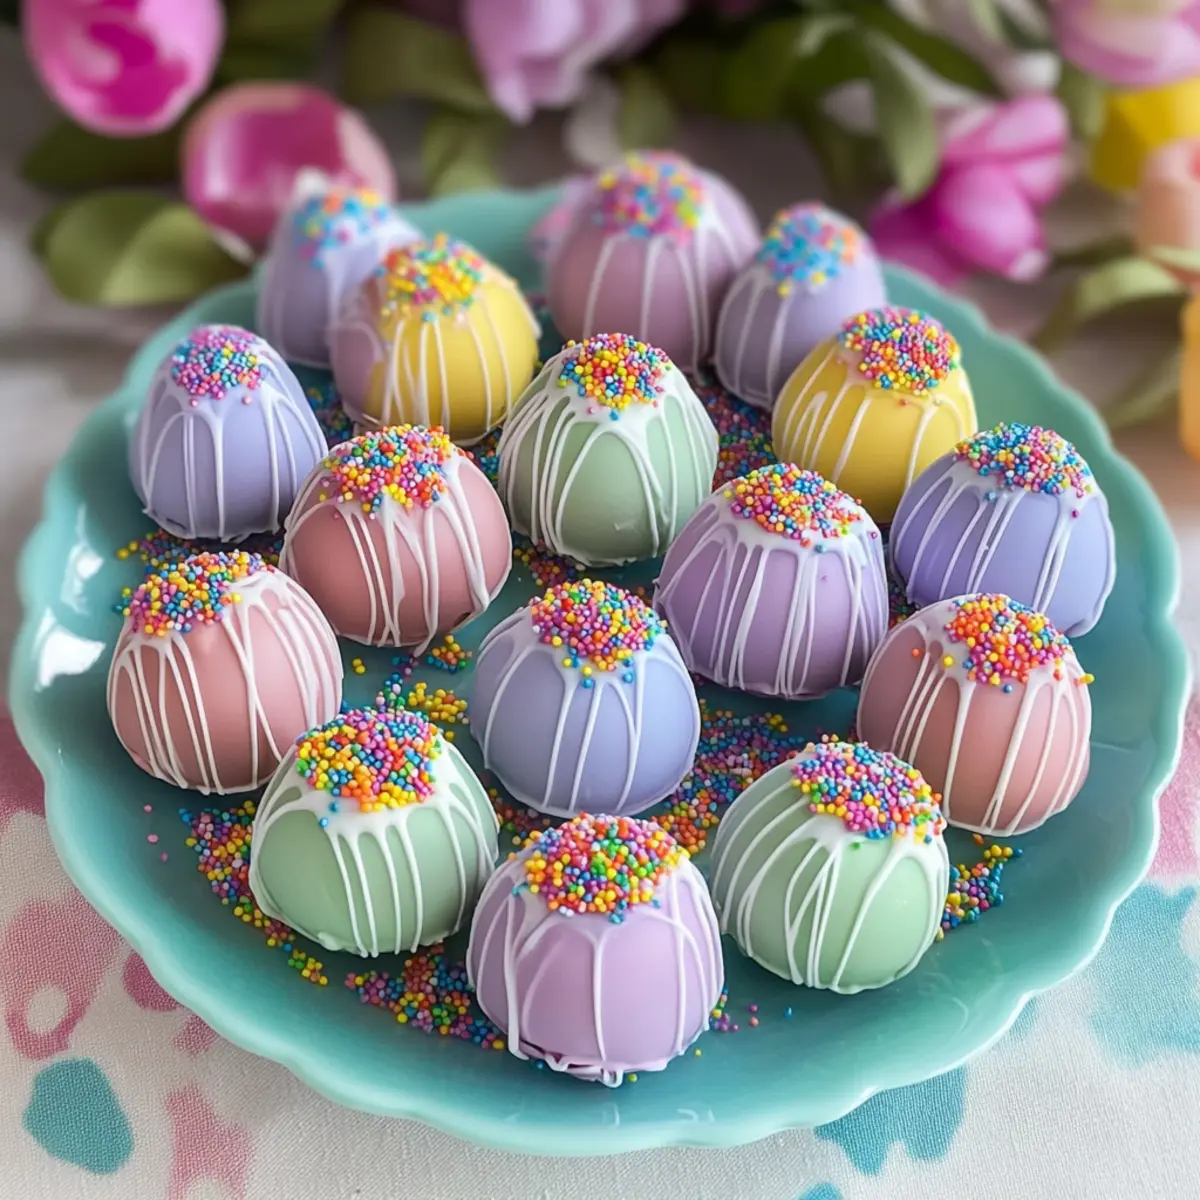
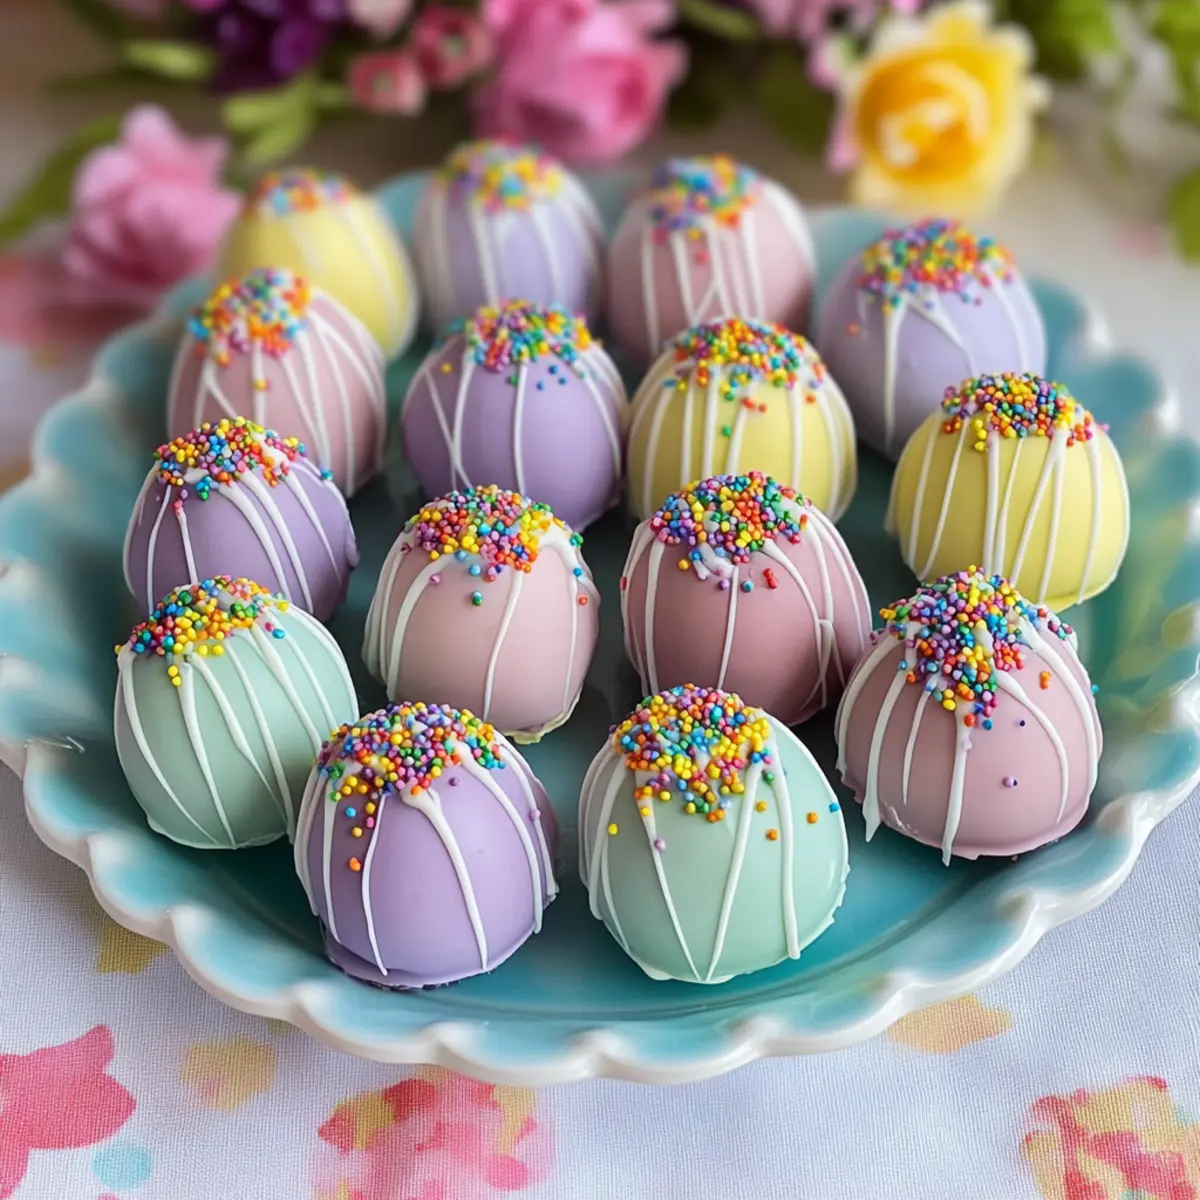
Visual Appeal: With their festive colors and eye-catching shapes, they serve as a stunning centerpiece for any spring celebration.
Customizable Delight: Want to switch things up? Use different flavored Oreos or chocolate to create unique variations that suit all palates. Consider a classic pairing with Vegetarian Lasagna for a complete meal!
Quick and Easy: Whip these together in under an hour—no baking required! Perfect for busy schedules yet satisfying enough to impress guests.
Indulgent Treat: Creamy, crunchy, and oh-so-delicious, these decadent bites are a guaranteed hit at any gathering.
Easter Egg Oreo Balls Ingredients
For the Oreo Filling
• Oreo Cookies – The star of this recipe, providing the sweetness and flavor; try using gluten-free Oreos for a gluten-free version.
• Cream Cheese – This adds creaminess and helps bind the mixture; switch to mascarpone cheese for a lighter texture.
For the Chocolate Coating
• Candy Melts – Perfect for making the colorful chocolate coating; you can swap them with white chocolate or dark chocolate for more options.
• Sprinkles & Edible Glitter – Use these for decoration; opt for festive pastel colors that align beautifully with the Easter Egg theme.
Tip: These Easter Egg Oreo Balls are not only visually appealing but are also customizable to fit any festive occasion!
Step‑by‑Step Instructions for Easter Egg Oreo Balls
Step 1: Crush Oreos
Begin by placing your Oreo cookies in a food processor and pulse until fine crumbs form, about 30 seconds. If you don’t have a food processor, you can use a resealable bag and crush them with a rolling pin until there are no large chunks. Set the crushed cookies aside for the delicious filling of your Easter Egg Oreo Balls.
Step 2: Mix Filling
In a large mixing bowl, combine the crushed Oreos with softened cream cheese. Using an electric mixer or spatula, blend the mixture until it becomes smooth and well-combined, about 2-3 minutes. This creamy filling is the heart of your Easter Egg Oreo Balls, providing a delightful contrast to the crunchy exterior.
Step 3: Shape Balls
Once your filling is smooth, take a tablespoon or cookie scoop and portion out the mixture. Roll each portion between your palms to form egg shapes, about 1-inch in size. Place these shaped balls on a parchment-lined baking sheet and freeze them for 20-30 minutes to firm up, making them easier to dip later.
Step 4: Melt Chocolate
While the Oreo balls are chilling, melt your candy melts or chocolate in separate microwave-safe bowls. Heat them in 30-second intervals, stirring in between, until completely smooth and liquid, which usually takes about 1-2 minutes. This colorful coating is what makes your Easter Egg Oreo Balls truly festive and inviting.
Step 5: Dip & Decorate
Retrieve the chilled egg-shaped balls from the freezer. Dip each one into the melted chocolate, ensuring they are fully coated, then gently shake off any excess. Place the dipped Oreo balls back on the parchment paper and, while the chocolate is still wet, sprinkle them with festive decorations like sprinkles or edible glitter to enhance their visual appeal.
Step 6: Set
Allow the chocolate-coated Easter Egg Oreo Balls to set at room temperature for about 15-20 minutes, or place them in the refrigerator for quicker setting, which takes about 10 minutes. The chocolate should harden to a beautiful glossy finish, making these treats irresistible and perfect for sharing.
Step 7: Serve
Once the chocolate has fully hardened, carefully arrange your beautiful Easter Egg Oreo Balls on a serving platter. They are now ready to delight family and friends at your Easter gathering! Enjoy the smiles they bring as your guests indulge in this festive and fun treat.
Expert Tips for Easter Egg Oreo Balls
-
Crush Thoroughly: For a smooth filling, ensure you pulse the Oreo cookies into fine crumbs, avoiding any large chunks that can affect texture.
-
Chill for Firmness: After shaping your balls, don’t skip chilling them! This step helps keep their shape during the dipping process.
-
Decorate Creatively: Use piping bags for drizzling contrasting chocolate or get more intricate with your sprinkles for a truly festive appearance!
-
Storage Savvy: Store your Easter Egg Oreo Balls in an airtight container; they can be refrigerated for up to a week or frozen for longer enjoyment.
-
Involve the Kids: Make this a family project! Let your little ones shape and decorate the Oreo balls—it’s fun and fosters bonding in the kitchen.
What to Serve with Easter Egg Oreo Balls?
Delight in the vibrant flavors of spring while creating a feast that’ll light up your Easter celebration.
-
Fruit Salad: A fresh mix of colorful seasonal fruits adds a refreshing contrast to the rich Oreo balls. The natural sweetness complements the chocolate beautifully.
-
Vanilla Ice Cream: Creamy vanilla ice cream provides a cool, sweet balance to these decadent bites. Serve it on the side for a wonderfully indulgent dessert experience.
-
Carrot Cake: This classic spring dessert offers a spiced, moist texture that contrasts nicely with the crunchy Oreo coating. It’s a festive pairing that resonates with Easter traditions.
-
Mini Cheesecakes: Individual cheesecakes add a creamy indulgence that harmonizes with the flavors of the Oreo balls. Their delicate presentation makes for a lovely platter.
-
Lemonade or Iced Tea: A refreshing drink like lemonade or iced tea cleanses the palate between bites, bringing out the sweetness of the treats while keeping things light.
-
Chocolate-Covered Strawberries: The fruity freshness of strawberries dipped in chocolate mirrors the flavor of the Oreo balls while bringing an appealing visual element to your dessert table.
-
Spring Vegetable Platter: For a savory contrast, include a vegetable platter with vibrant veggies and a light dip. It balances the sweetness of the treats and adds a healthy component.
-
Easter-themed Cookies: Other themed cookies can make a colorful addition, echoing the festive spirit and offering delightful bite-sized treats alongside your Easter Egg Oreo Balls.
How to Store and Freeze Easter Egg Oreo Balls
Fridge: Store your Easter Egg Oreo Balls in an airtight container in the refrigerator for up to 1 week. This keeps them fresh and ready to enjoy.
Freezer: For longer storage, freeze your Oreo balls in a single layer on a baking sheet until solid, then transfer to an airtight container. They can be frozen for up to 3 months.
Reheating: These treats are best enjoyed chilled or at room temperature; simply let them sit out for a few minutes after freezing before serving.
Tip: If you freeze the Easter Egg Oreo Balls, make sure to label the container with the date, so you know when to enjoy them by!
Make Ahead Options
These Easter Egg Oreo Balls are perfect for busy home cooks looking to save time! You can prepare them up to 3 days in advance by making the filling and shaping the balls. After they’ve set in the freezer for 20-30 minutes, store them in an airtight container in the refrigerator. To maintain their fresh taste and texture, avoid coating them with chocolate until you’re ready to serve. When it’s time to enjoy, melt your chocolate and dip the chilled Oreo balls, followed by decorating them with sprinkles. This way, you’ll have a festive, delightful treat with minimal effort right when you need it!
Easter Egg Oreo Balls: Fun Variations
Customize these delightful treats to suit your flavor preferences and dietary needs!
- Gluten-Free: Substitute regular Oreo cookies with gluten-free Oreos for everyone to enjoy without worry. This way, no one misses out on the fun!
- Cream Cheese Alternatives: Try using mascarpone cheese for a lighter texture, or even go vegan with a dairy-free cream cheese equivalent for plant-based friends.
- Different Coatings: Experiment with milk chocolate or dark chocolate for the coating; each delivers a unique taste twist that can tantalize your taste buds.
- Flavor Infusions: Use flavored Oreos like peanut butter or mint to create distinct versions while keeping that familiar Oreo goodness. It’s an exciting way to surprise your loved ones!
- Fun Decorations: Beyond festive sprinkles, consider using colored coconut flakes or crushed up nuts to make your Easter Egg Oreo Balls even more visually appealing. Let your creativity shine!
- Mini Eggs: For smaller treats, shape the mixture into mini egg shapes. These bite-sized delights are perfect for kids and adults alike!
- Curried Chocolate Variation: If you’re feeling adventurous, mix in a pinch of curry powder with melted chocolate for an exotic twist that sparks curiosity. It’s a flavorful option that’s sure to surprise and impress!
- Accompanying Treats: Pair your Oreo balls with delicious options like Vegetarian Lasagna or savory bites that complement their sweetness.
Enjoy the process of personalizing these treats to create something special for your celebrations!

Easter Egg Oreo Balls Recipe FAQs
How do I choose the best Oreo cookies?
Absolutely! When selecting Oreo cookies, the classic flavor works best for the traditional version of Easter Egg Oreo Balls. However, if you want a twist, look for seasonal flavors like pumpkin spice in the fall or peppermint for winter holidays. Always check the expiration date to ensure freshness, as it will impact the flavor and texture of your dessert!
What’s the best way to store Easter Egg Oreo Balls?
Very! To maintain their freshness, store your Easter Egg Oreo Balls in an airtight container in the refrigerator for up to 1 week. This will keep them cool and delicious. If you plan to enjoy them later, you can freeze them; just make sure they are fully cooled and set before placing them in the freezer.
Can I freeze Easter Egg Oreo Balls?
For sure! To freeze your Easter Egg Oreo Balls, arrange them in a single layer on a baking sheet and place them in the freezer until solid, about 1-2 hours. Once they are hard, transfer them to an airtight container or freezer bag. They can be frozen for up to 3 months. When you’re ready to enjoy, just let them sit at room temperature for a few minutes before serving.
What if my filling is too soft or crumbly?
Oh no, that happens! If your filling is too soft, it likely means the cream cheese wasn’t cold enough or you added too much at once. To fix this, simply mix in more crushed Oreos until the desired consistency is achieved. If it’s too crumbly, try adding a touch more softened cream cheese or a tiny bit of milk to help bind it together. Be patient and adjust it!
Are Easter Egg Oreo Balls safe for all diets?
Great question! While these treats contain common allergens like dairy and gluten, there are ways to make them allergy-friendly. Use gluten-free Oreo cookies and vegan cream cheese to cater to gluten sensitivities or dairy allergies. Always check the packaging to ensure there are no potential cross-contaminations.
How can I personalize my Easter Egg Oreo Balls?
The more, the merrier! You can personalize your Easter Egg Oreo Balls by experimenting with different flavored Oreos like mint or peanut butter. Additionally, try various coatings like dark chocolate or white chocolate for a unique twist. Get creative with the sprinkles or even drizzle a colored chocolate over them for a stunning effect that suits the festive occasion!
Easter Egg Oreo Balls: Fun No-Bake Treats for Everyone
Ingredients
Equipment
Method
- Begin by placing your Oreo cookies in a food processor and pulse until fine crumbs form, about 30 seconds.
- In a large mixing bowl, combine the crushed Oreos with softened cream cheese and blend until smooth, about 2-3 minutes.
- Take a tablespoon or cookie scoop and portion out the mixture. Roll each portion into egg shapes, about 1-inch in size, and freeze for 20-30 minutes.
- While the Oreo balls are chilling, melt your candy melts or chocolate in separate microwave-safe bowls in 30-second intervals.
- Dip each ball into the melted chocolate, shake off excess, and place back on parchment paper. Decorate with sprinkles or edible glitter.
- Allow the chocolate-coated balls to set at room temperature for about 15-20 minutes or refrigerate for 10 minutes until set.
- Once the chocolate has hardened, arrange the Oreo balls on a serving platter and enjoy!
Leave a Reply